Blog
Build Your Own DIY Room Divider: A Simple Guide
Looking for a stylish and practical way to divide your living space? You don’t need to break the bank on expensive room dividers! In this guide, we’ll walk you through the steps to create your very own DIY room divider using affordable materials and simple techniques. It’s easier than you think, even if you’re new to crafting.
As a seasoned craftsman, I’m always excited to share projects that blend practicality with creativity. This room divider is a perfect example – it’s something I built for my own studio to create a dedicated workspace while keeping the open feel of the room. Let’s dive into how you can make one too!
Gathering Your Materials
Before we start, let’s round up everything you’ll need. For this project, we’ll be using readily available materials you can find at your local hardware store:
- Plywood: 3 pieces of 6mm thick plywood, measuring 16″ x 64″ each.
- Wood Lumber: 3/4″ x 2″ pieces – 6 pieces at 16″ long and 6 pieces at 6ft long.
- Hinges: 6 hinges with screws.
- Paint: Your choice of color for the panels.
- Wood Varnish: To protect and seal the wood.
- Nails: 2-inch nails for sturdy construction.
- Wood Glue: For added strength and stability.
- Tools: Hammer, drill, screwdriver, paintbrush, measuring tape, pencil.
Pro Tip: For a more polished look, consider using high-quality hinges. They add a touch of sophistication and can really elevate the overall aesthetic of your room divider.
Building Your Room Divider: A Step-by-Step Guide
Now comes the fun part – building our room divider! Follow these simple steps:
-
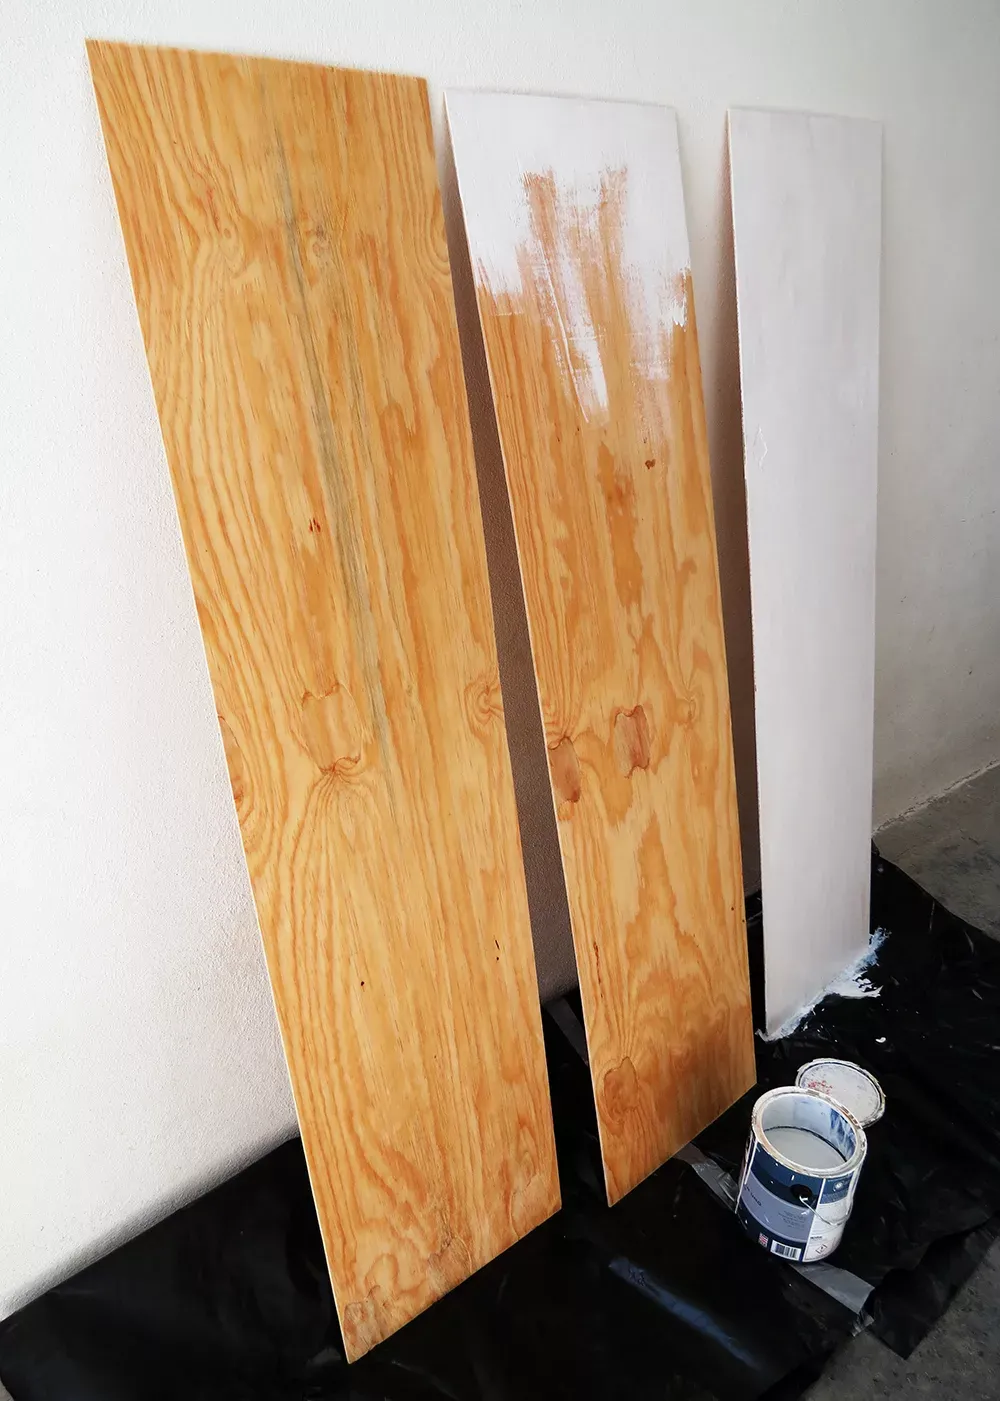
Paint Your Panels: Begin by painting both sides of the plywood panels with your chosen color. Allow them to dry completely before moving on to the next step.
 paint the divider plywood panels
Adding a splash of color to your plywood panels brings your room divider to life. -
Construct the Frames: Use the wood lumber to build three rectangular frames. The 6ft long pieces will act as the vertical posts, and the 16″ pieces will connect them as horizontal supports. Secure the frame corners with wood glue and nails.
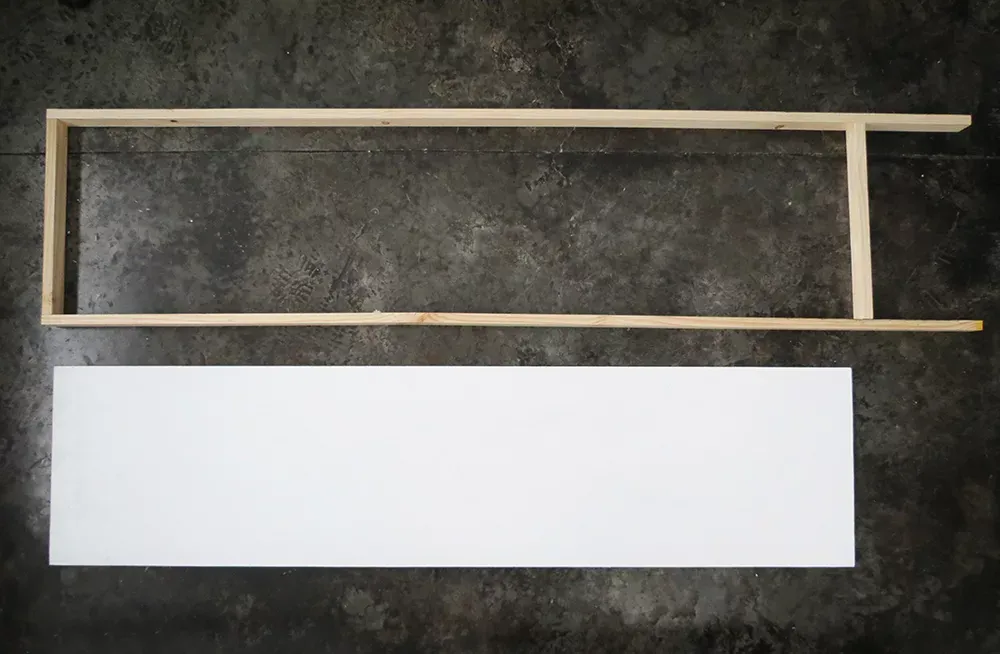 building room divider frame
Building a sturdy frame ensures your room divider can stand up to daily use. -
Insert the Plywood Panels: Place each frame on a flat surface and carefully position a painted plywood panel within it. The panel should sit at mid-height of the frame thickness. Use wood glue along the edges of the plywood to secure it to the frame.
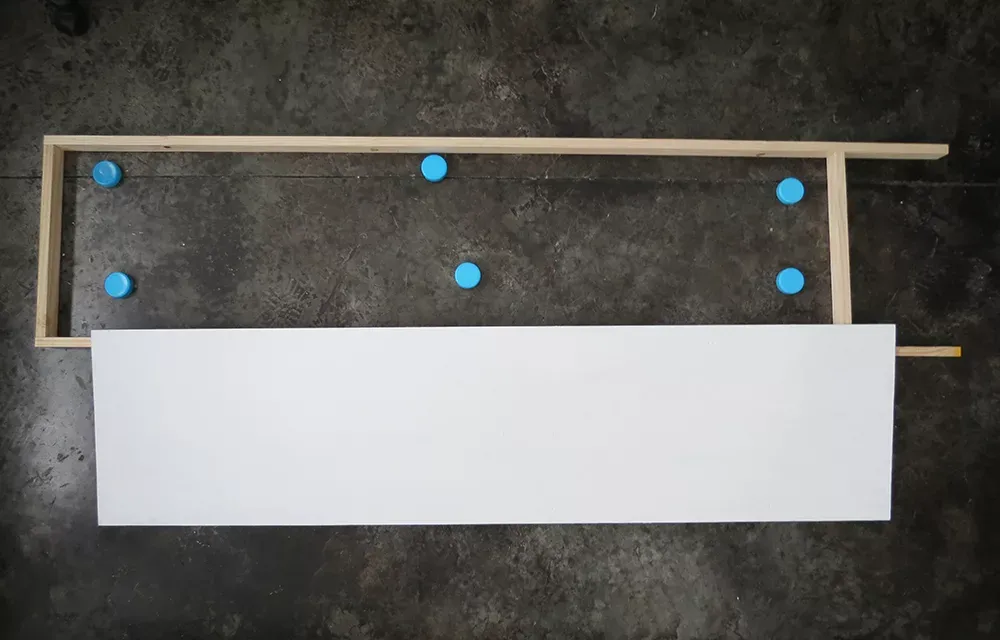 placing the panel into frame
Carefully secure the plywood panel to the frame with wood glue. -
Clamp and Dry: For optimal strength, use clamps to hold the plywood and frame together while the glue dries. This ensures a tight bond for a long-lasting room divider.
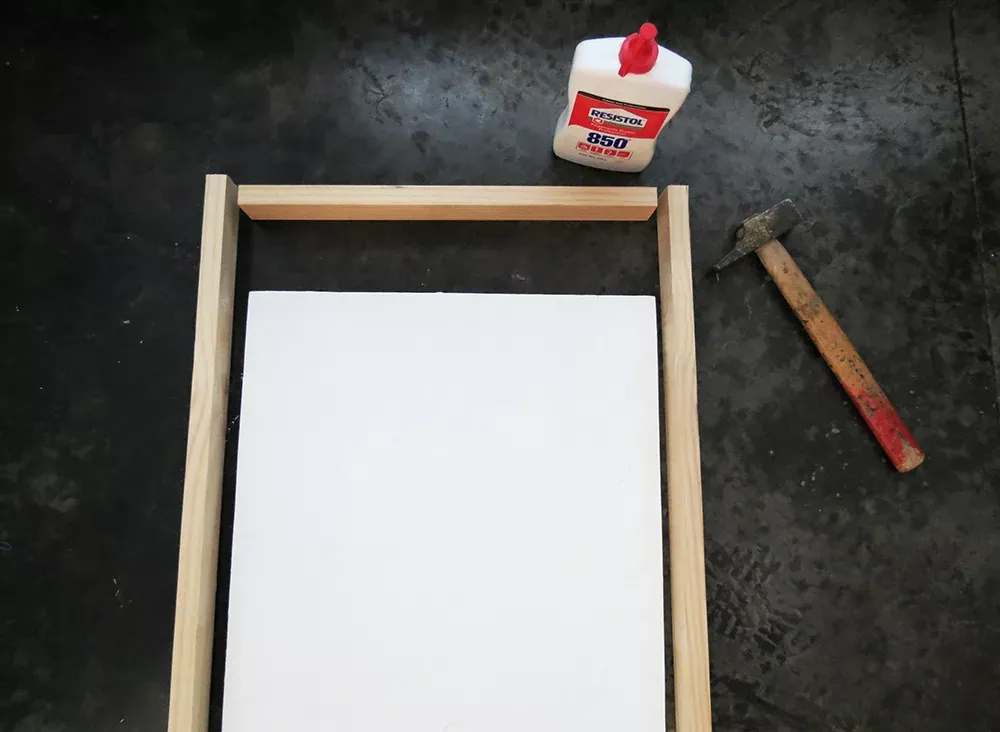 assembling divider frame
Clamping ensures a strong bond between the plywood and frame -
Connect the Panels with Hinges: Once the glue is dry, it’s time to connect the three panels using the hinges. Attach the hinges to the vertical edges of the frames, ensuring they swing smoothly.
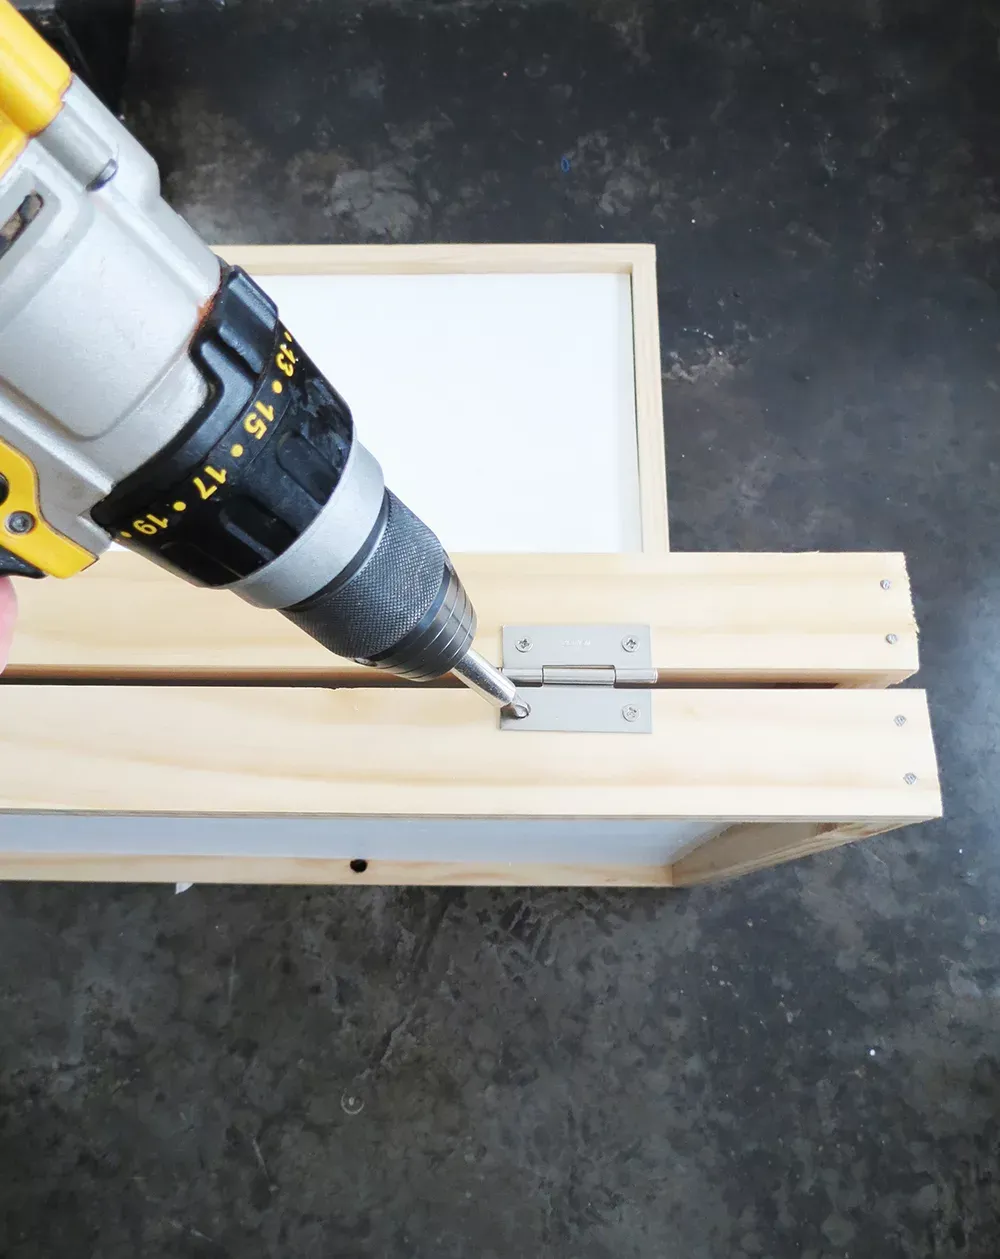 screwing room divider hinges
Hinges provide flexibility, allowing you to fold and adjust your room divider. -
Finishing Touches: Apply a coat of wood varnish to the frame for protection and a polished finish. Allow it to dry completely before using your new room divider.
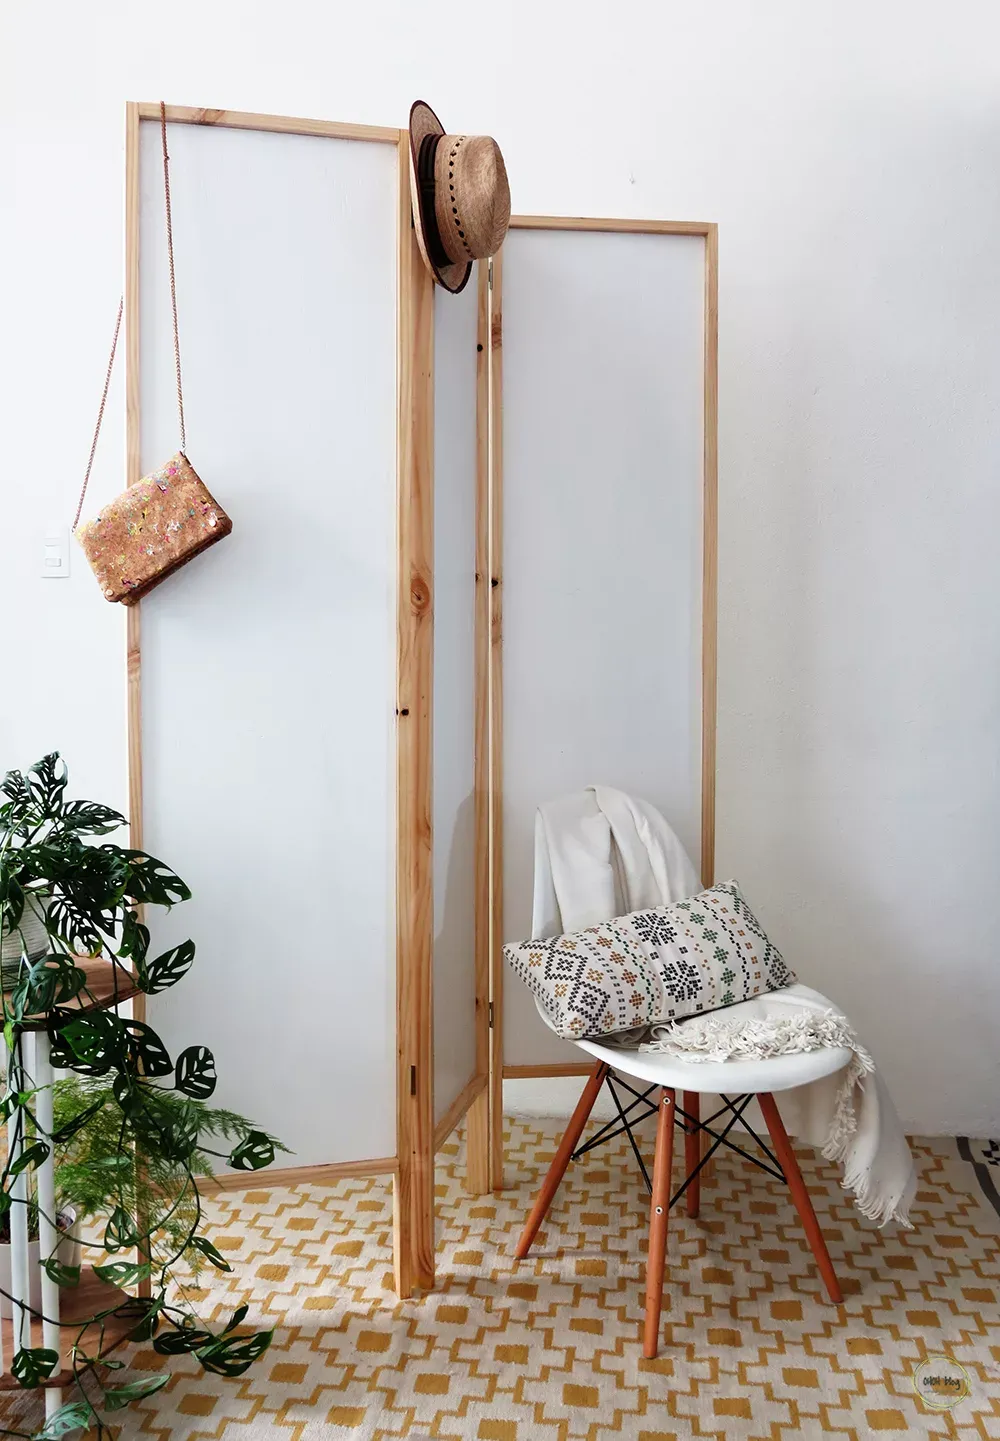 easy to build room divider
A coat of varnish adds a touch of elegance and protects the wood.
Congratulations – Your Room Divider is Ready!
And there you have it – your very own DIY room divider! It’s lightweight and easy to move, making it perfect for dividing a room, creating a cozy nook, or adding privacy to your space.
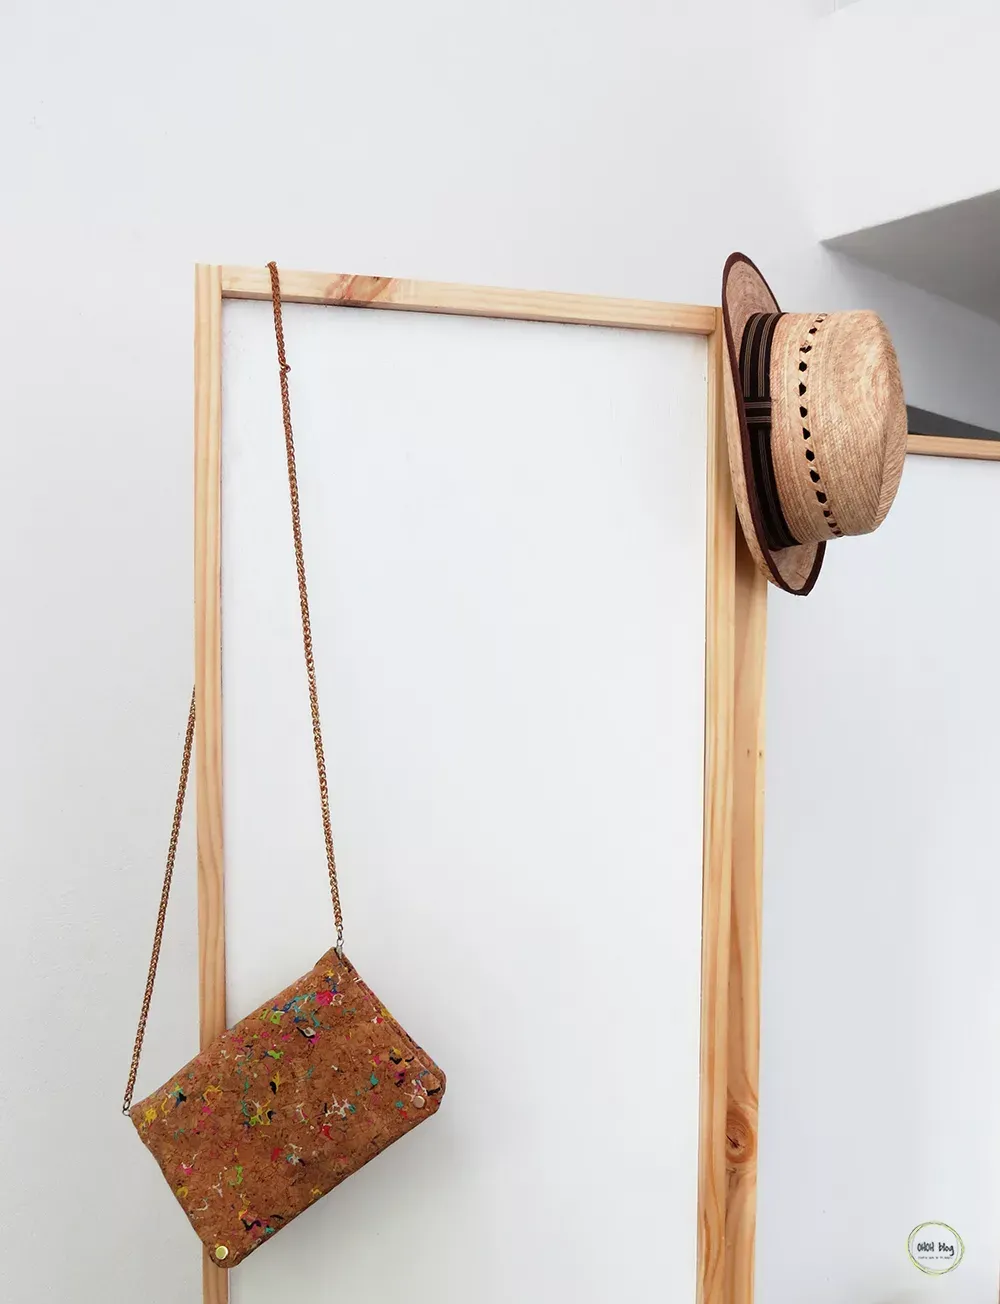 homemade room divider
Your finished room divider – stylish, functional, and uniquely yours!
Personalize Your Creation
The beauty of DIY projects lies in their customization. Here are some ideas to personalize your room divider:
-
Wallpaper or Stencils: Add visual interest by applying wallpaper or using stencils to create unique patterns on the panels.
-
Shelving: Install small shelves to display plants, books, or decorative items.
-
Mirrors: Attach mirrors to one or more panels to create the illusion of more space and reflect light.
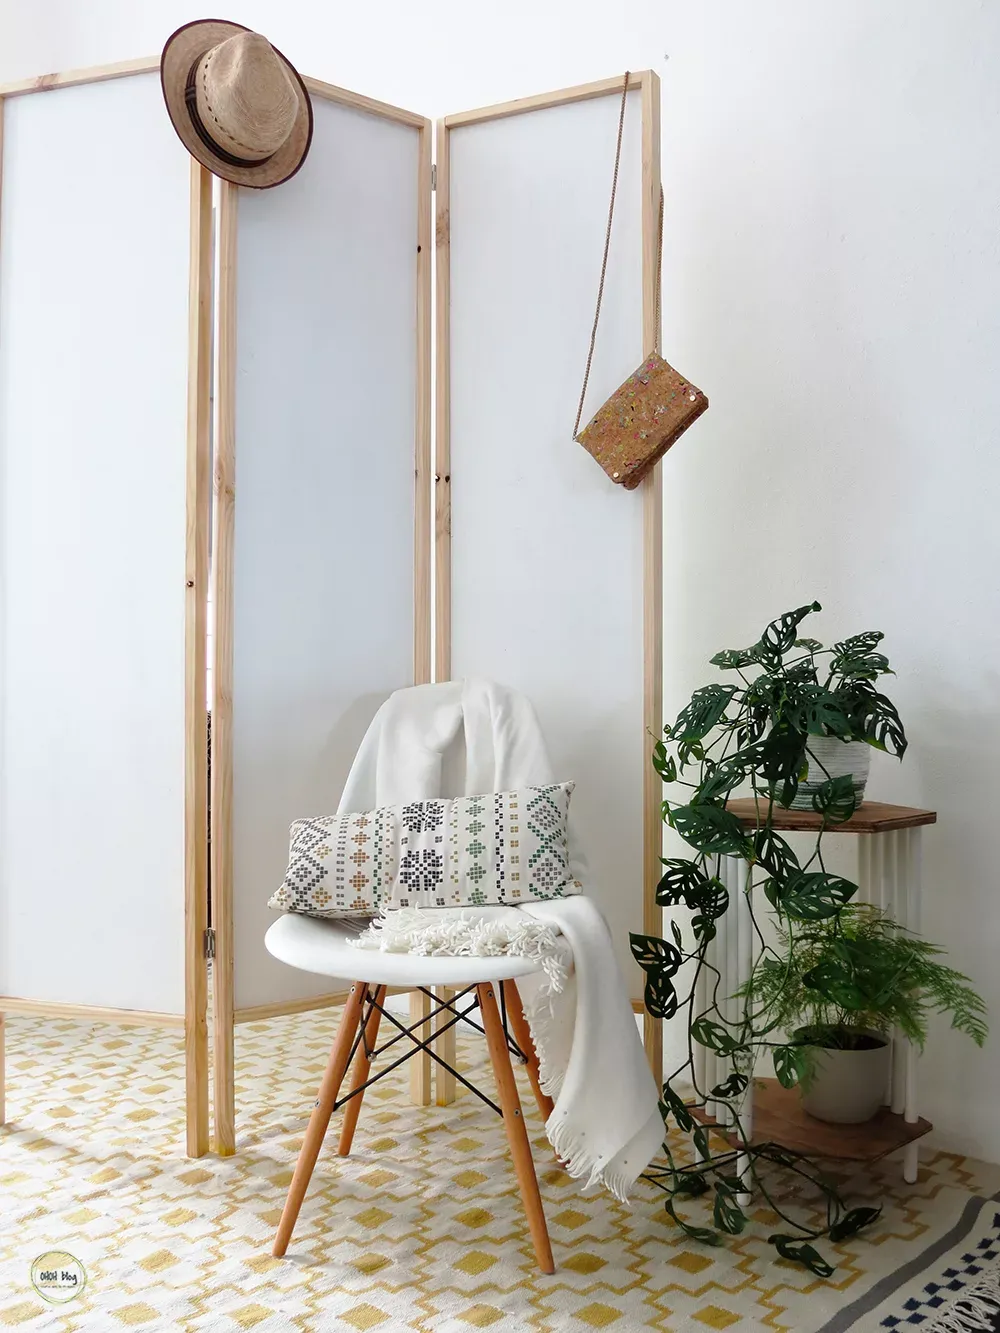 make a room divider
Explore different styles and designs to match your interior décor.
Share Your Creations with Robert Kline Art
We’d love to see your finished room dividers! Share your creations with us on social media and tag @RobertKlineArt. For more inspiring DIY projects and handcrafted treasures, browse our website and discover the joy of creating!
