Blog
DIY Rolling File Cabinet: The Perfect Under-Desk Storage Solution

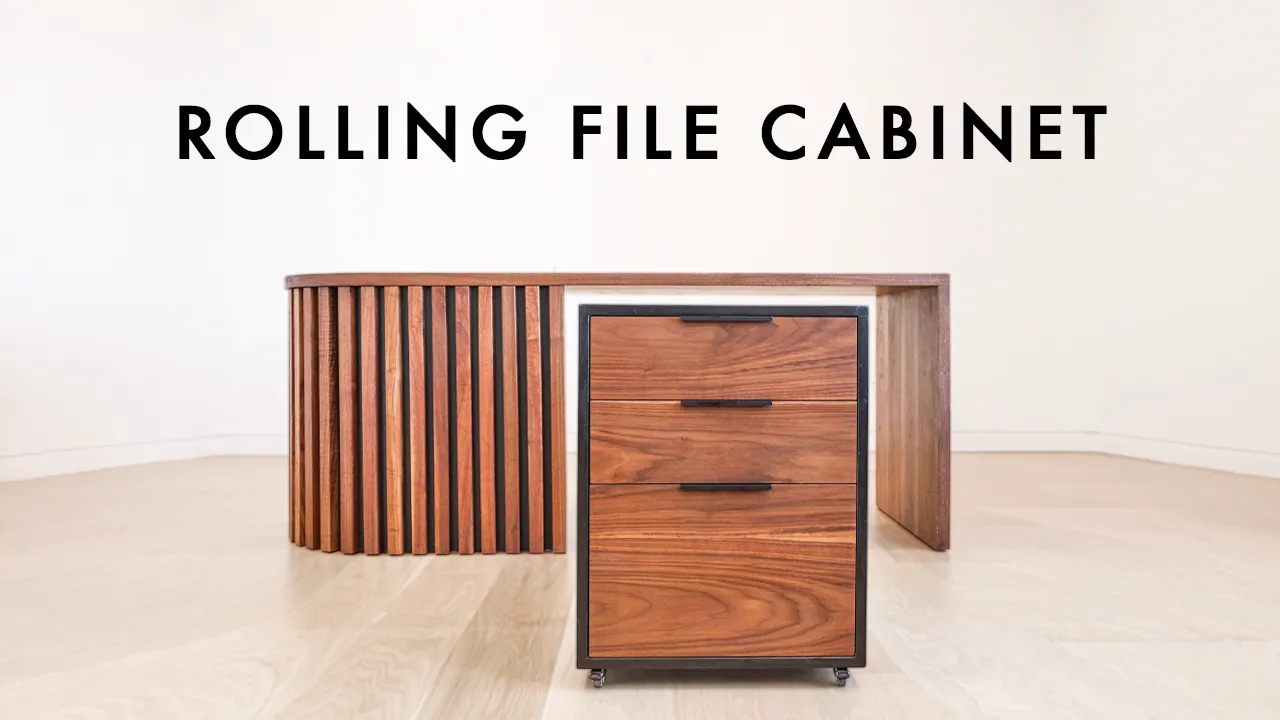
Are you tired of clutter taking over your workspace? I know the feeling! As an artist, my creative process thrives in an organized environment. That’s why I decided to take matters into my own hands and build a DIY rolling file cabinet. This project is perfect for those who appreciate functional and stylish storage solutions. Let me tell you, having a dedicated space for all your important documents brings a sense of peace to any workspace. Plus, the ability to move it around? It’s a game-changer!
Gathering Your Supplies:
Before we dive into the construction, let’s gather the necessary materials. Having everything ready will make the process smoother and more enjoyable. For this project, you’ll need:
- Wood: I recommend using plywood for its durability and affordability. Refer to the detailed plans for the exact dimensions and type of plywood.
- Dominos or alternative joinery method: Dominos work wonders for strong and precise joinery. However, pocket holes or even dovetails can be great substitutes.
- Wood Glue: A reliable wood glue is essential for sturdy construction.
- Drawer Slides: Choose smooth-operating drawer slides that can handle the weight of your files.
- Casters: Opt for durable casters that allow for easy movement. I recommend 1″ casters for this build.
- Hanging File Rails: These will transform your bottom drawer into a functional file cabinet.
- Screws: You’ll need various screws for assembling the cabinet and attaching hardware.
- Wood Filler: This will help create a smooth and professional finish by filling in any gaps or imperfections.
- Primer and Paint: Choose a primer and paint that adhere well to your chosen wood. Black is a classic choice for a sleek look.
- Tools: Gather your essential woodworking tools, including a table saw, router, drill, sander, and measuring tape.
Building Your Rolling File Cabinet: A Step-by-Step Guide
Ready to bring your rolling file cabinet to life? Let’s get started!
1. Building the Carcass:
- Begin by cutting all the carcass pieces to size, following the dimensions provided in the plan.
- Use your chosen joinery method—dominos, pocket holes, or dovetails—to assemble the four sides of the cabinet.
- Ensure the box is square and all joints are secure.
2. Creating the Drawers:
- Measure the opening of the cabinet to determine the size of your drawer fronts, backs, and sides. Remember to account for the drawer slides.
- Cut the drawer pieces accordingly.
- I highly recommend using grooves to assemble the drawer bottoms. It’s a technique that enhances both strength and ease of assembly.
- Use pocket holes and screws to securely attach the drawer fronts and backs to the sides.
- Cut and install the drawer bottoms, ensuring a snug fit within the grooves.
3. Adding the Back and Finishing Touches:
- Use a router with a rabbeting bit to create a rabbet on the back edges of the cabinet.
- Cut the back panel to size, fitting it into the rabbet. Secure it with glue and clamps.
- Fill any exposed end grain with wood filler for a polished look.
- Prime and paint the entire cabinet, allowing for ample drying time between coats.
4. Installing the Slides and Hardware:
- Install the drawer slides inside the cabinet, ensuring they are level and evenly spaced.
- Attach the corresponding drawer slide parts to the sides of the drawers.
- Cut and install the drawer faces, attaching them to the drawer boxes using screws from the inside.
- Flip the cabinet over and attach the casters to the base.
5. Transforming it into a File Cabinet:
- For the bottom drawer, install the hanging file rails on top of the drawer sides.
- Now you have a dedicated space for your files!
Enjoy Your New Rolling File Cabinet!
Congratulations! You’ve now built a custom rolling file cabinet that adds both organization and style to your workspace.
I encourage you to experiment with different finishes, hardware, and drawer configurations to personalize your cabinet.
 "Finished Rolling File Cabinet"
Remember, creating something with your own hands brings a sense of accomplishment and satisfaction. Don’t hesitate to share your creations and inspire others!
I’d love to hear about your DIY rolling file cabinet projects. Share your experiences, tips, and photos in the comments below! And if you’re looking for more inspiring handmade gift ideas and crafting projects, be sure to explore the wonderful selection on the Robert Kline Art website.
