Blog
DIY Rolling Under-Bed Storage Drawers: The Ultimate Guide
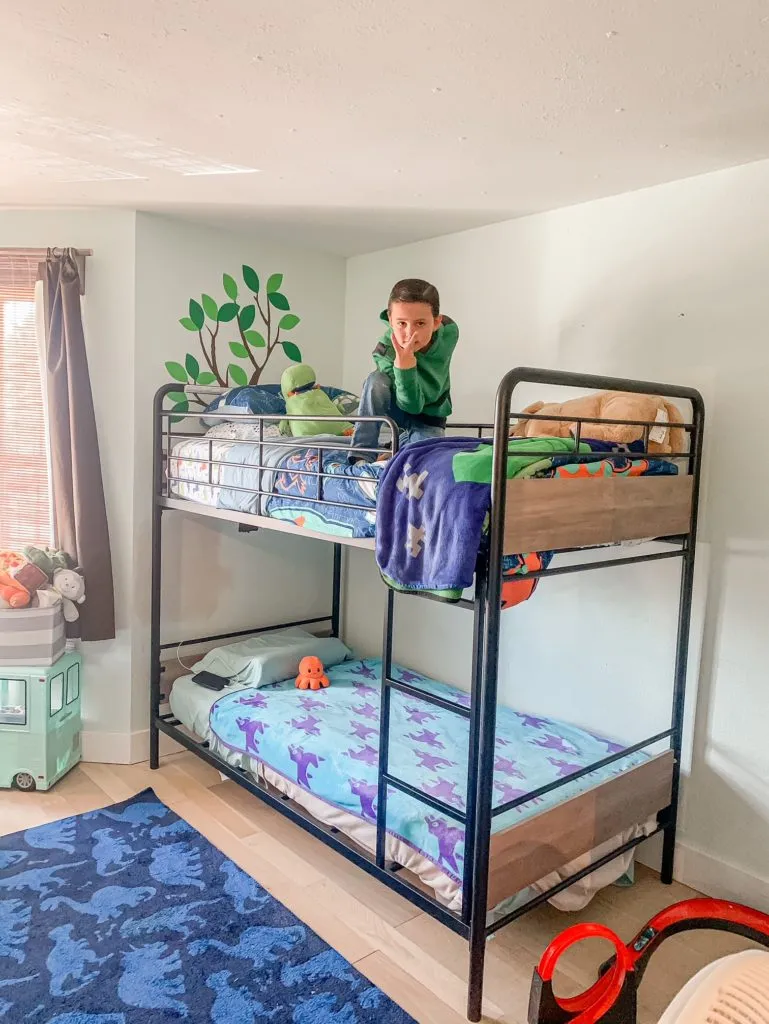
Hey there, fellow craft enthusiasts! Remember when I showed off Tristan’s awesome gamer-themed room and promised a tutorial on those cool rolling storage boxes under his bed? Well, good things come to those who wait! Today, I’m excited to walk you through creating your own DIY under-bed storage drawers – a project that’s not only practical but also adds a touch of personalized style to any room.
Why Under-Bed Storage is a Game-Changer
Let’s face it, clutter happens! Especially in bedrooms. When I set up Tristan’s new bunk beds, the open space underneath screamed for a storage solution. Traditional bed skirts wouldn’t work because of the mattress support rails, and store-bought options just weren’t the right fit. Sound familiar? That’s when I decided to roll up my sleeves and build my own! Trust me, with a little planning and these simple steps, you can too!
What You’ll Need to Get Rolling
Before we dive in, gather your crafting arsenal. Here’s a list of the supplies you’ll need to conquer this project:
Materials:
- 1/2″ Plywood
- 1x6s Lumber
- Wood Glue
- 2 1/2″ Deck Screws
- Wood Filler
- Shelf Liner
- Weathered Oak Wood Stain
- Espresso Wood Stain
- Rust-Oleum Satin Black Spray Paint
- 1 1/2″ Vintage Caster Wheels
Tools:
- Measuring Tape
- Pencil
- Saw (Circular saw or table saw recommended for cutting plywood)
- Nail Gun
- Electric Sander
- Paint Brushes
- Screwdriver
- Stencils (optional, for adding numbers)
Let’s Get Building: A Step-by-Step Guide
1. Measure Twice, Cut Once
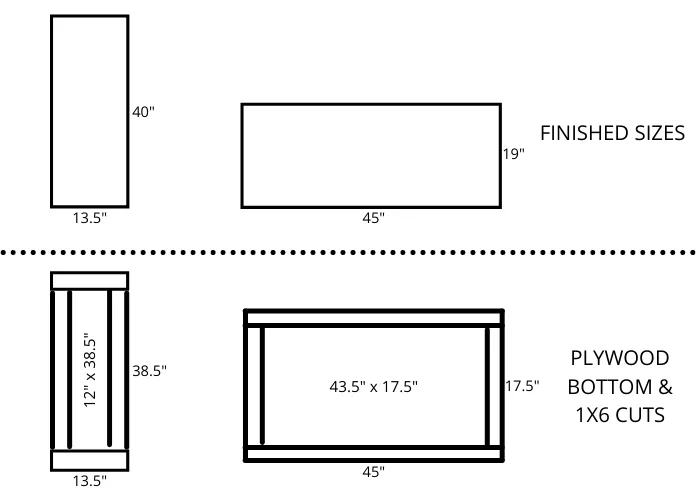
Accurate measurements are key to ensuring your drawers fit perfectly under the bed. I started by measuring the available space under the bed, taking into account any obstructions like support bars. I decided on two long, skinny boxes (13.5″ x 40″) and one short, wide box (45″ x 19″). Remember to factor in the thickness of the wood when calculating the dimensions of your plywood bottoms.
2. Creating the Base: Plywood Time
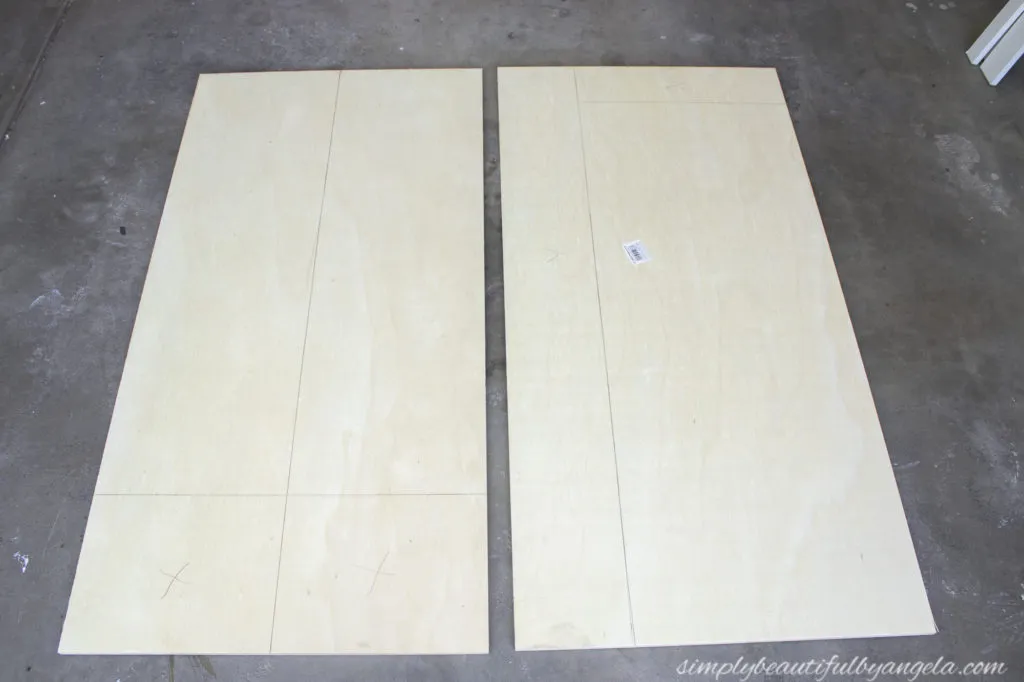
Using your measurements, cut the plywood sheets for the bottom of each box. This is where a table saw or circular saw comes in handy for clean, straight cuts.
 Plywood being measured and cut
3. Building the Frame: Sides, Front, and Back
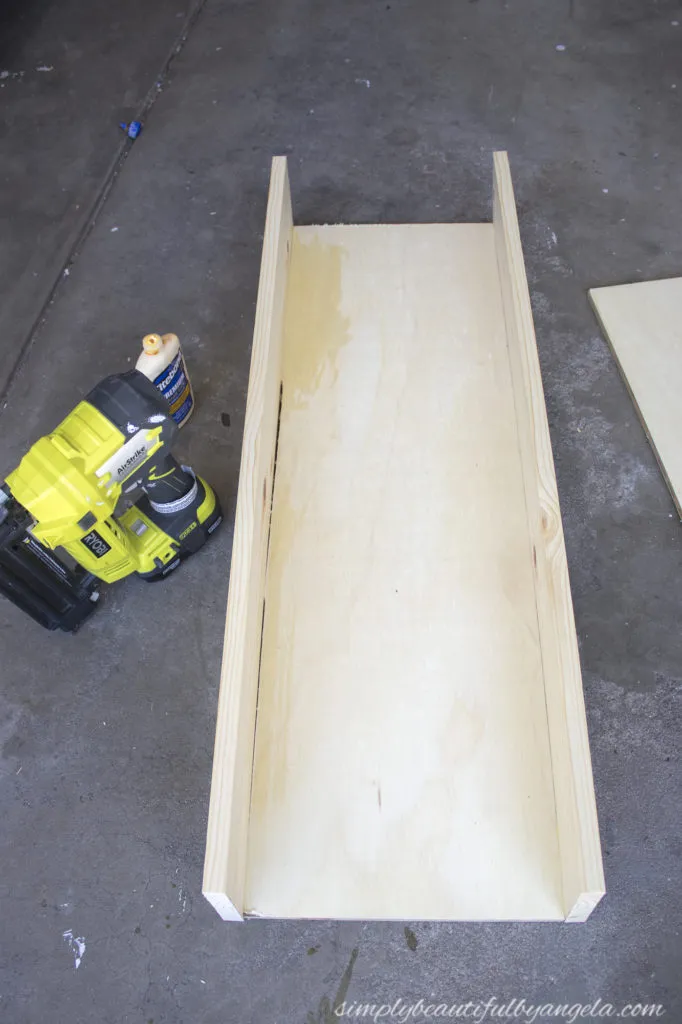
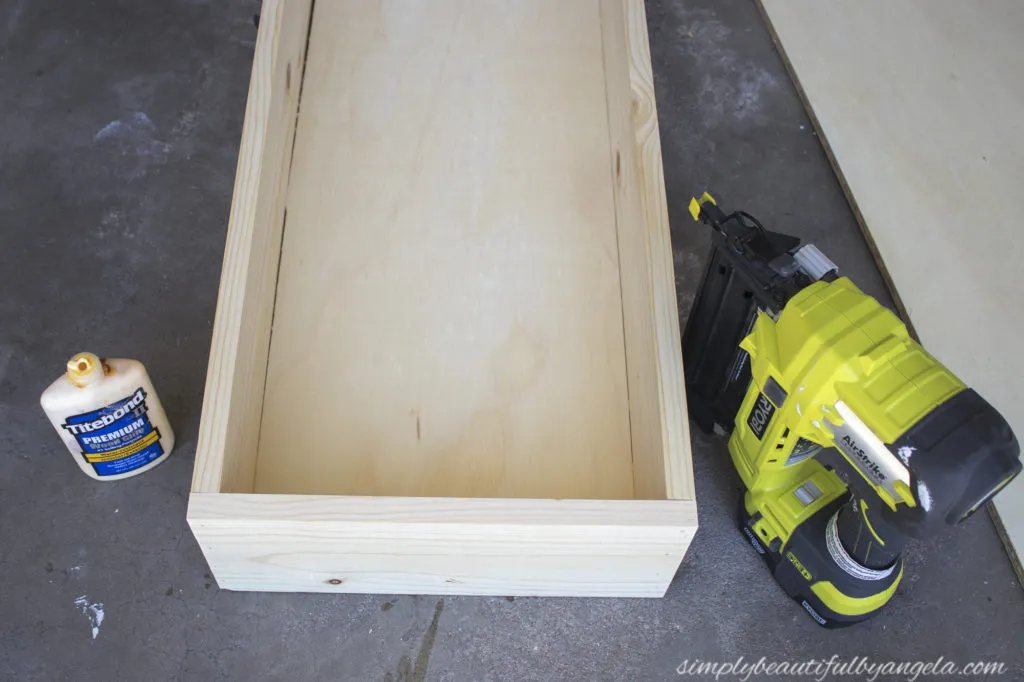
Cut the 1x6s to the desired height for your boxes. Apply wood glue to the edges of the plywood bottom, then attach the side pieces using your nail gun. Repeat the process for the front and back pieces.
 Attaching the side pieces to the plywood base with a nail gun
4. Reinforce for Durability
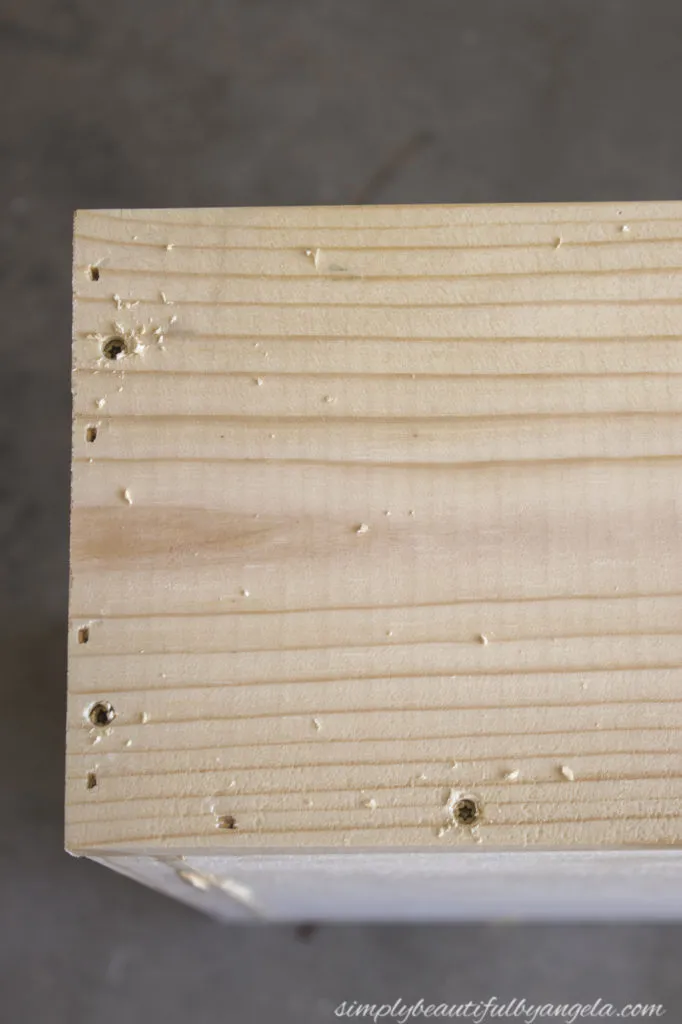
To add extra strength and longevity to your drawers, secure the front and back pieces with deck screws. Deck screws have a small countersinking head that provides a clean finish.
 Securing the front piece of the drawer with screws
5. Smoothness is Key: Sanding and Filling
After the glue has dried, use wood filler to fill any screw holes. Once the filler dries, sand the entire drawer frame until smooth. Remember, a smooth surface is crucial for achieving a professional-looking finish.
6. Adding Color and Character: Staining
Now for the fun part – staining! I opted for a two-toned effect, using Weathered Oak stain for the first coat and Espresso for the second. This creates a beautiful depth and richness. Remember, you can choose any stain colors that complement your room’s décor.
 Drawer after being stained
7. Putting it All Together: Handles and Caster Wheels
Attach your chosen handles to the front of each drawer. For a personalized touch, I stenciled numbers on each drawer and distressed them for a vintage vibe. Finally, attach the caster wheels to the bottom of each drawer. Make sure to space them evenly for optimal stability and smooth rolling.
 Attaching caster wheels to the bottom of the drawer
8. Finishing Touches: Lining the Drawers
Line the inside of your drawers with shelf liner for a clean and polished look. This also helps protect your belongings and prevents them from snagging on the wood.
 Rolling under-bed storage drawer with shelf liner
Congratulations, You’ve Conquered Clutter!
Admire your handiwork! You’ve just created functional and stylish storage solutions that would make Marie Kondo proud. These rolling under-bed storage drawers are perfect for stowing away extra blankets, seasonal clothing, toys, and anything else you want to keep organized and out of sight.
Pro Tips from Robert Kline Art
- Plan Your Project: Sketch out your design and dimensions beforehand to ensure everything fits perfectly.
- Safety First: Always wear safety glasses and a dust mask when using power tools.
- Choose the Right Wood: I recommend plywood for the bottom and 1x6s for the frame, as they provide a good balance of strength and affordability.
- Get Creative with Finishes: Don’t be afraid to experiment with different stains, paints, or even wallpaper to personalize your drawers.
Now that you’re equipped with the knowledge and confidence to tackle this project, head over to Robert Kline Art for more inspiring DIY ideas and crafting supplies. Don’t forget to share photos of your creations – I can’t wait to see what you come up with!
