Blog
Create Your Dream Craft Storage: A DIY Rolling Cart Guide
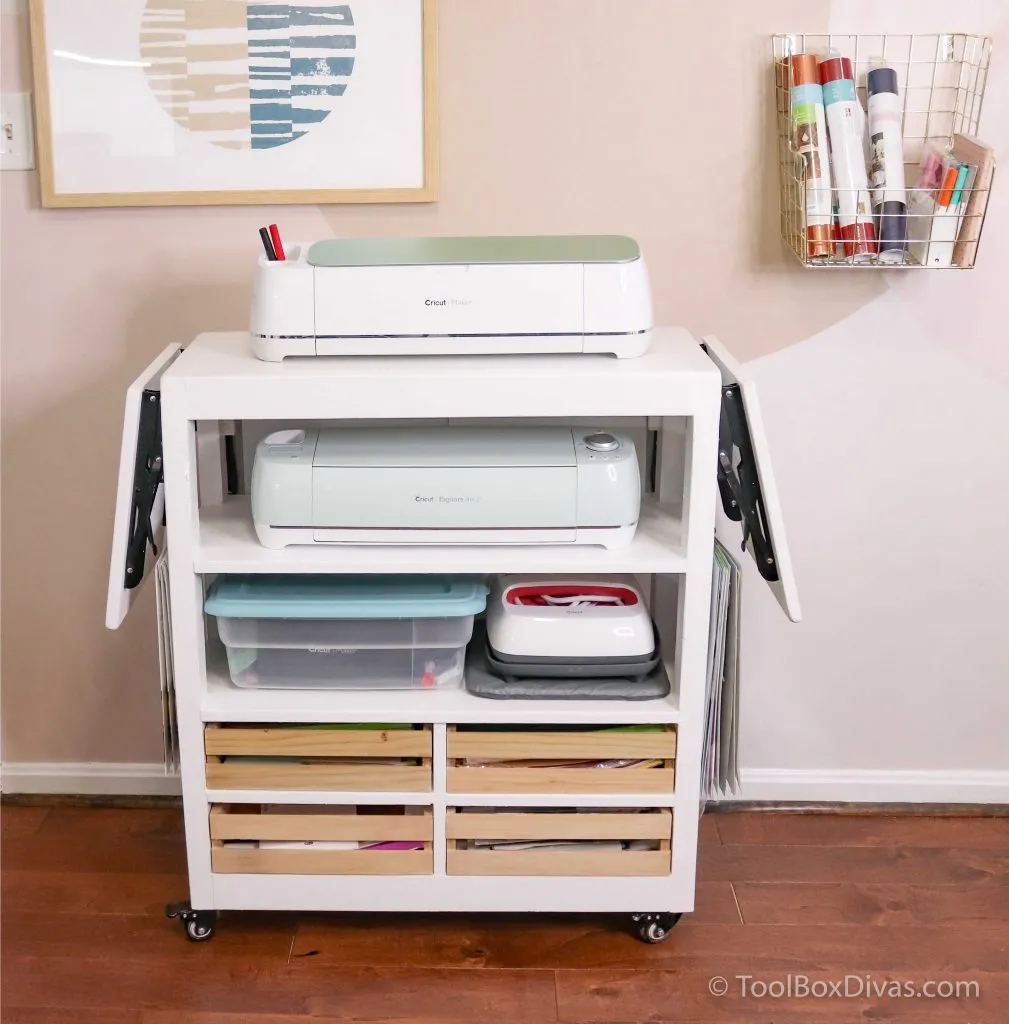
Every artist needs a dedicated space for their creative chaos. But let’s be honest, finding the perfect craft storage solution can feel like searching for a needle in a haystack… expensive, flimsy, or just not quite right. That’s where the magic of DIY comes in!
Today, we’re going to roll up our sleeves and build a sturdy, customizable, and surprisingly simple rolling craft cart. This project is perfect for anyone who loves the satisfaction of building something with their own two hands (and finally taming their craft supply clutter!).
Gather Your Supplies & Tools
Before we dive in, let’s gather our materials and tools. This project utilizes affordable and accessible lumber and plywood, along with the power of Kreg tools for secure and professional-looking joinery:
Materials:
- Lumber (2in. x 3in. x 8ft) – x 3
- Plywood Sheet (48″ x 96″, 3/4″ thick) – x 1
- Folding Shelf Brackets (12″) – x 6
- Swivel Casters (2″) – x 4
-
8 Woodscrews (1 1/4″ & 2″)
-
8 FH Woodscrews for Pocket Holes
- Wood Glue
Tools:
- Miter Saw
- Circular Saw
- Impact Driver
- Tape Measure
- Speed Square
- Level
- Clamps
- Jigsaw
- Brad Nailer (optional)
- Planer (optional)
- Router (optional)
Kreg Tools
- Kreg Pocket-Hole Jig® K5: This is my secret weapon for strong and efficient joinery. It’s incredibly user-friendly and opens up a world of possibilities for woodworking projects.
- Kreg Rip-Cut™: Say goodbye to the need for a bulky table saw! The Rip-Cut allows you to break down large sheets of plywood with ease and precision, even in a small workspace.
 "A fully stocked mobile craft cart." class=
Building Your Rolling Craft Cart
Now that we’re all prepped, let’s transform these raw materials into a functional masterpiece!
Constructing the Cart Frame:
-
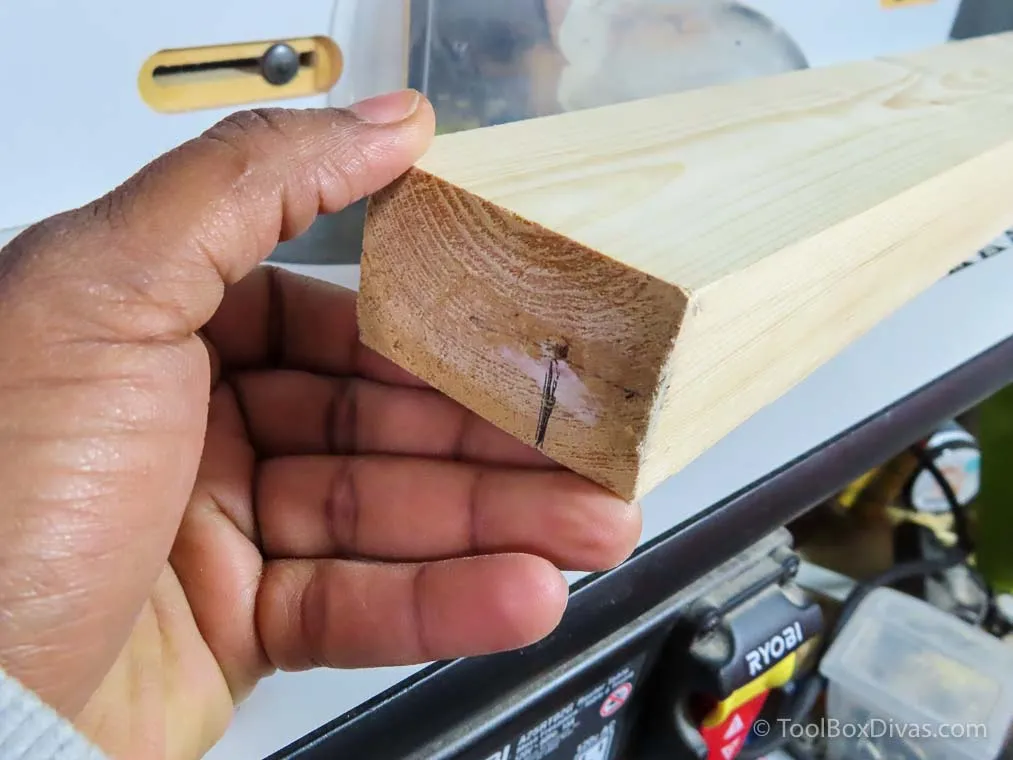
Cut & Prep: Start by cutting your 2×3 lumber to size for the cart’s frame. If desired, use a planer to smooth out any imperfections in the lumber for a more polished look.
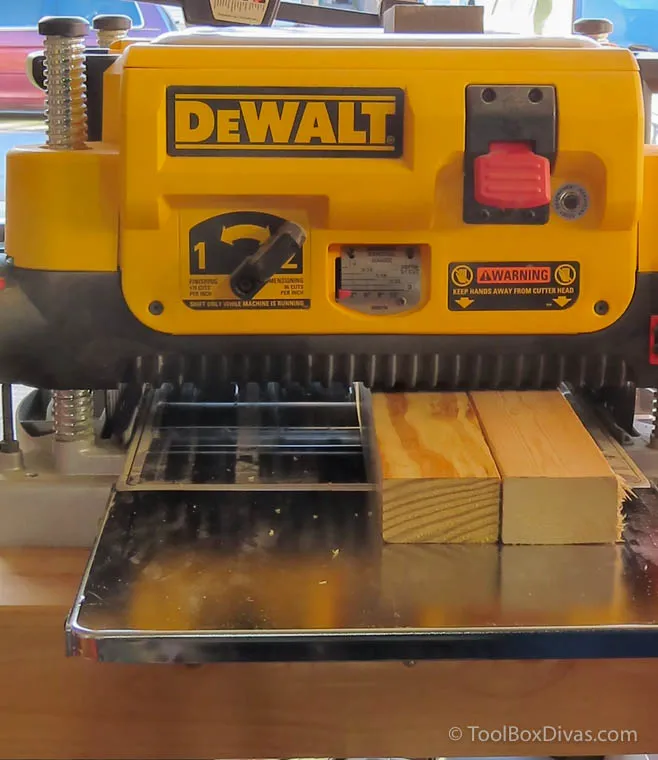 "Planing wood for craft cart." class=
 -
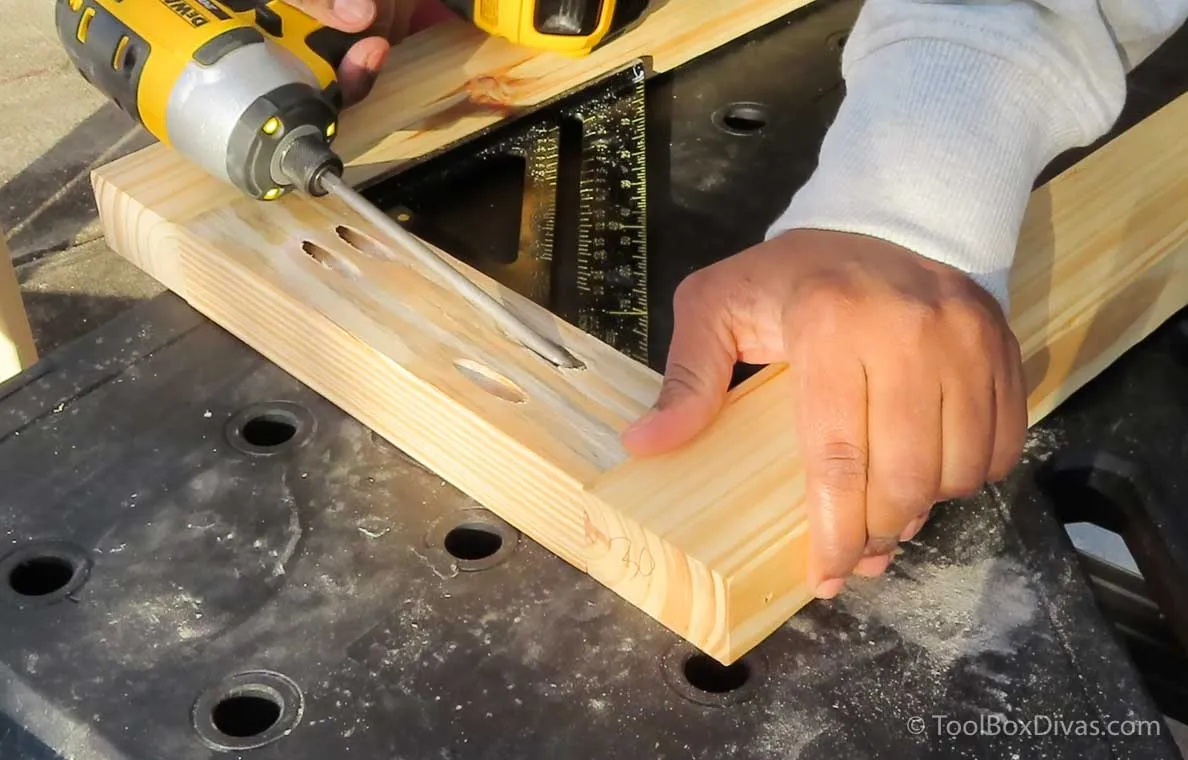
Pocket Hole Magic: Use your trusty Kreg Pocket-Hole Jig® K5 to drill pocket holes into the 2×3 pieces. These holes will create strong and discreet joints for the frame.
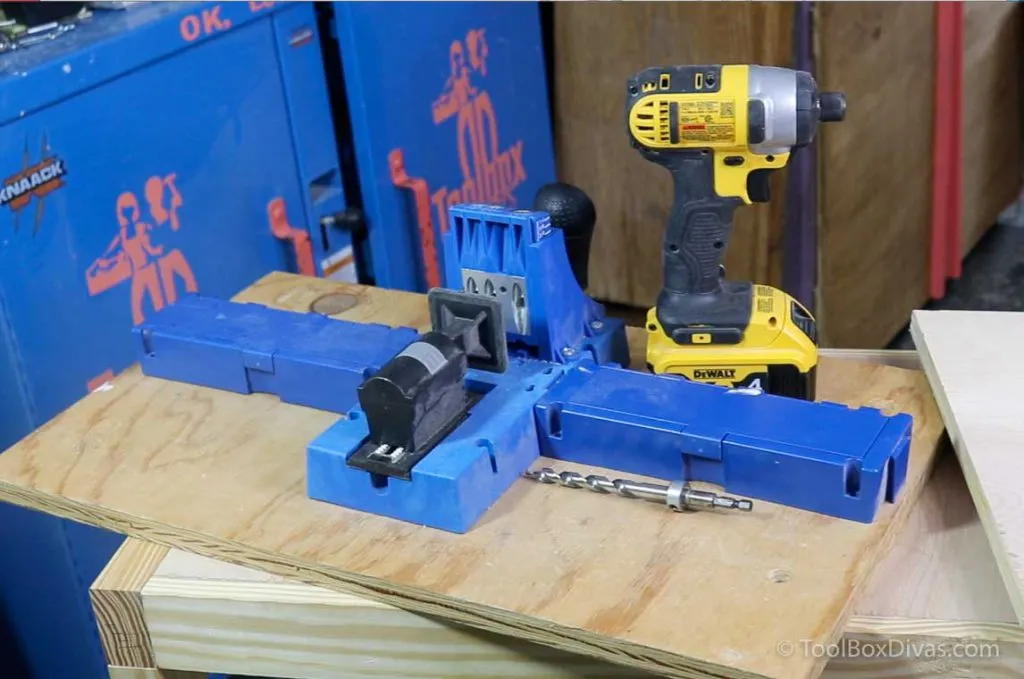 "Drilling pocket holes into the wood.." class=
 -
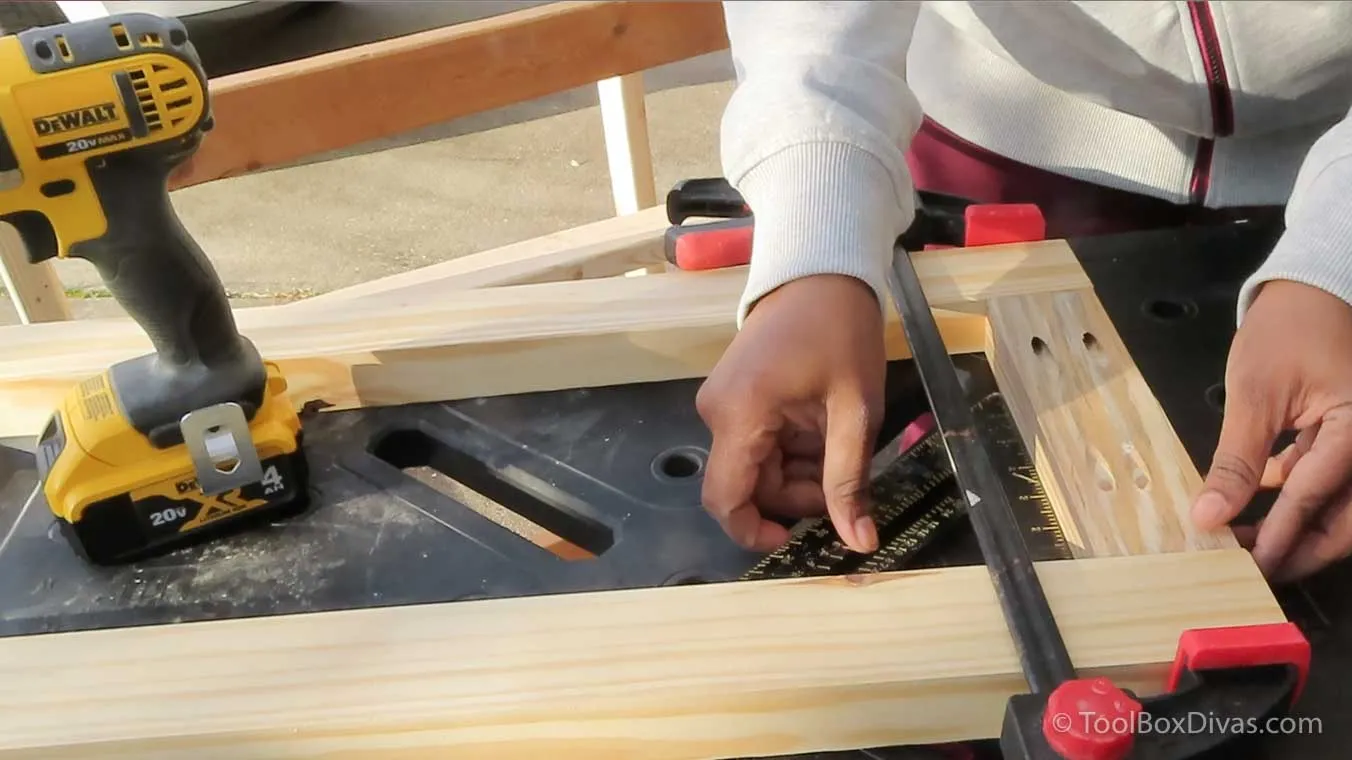
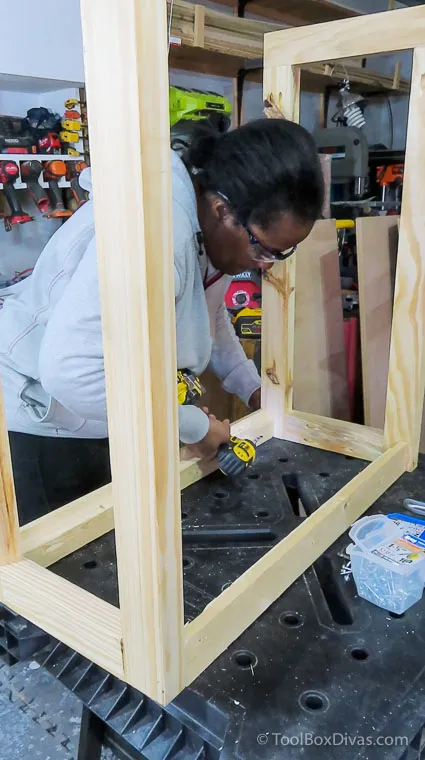
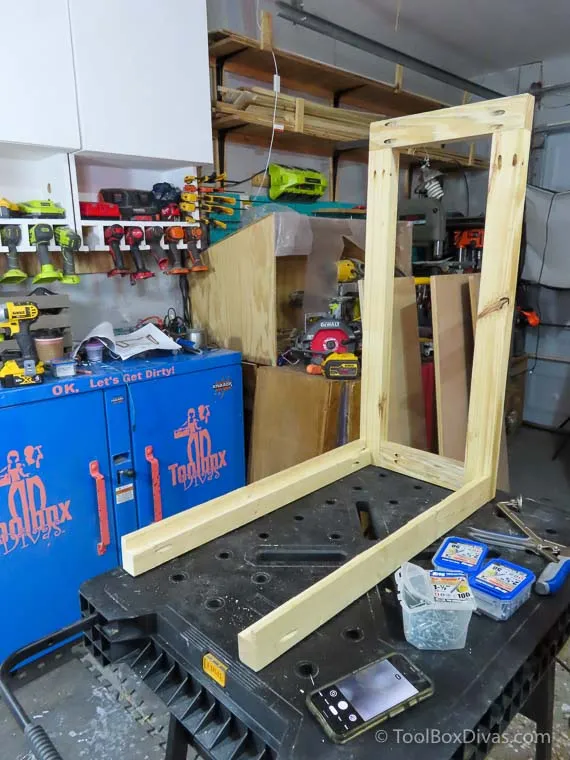
Assemble the Sides: Assemble the two side frames of the cart by clamping the pieces together and securing them with screws through the pocket holes. A speed square is your best friend here to ensure those corners are perfectly square.
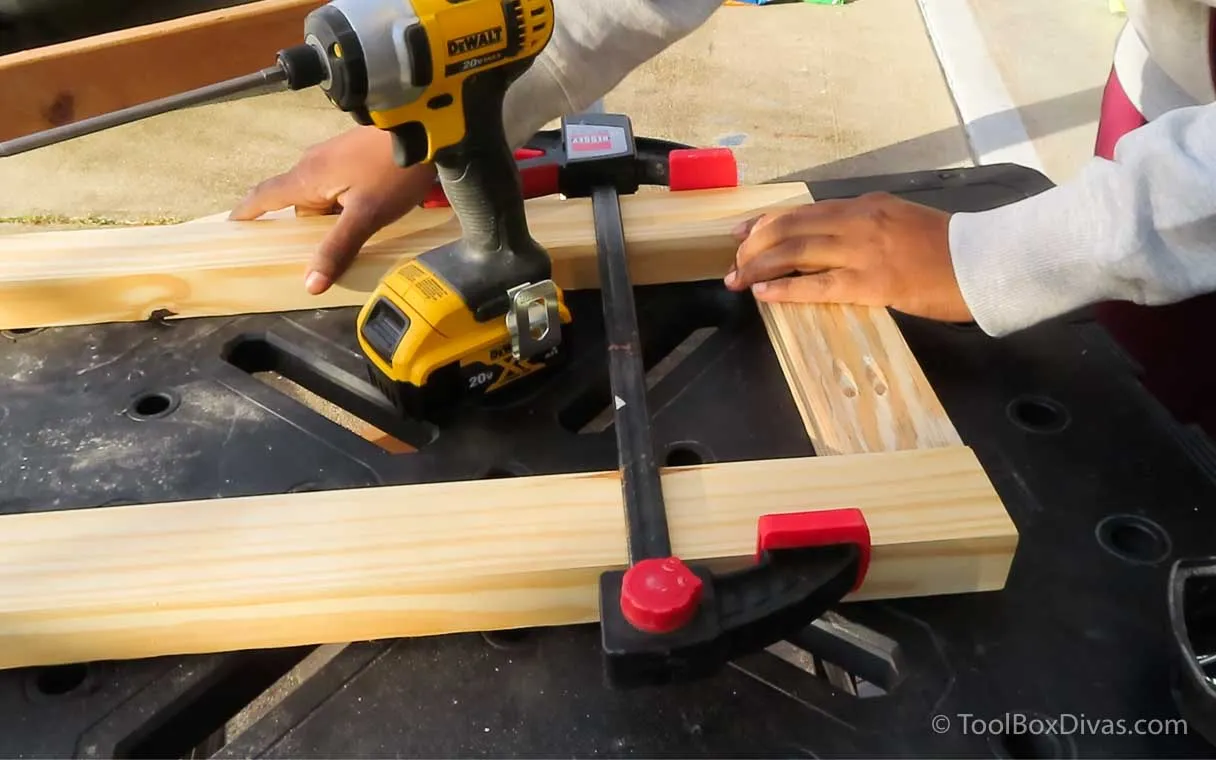 "Clamping wood together." class=
 -
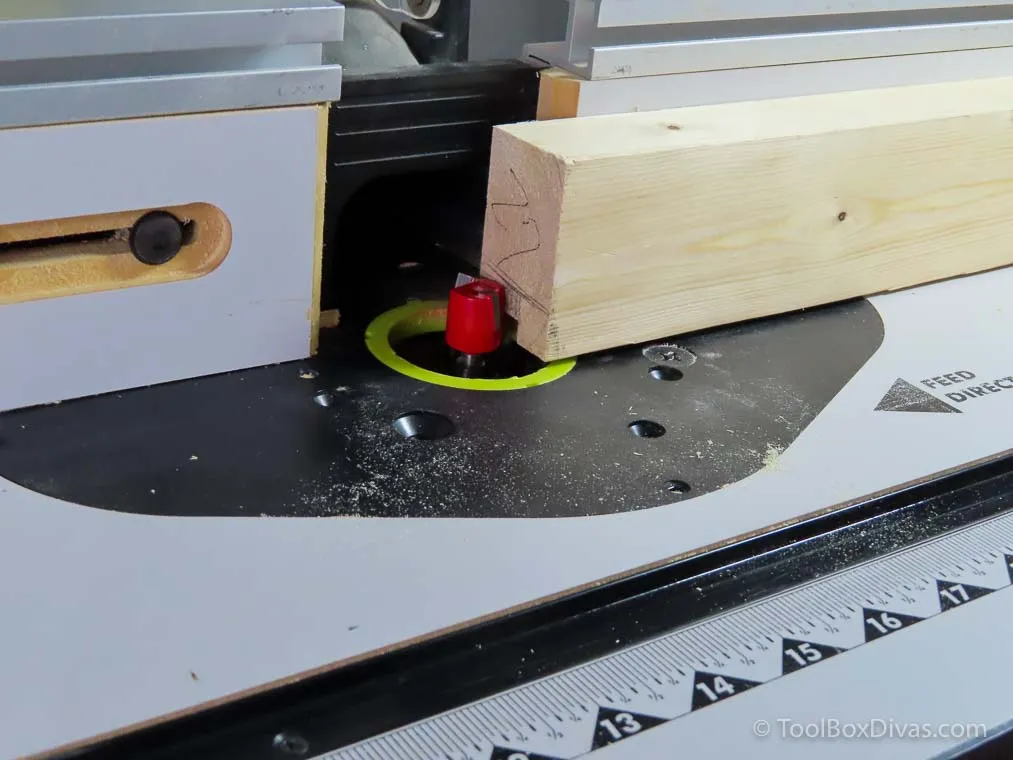
Optional Routing (for Flush Shelves): For a sleek look, use a router and a 3/4″ straight bit to create a 3/4″ deep and 1/2″ wide channel (dado) on the inside of the top and bottom rails. This will allow the shelves to sit flush within the frame. If you prefer a simpler approach, the shelves can rest on top of the frame without routing.
 "Routing the wood.." class=
 -
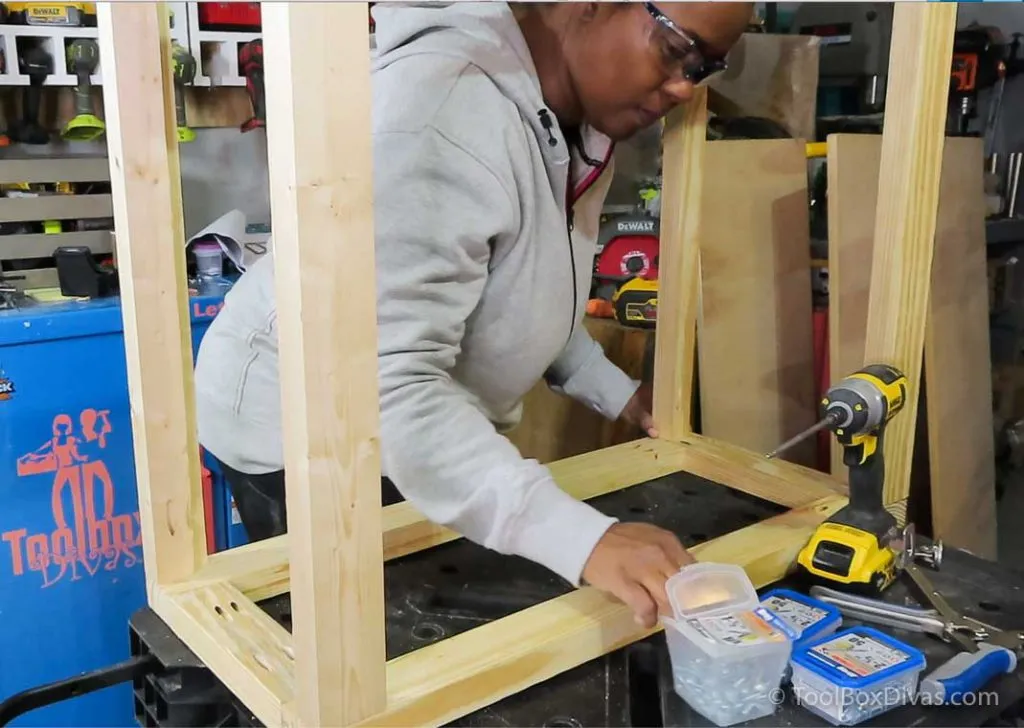
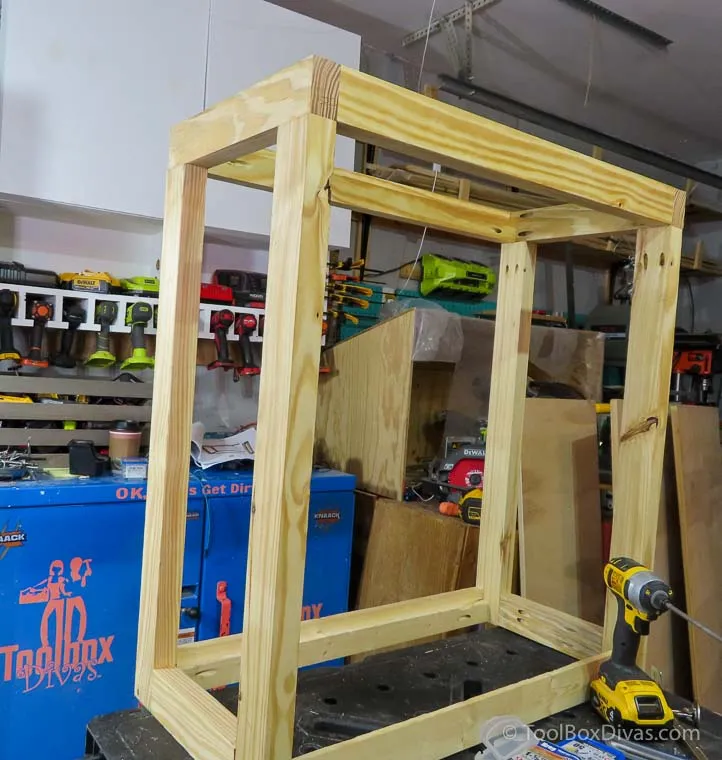
Connect the Sides: Attach the front and back top and bottom rails to connect the two side frames, creating the rectangular structure of your cart.
Creating the Shelves and Dividers:
-
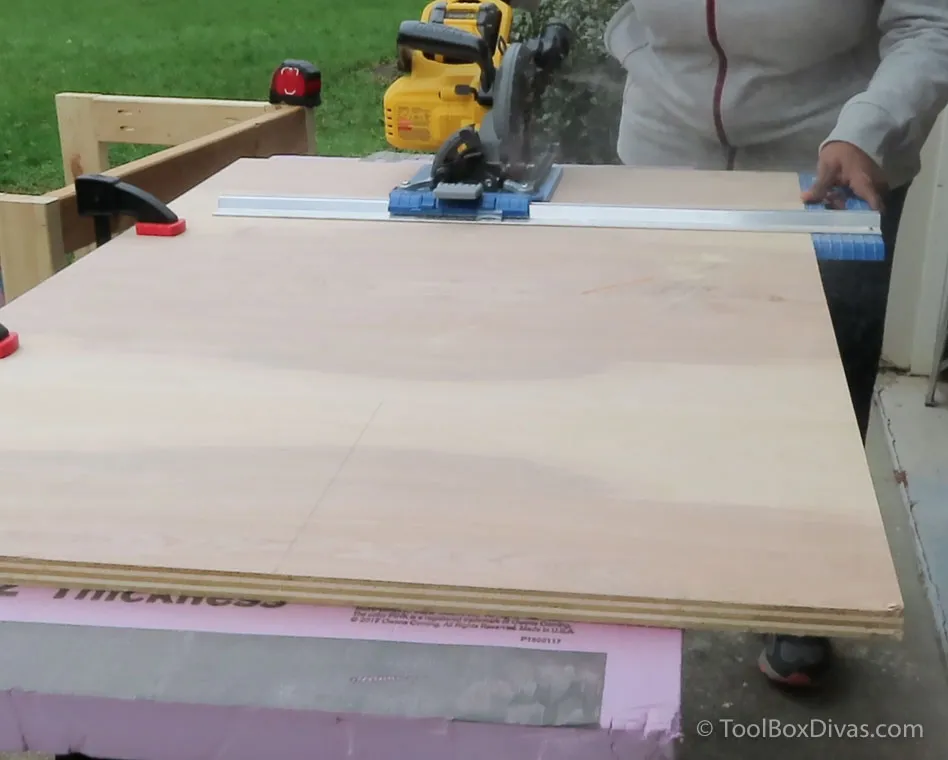
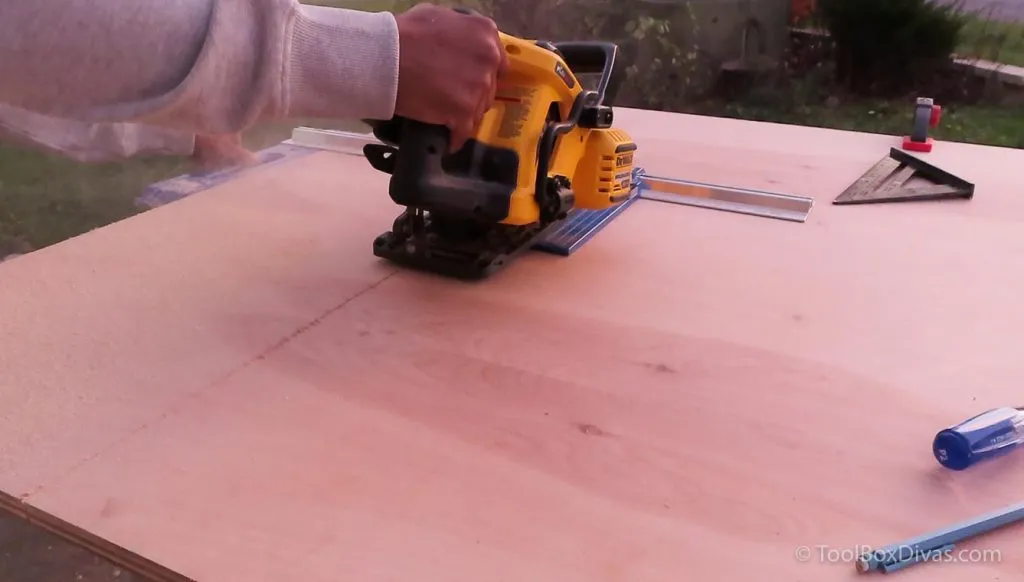
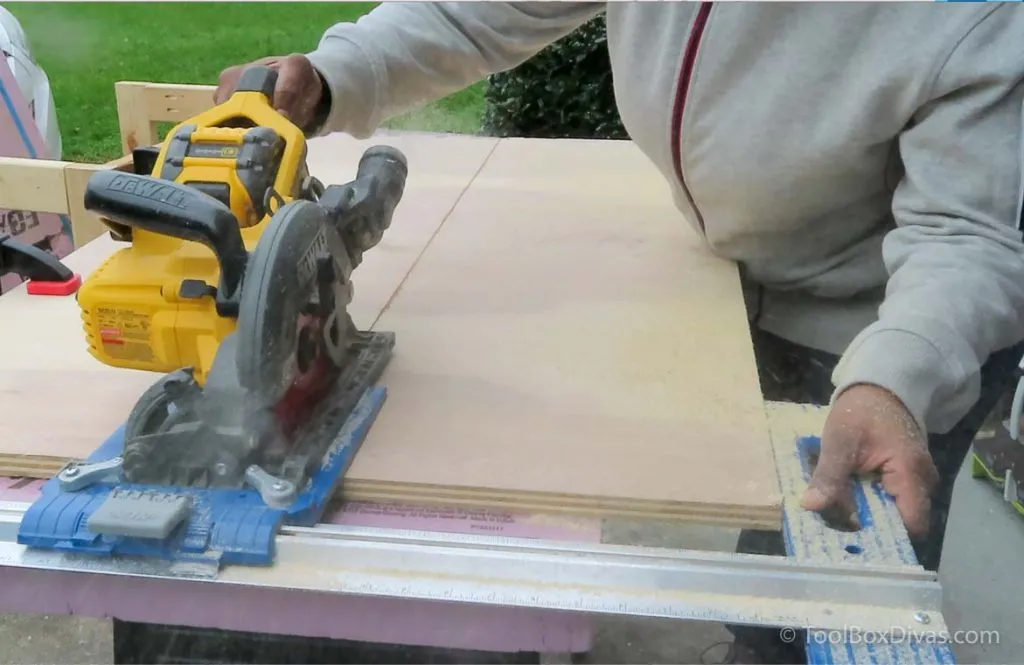
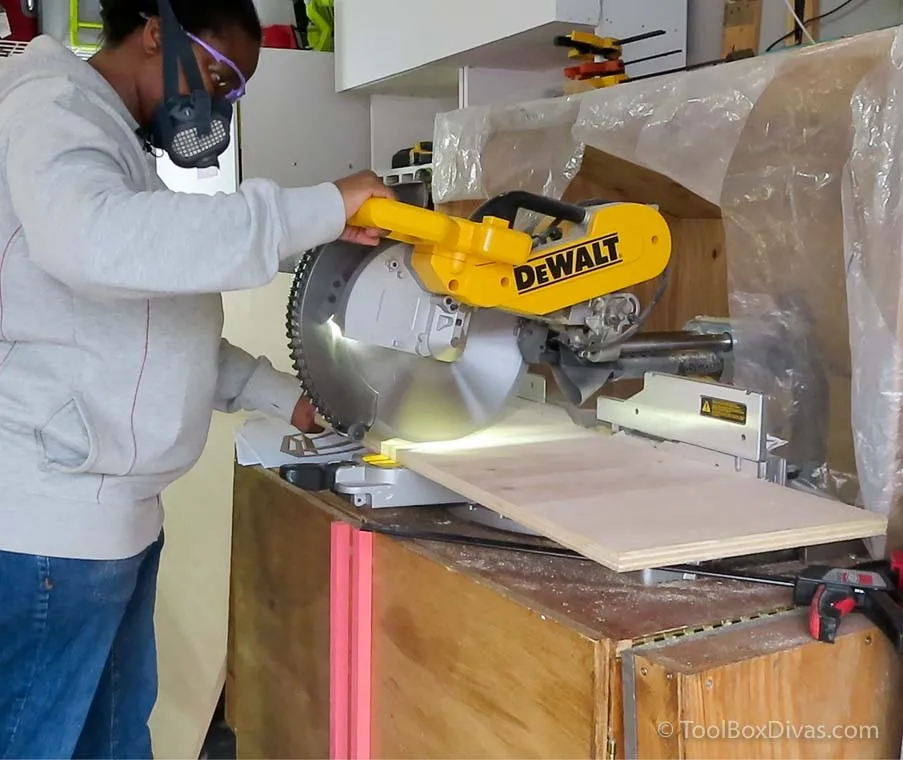
Rip & Cut Plywood: Break down your plywood sheet into the shelf sizes using the Kreg Rip-Cut™ and a circular saw for the long cuts. A miter saw will make quick work of any smaller crosscuts.
 "Cutting plywood for a craft cart." class=
 -
Secure the Top & Bottom: Attach the top and bottom shelves to the cart frame using wood glue and screws (or your brad nailer for a faster approach).
 "Adding the bottom shelf to a craft cart." class=
 -
Center Divider: Create a center divider on the bottom shelf by drilling pocket holes into a plywood piece and screwing it in place 13 1/8″ from the edge.
 "Securing the shelf on a craft cart.." class=
 -
Install Smaller Shelves: Add two smaller shelves above the bottom section, using scrap 2×3 pieces as supports. Cut the 2x3s to 4 9/16″ to achieve the correct shelf height.
 "Attaching the shelf to a craft cart." class=
 -
Second Shelf with Cutout: Install a second shelf above the smaller shelves, but this time, use your jigsaw to cut out a corner before attaching it. This adds visual interest and can be a designated spot for taller items.
 "Second shelf being attached to a craft cart." class=
 -
Side Panel: Attach a plywood side panel to the sides of your cart, creating a more enclosed storage space.
 "Side panel being secured to the craft cart." class=
Adding Mobility & Folding Features:
-
Caster Installation: Flip your cart upside down and attach the caster wheels. Using small scrap wood pieces as corner supports will provide more surface area for securely attaching the casters.
 "Attaching wheels to a craft cart." class=
 -
Folding Panel Support: Attach scrap wood pieces to the inside corners of the back of the cart to act as supports for your folding shelf brackets.
 "Adding support brackets to a craft cart." class=
 -
Folding Panels: Attach the folding shelf brackets to the support pieces you just installed. Then, secure the plywood panels to the brackets, making sure they are level with the cart when unfolded. These panels will provide extra work or storage space that can be tucked away when not in use.
 "Adding the folding shelves to a craft cart." class=
 "A woman is organizing her craft supplies" class=
Personalize & Organize Your Craft Haven
Congratulations, you’ve built your very own rolling craft cart! Now comes the fun part – customizing it to perfectly suit your needs.
- Custom Crates or Baskets: Create custom-sized crates or use baskets to organize your supplies within the cart. It adds a beautiful, cohesive look while keeping everything tidy and within reach.
- J-Hooks for Hanging Storage: Install J-hooks on the sides or under the folding panels to hang Cricut mats, rolls of vinyl, or other craft materials.
 "Craft supplies are organized on the cart.." class=
This rolling craft cart is designed to evolve with your creative endeavors. Feel free to adjust the shelf heights, add dividers, or incorporate other storage solutions as your needs change.
Get Rolling with Your Creativity!
Building your own craft storage is incredibly rewarding. Not only do you gain a functional and stylish piece for your creative space, but you also gain the satisfaction of knowing you built it with your own hands.
Ready to get started? I’ve created detailed plans to guide you through every step. [GET THE PLANS] (Replace this with the actual link to the plans)
Let me know what you think of this DIY rolling craft cart in the comments below! Share your experiences, tips, and photos of your own creations – I love seeing how fellow artists bring their creative visions to life!
And don’t forget to explore Robert Kline Art for more inspiring DIY projects, unique handmade gifts, and artistic insights to spark your imagination!
