Blog
Building a Charming Tiered Plant Stand from Scrap Wood

Hey there, fellow craft enthusiasts! Robert Kline here, from Robert Kline Art, and I’m thrilled to share a project that’s close to my heart – turning humble scrap wood into a beautiful and functional tiered plant stand.
If your plant collection is outgrowing its space, this DIY project is the perfect solution. It’s amazing how a few pieces of wood can transform into a charming display that elevates your plants, both figuratively and literally!
This tiered plant stand is easy to build, customizable to your liking, and best of all, it helps you declutter your scrap wood pile. Let’s get started!
Gathering Your Tools and Materials
Every project begins with having the right tools and materials. Here’s what you’ll need for this plant stand:
Tools:
- Miter Saw (or any saw for straight cuts)
- Drill/Driver
- Measuring Tape
- Clamp
Materials:
- Scrap 2x2s
- Scrap 2×8 pieces
- 2 ½” Wood Screws
- Wood Glue
- Sandpaper
- Finish of your choice (stain, paint, etc.)
Planning Your Tiered Plant Stand
Before we dive into cutting, let’s talk about customization. This plant stand is incredibly versatile.
- Number of Tiers: While we’re building a three-tiered stand, you can easily add more by simply extending the design.
- Height and Spacing: Adjust the length of your 2x2s to create taller or shorter tiers, and play around with the spacing to accommodate different plant sizes.
- Top Material: I’m using 2x8s for the tops, but feel free to experiment with ¾” plywood, 2x6s, or anything that suits your style and pot sizes.
Remember, the beauty of scrap wood projects lies in making the most of what you have. Let your creativity guide you!
Step-by-Step Building Guide
Now, let’s get our hands dirty and bring this plant stand to life!
Step 1: Cutting and Sanding
Using your measurements, cut the following pieces:
2x2s:
- (2) pieces 8″ long
- (1) piece 12″ long
- (1) piece 22″ long
- (1) piece 32″ long
2x8s:
- (3) pieces 7 ¼” long
Once you have all your pieces cut, give them a thorough sanding. Trust me, sanding before assembly is much easier than trying to navigate those corners later.
Step 2: Creating the “T” Brace
Take your two 8″ 2x2s and assemble them into a “T” shape using wood glue and 2 ½” wood screws. Predrilling your screw holes will help prevent the wood from splitting.
Expert Tip: “Using pocket holes and screws is a great alternative for a cleaner look and added strength,” says Sarah Miller, a seasoned woodworker and DIY blogger at The Crafty Carpenter.
Step 3: Attaching the Tiered Posts
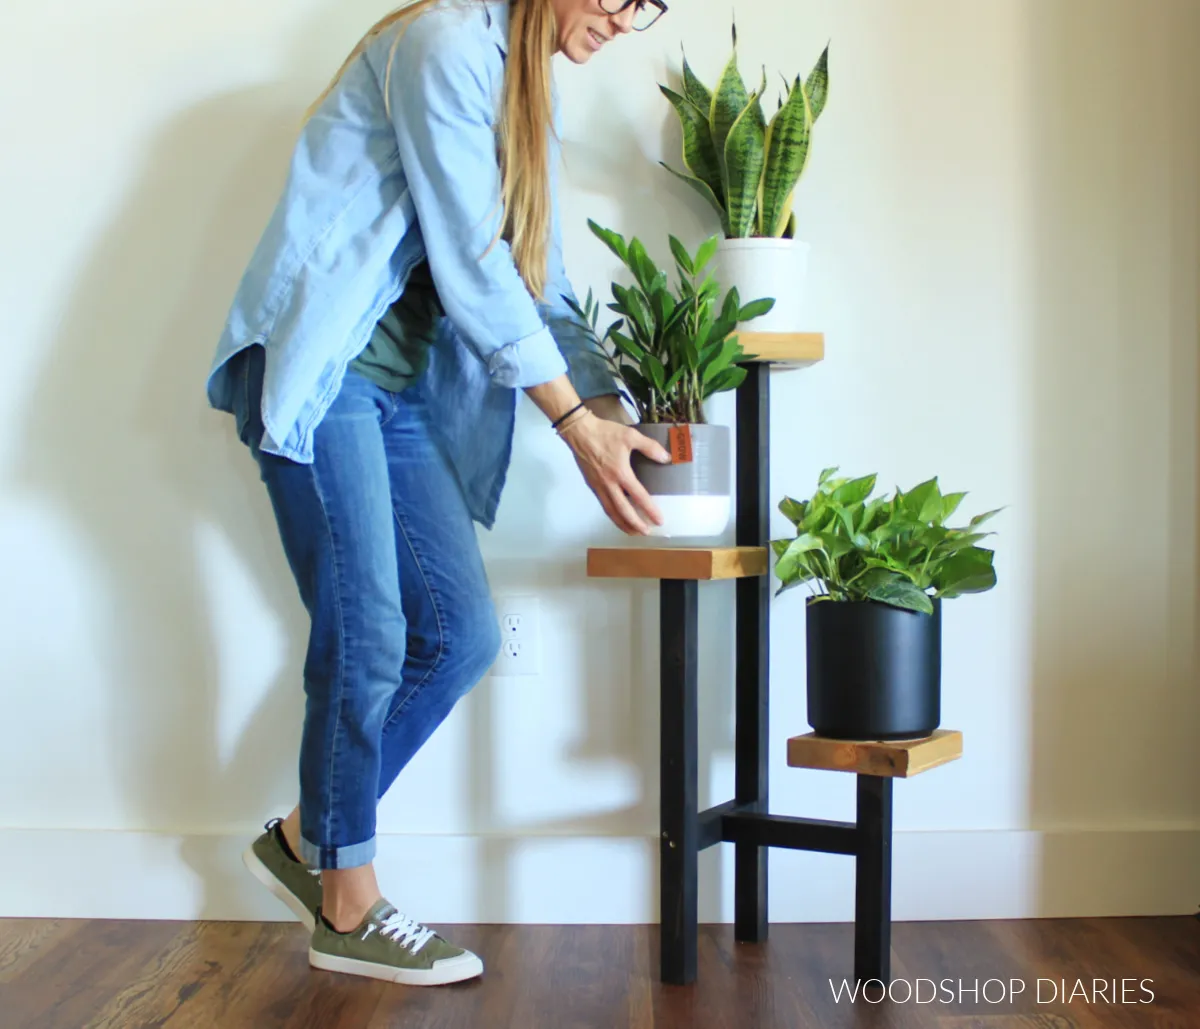
Attach the remaining 2x2s (12″, 22″, and 32″) to each end of the “T” brace, ensuring the “T” is positioned 6″ from the bottom of each post. Secure them with wood glue and 2 ½” wood screws.
Step 4: Adding the Plant Stand Tops
Center your 2×8 (or chosen material) tops on each tiered post and secure them using wood glue and 2 ½” wood screws.
Step 5: Adding Your Personal Touch
With the structure complete, it’s time for the fun part – finishing!
You can stain, paint, or even leave the wood natural for a rustic look. I chose to stain my base with Varathane Ebony and the tops with Minwax Golden Oak for a warm and inviting feel.
 Shara Woodshop Diaries setting plant on tiered black and wood plant stand
Showcasing Your Handiwork
Congratulations! You’ve just built a beautiful and functional tiered plant stand. Find the perfect spot for it – by a sunny window, next to a cozy armchair, or gracing your patio.
Remember, the best part about DIY is the sense of accomplishment and the personal touch you bring to your creations. So go ahead, arrange your favorite plants, and let your tiered plant stand become a charming focal point in your home.
Don’t forget to share your creations with me! I’m always excited to see how you personalize your projects. You can tag me on social media or leave a comment below. Happy crafting!
Ready to explore more unique handmade gifts and craft ideas? Visit Robert Kline Art and discover a world of creativity!
