Blog
Building a DIY Vertical Herb Garden for a Lush Patio Oasis
Hey there, fellow craft enthusiasts! Robert Kline here, your guide to all things handmade. Today, we’re diving into a project that’s close to my heart and my kitchen – building a stunning, space-saving vertical herb garden! Imagine stepping out onto your patio, bathed in sunshine, to pluck fresh basil for your pasta or rosemary for your roast chicken. Sounds idyllic, right? Let’s make it a reality!
Why a Vertical Herb Garden?
I’ve always loved the idea of having fresh herbs at my fingertips. But living in a city, outdoor space comes at a premium. That’s when I discovered the magic of vertical gardens! They’re perfect for:
- Maximizing space: Ideal for small patios, balconies, or even indoors!
- Easy access: No more bending over backwards for that sprig of thyme.
- Visual appeal: Transform an empty wall into a lush, fragrant masterpiece.
Gathering Your Supplies
Before we embark on our crafting journey, let’s gather our tools and materials. You’ll need:
Materials:
- 2 full-sized pallets
- 1 additional pallet or scrap wood (for planter boxes)
- 1 (2 in. x 4 in. x 8ft.) pine white wood board
- 5 swivel locking casters
- Landscape fabric
- 3 in. corner brackets (black)
- Waterproofing exterior wood sealer
- Variety of herbs
Tools:
- Jigsaw
- Electric drill
- Exterior wood screws
- Clamps
- Hammer
- Safety goggles
- Measuring tape
- Pencil
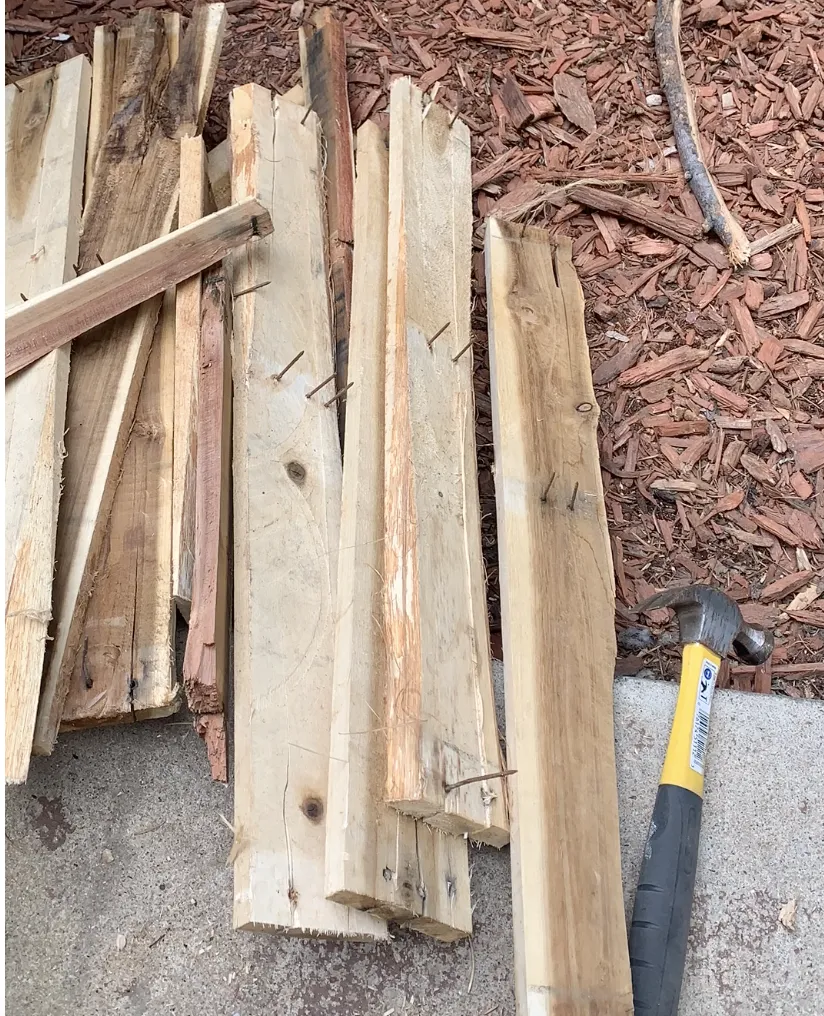
 A pile of scrap wood and a hammer
Image: Essential tools for the project
Step-by-Step Building Guide
Now, let’s roll up our sleeves and get building!
Step 1: Creating the Base Structure
- Measure and cut: Cut the 2×4 board to size to connect the two pallets.
- Secure the pallets: Use your drill and exterior wood screws to attach the 2×4 to the back of the pallets, creating a sturdy frame. Clamps will be your best friend here!
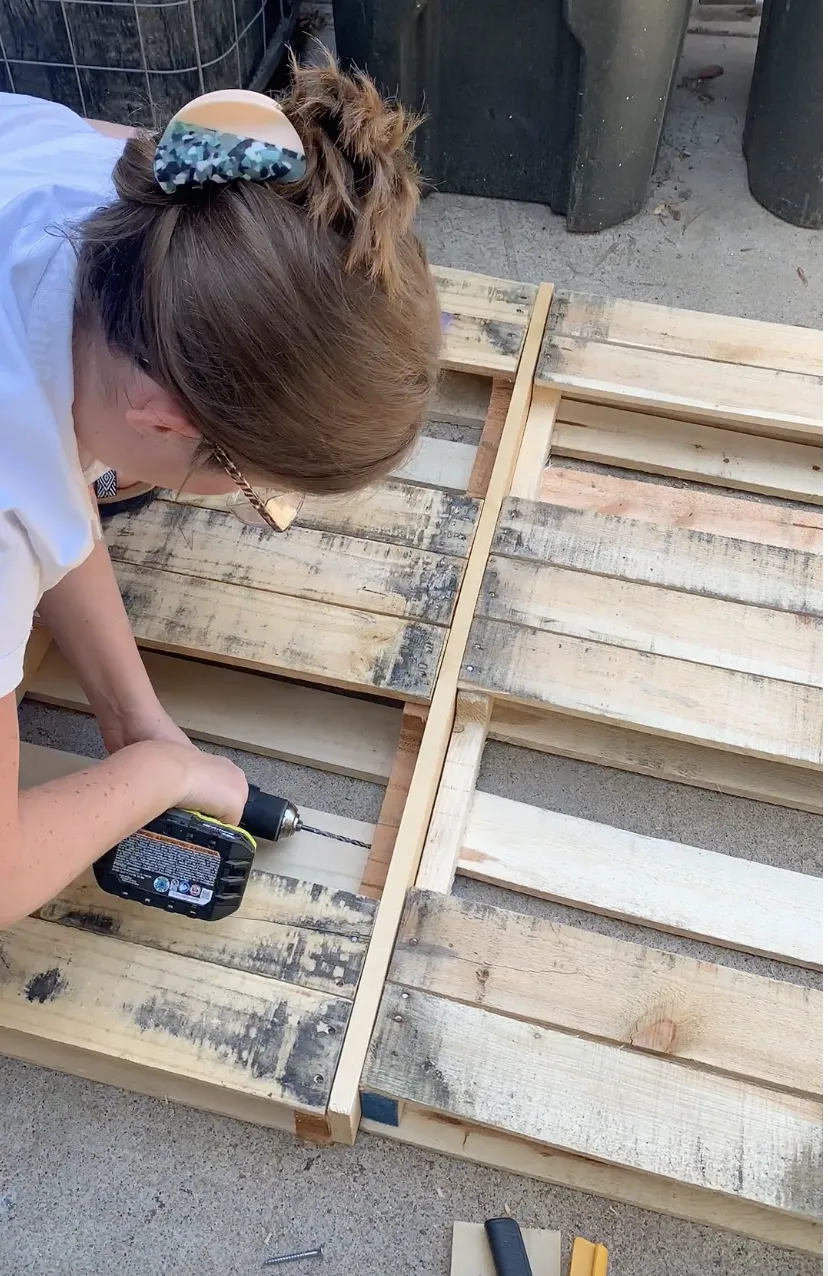 woman attaching two wooden pallets together with electric drill
Image: Assembling the main frame with screws and an electric drill
Step 2: Building the Planter Boxes
- Salvage and prep: Break down the extra pallet using a hammer to create your planter box pieces. Remember to remove any nails!
- Cut and assemble: Measure and cut the wood pieces to your desired planter box size using the jigsaw. Assemble the boxes using a hammer and nails or a brad nailer.
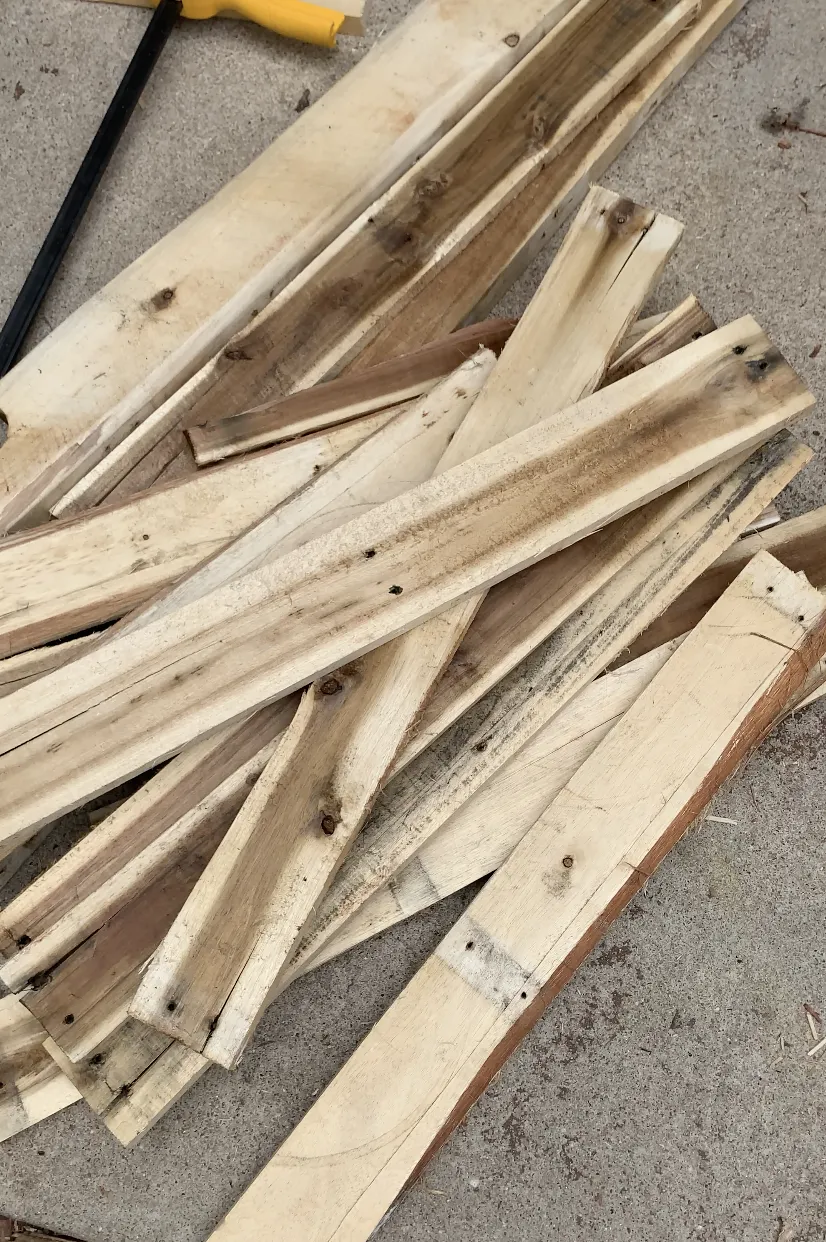 a pile of old wood
Image: Repurposing old pallets for a rustic charm
Step 3: Adding Mobility and Support
- Create the base: Measure and attach additional 2×4 pieces to the bottom of the structure for a sturdy base.
- Install casters: Attach the swivel casters to the base. This allows you to easily move your herb garden for cleaning or sunlight.
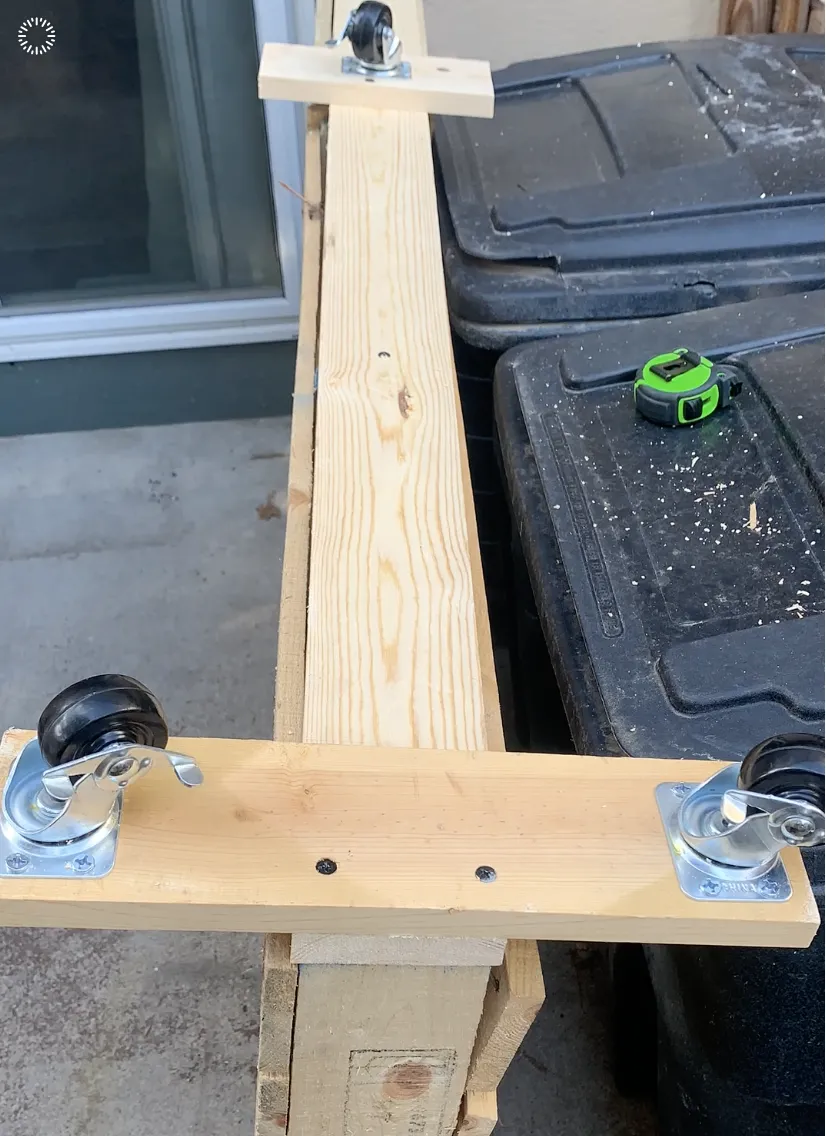 drilling rubber casters to base of vertical herb garden
Image: Ensuring mobility with caster wheels
Step 4: Attaching the Planter Boxes
- Secure with brackets: Use corner brackets to attach the planter boxes to the vertical pallet wall. This provides a secure hold and adds to the rustic aesthetic.
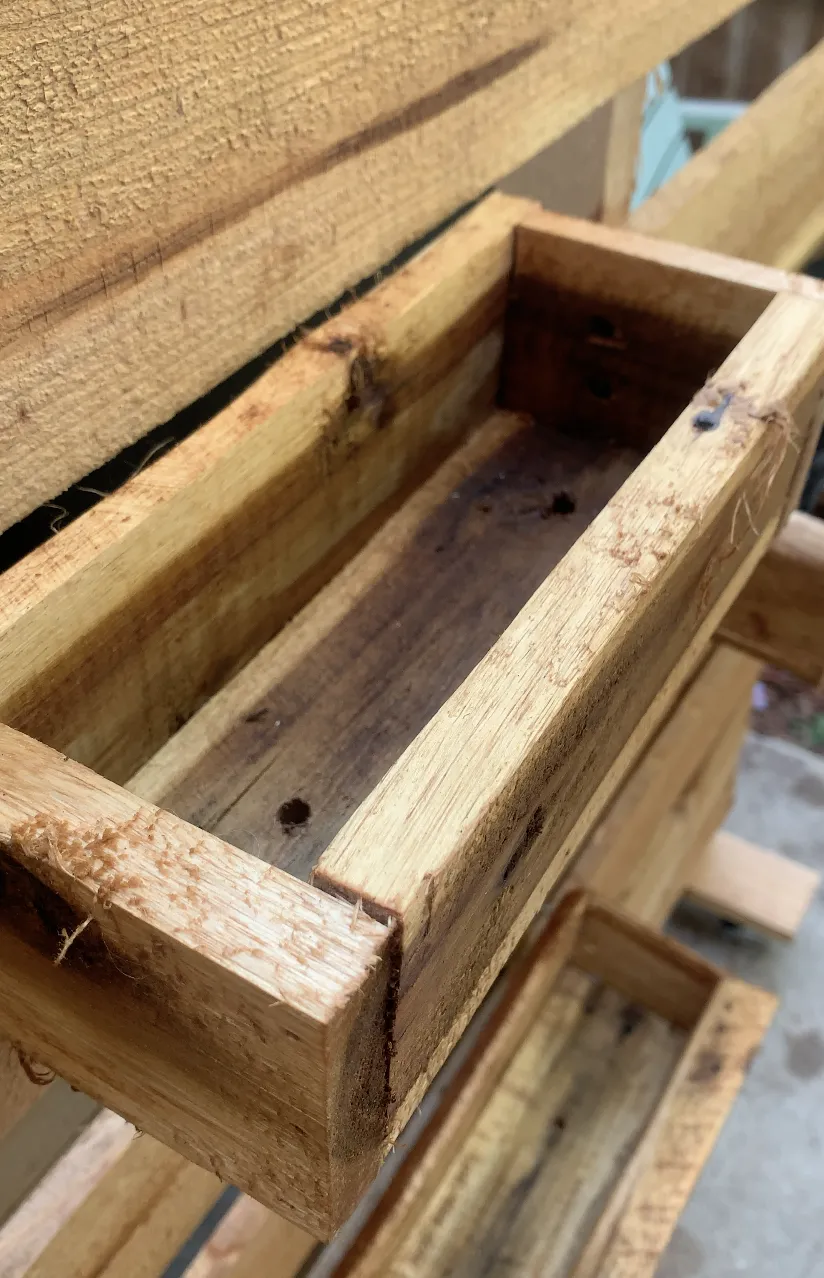 building a planter box
Image: Building and attaching planter boxes to the frame
Step 5: Sealing and Protecting
- Apply waterproofing sealer: This crucial step protects your herb garden from the elements. Apply a coat of waterproofing wood sealer to the entire structure, including the planter boxes.
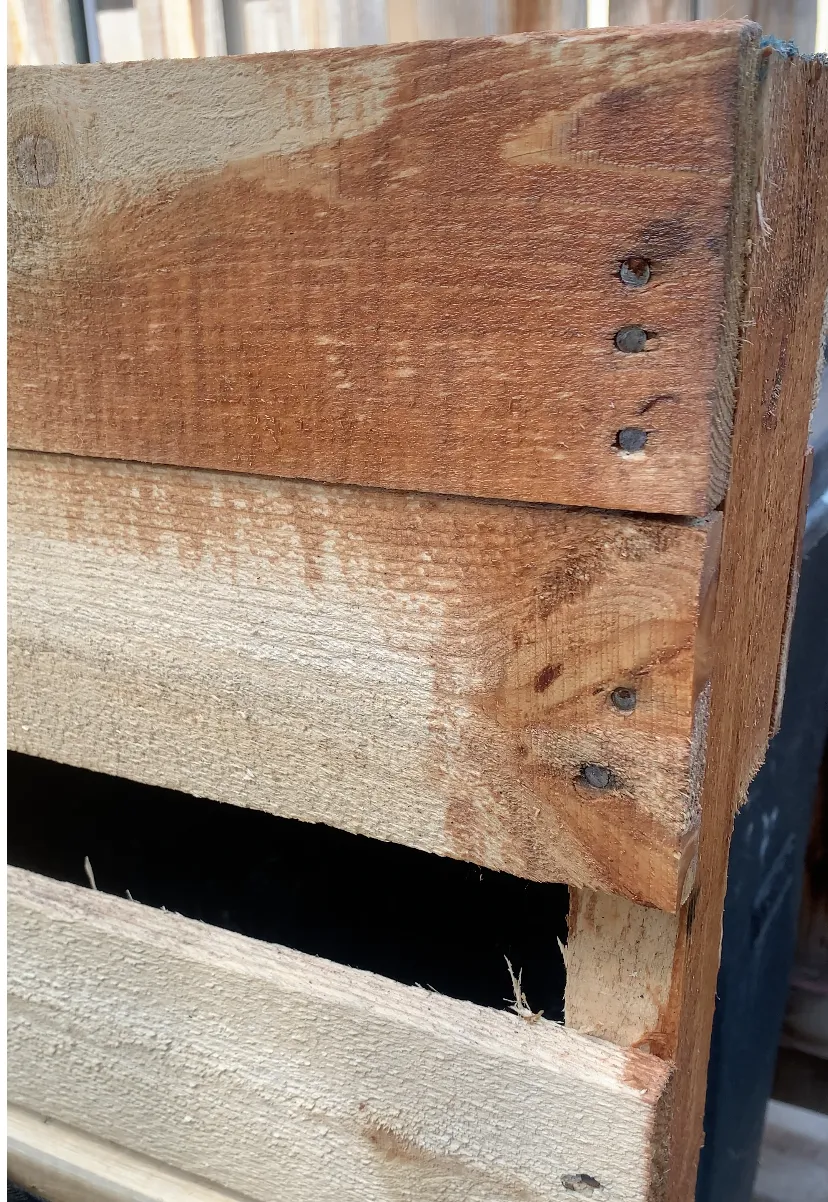 staining exterior wood
Image: Waterproofing is key for longevity!
Step 6: Planting Your Herbal Delights
- Line with landscape fabric: Cut and place pieces of landscape fabric inside each planter box to aid drainage.
- Fill with soil: Fill each planter box with high-quality potting soil.
- Plant your herbs: Select your favorite herbs and carefully plant them in the boxes.
“When choosing herbs for your vertical garden,” says renowned garden designer Emily Carter, “consider their growth habits. Trailing herbs like thyme and oregano look stunning cascading down, while upright varieties like rosemary add height and structure.”
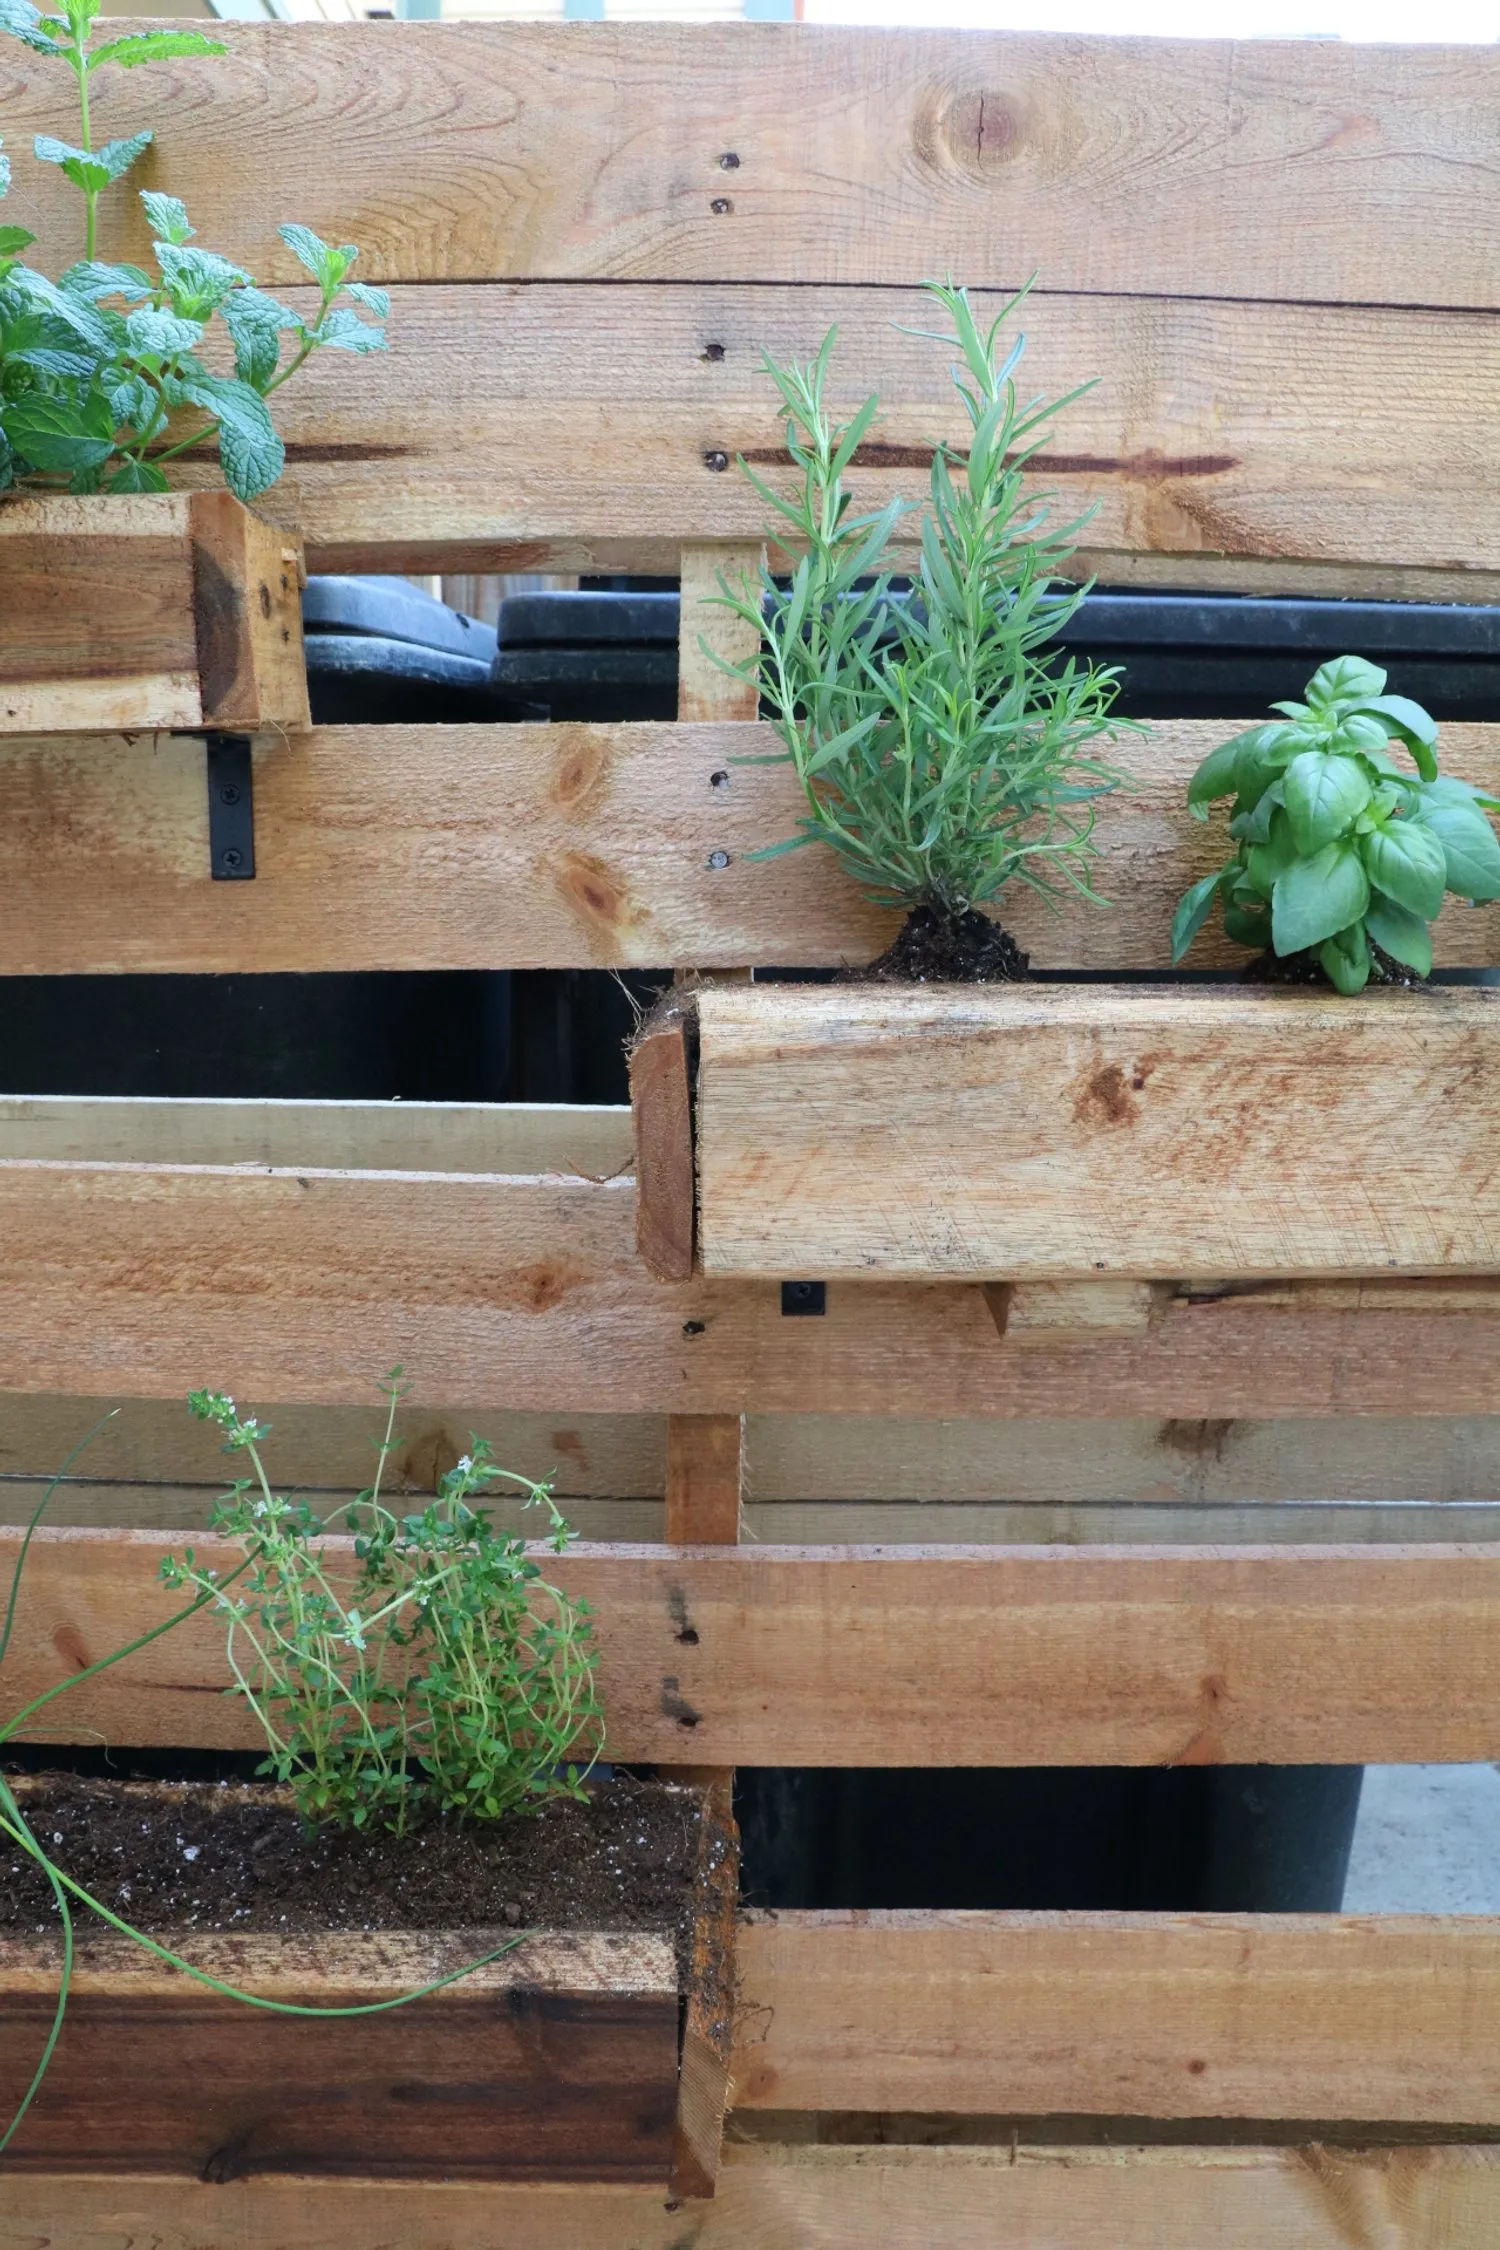 planted herbs in vertical herb garden
Image: A symphony of scents and flavors await!
Enjoy Your Abundant Harvest!
Congratulations, you’ve created your very own vertical herb garden! Not only will it enhance your culinary creations, but it’ll also add a touch of rustic charm to your outdoor space.
Remember to water your herbs regularly and give them plenty of sunshine. Soon, you’ll be rewarded with an abundance of fresh, flavorful herbs that elevate your cooking and bring joy to your taste buds.
I’d love to see your creations! Share pictures of your vertical herb gardens with me on social media, and let’s inspire each other with our DIY projects.
Happy crafting!
Looking for more unique handmade gifts and DIY inspiration? Explore the wonderful world of Robert Kline Art and discover something special for yourself or your loved ones.
