Blog
The Ultimate Guide to Building a Vertical Bottle Garden from Recycled Milk Jugs
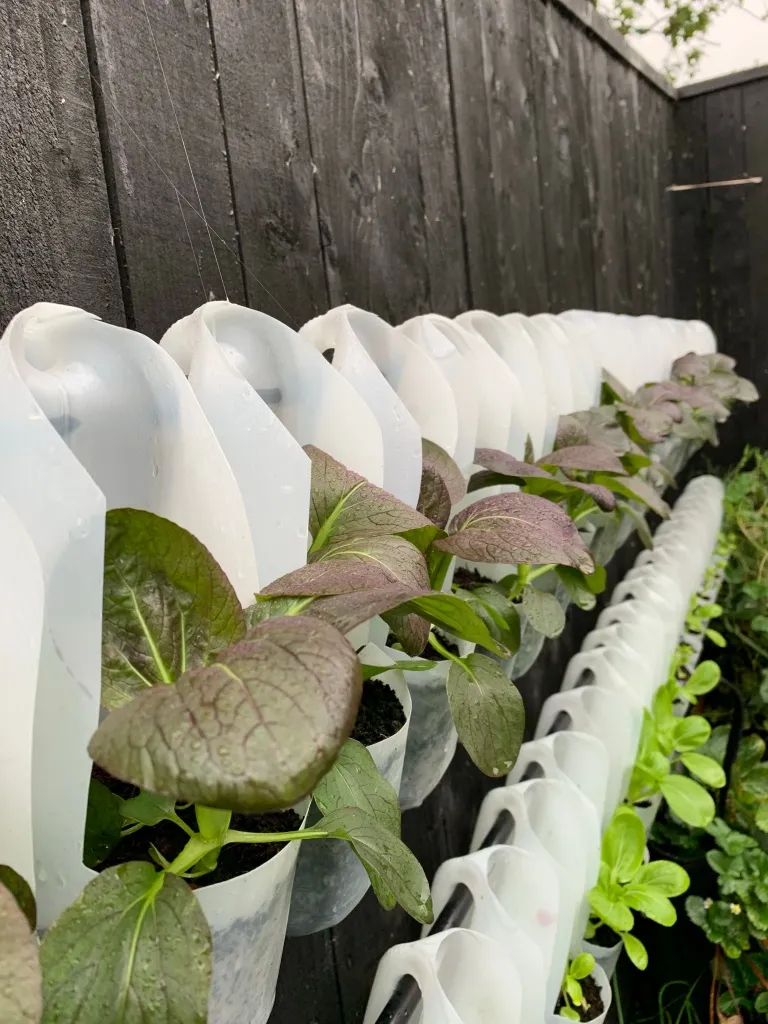
Hey there, fellow art and nature enthusiasts! Robert Kline here, your trusted guide in the world of creative crafts. Today, we’re diving headfirst into the wonderful world of sustainable gardening with a project that’s as kind to the planet as it is to your eyes: a vertical bottle garden made entirely from recycled milk jugs.
 "Milk jug vertical garden.
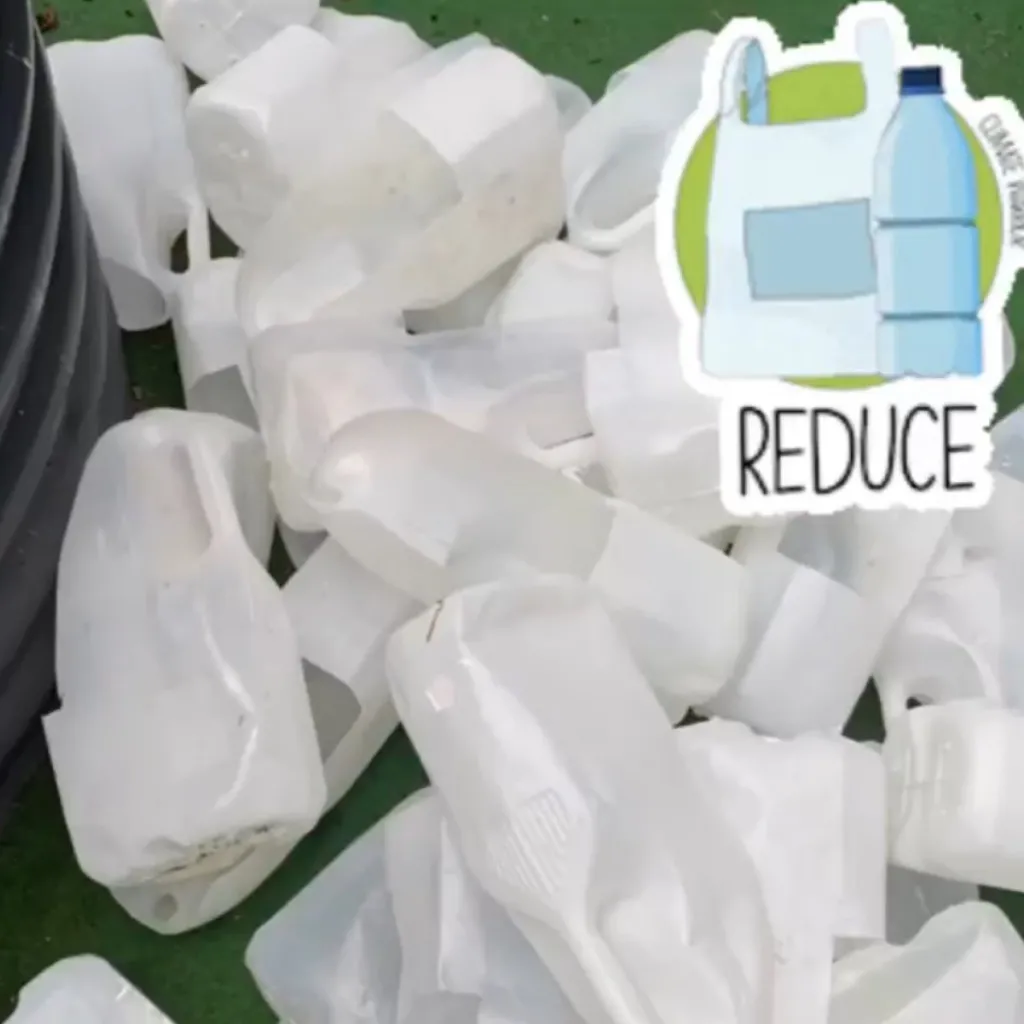
Remember those empty milk cartons that often end up forgotten in the recycling bin? Well, fret no more! We’re giving them a new life, transforming them into beautiful, space-saving planters for your herbs, vegetables, and even strawberries.
This project is perfect for seasoned gardeners and beginners alike, offering a unique blend of upcycling, DIY craft, and gardening. So, grab your gardening gloves, and let’s turn trash into treasure together!
Gathering Your Supplies: From Milk Jugs to Curtain Rods
Before we embark on this green adventure, let’s gather our tools and materials. The beauty of this project lies in its simplicity and affordability. Here’s what you’ll need:
Materials:
- Empty milk jugs (4-liter size): Aim for at least 6 to start, but feel free to go bigger! Remember, the more jugs you have, the grander your vertical garden will be.
- Curtain rods or sturdy wooden dowels: These will act as the backbone of your vertical garden, providing support for your milk jug planters.
- Screws and a screwdriver: To securely attach the curtain rods to your fence or wall and for added stability to the jugs.
- Scissors or a sharp utility knife: For cutting and shaping the milk jugs.
- Soil and your favorite plants: Choose a well-draining potting mix suitable for your chosen plants. Herbs, leafy greens, and even strawberries thrive in this type of setup.
Optional but helpful:
- Gloves and safety glasses: To protect your hands and eyes while working with sharp tools.
- A measuring tape or ruler: For precise measurements when cutting the milk jugs.
- A permanent marker: To mark your cutting lines on the jugs.
Step-by-Step Guide: Building Your Own Vertical Bottle Garden
Now that we have our supplies ready, let’s get our hands dirty and create something truly special:
Step 1: Prepare the Milk Jugs:
- Thoroughly wash and rinse the milk jugs to remove any residue.
- Peel off the labels.
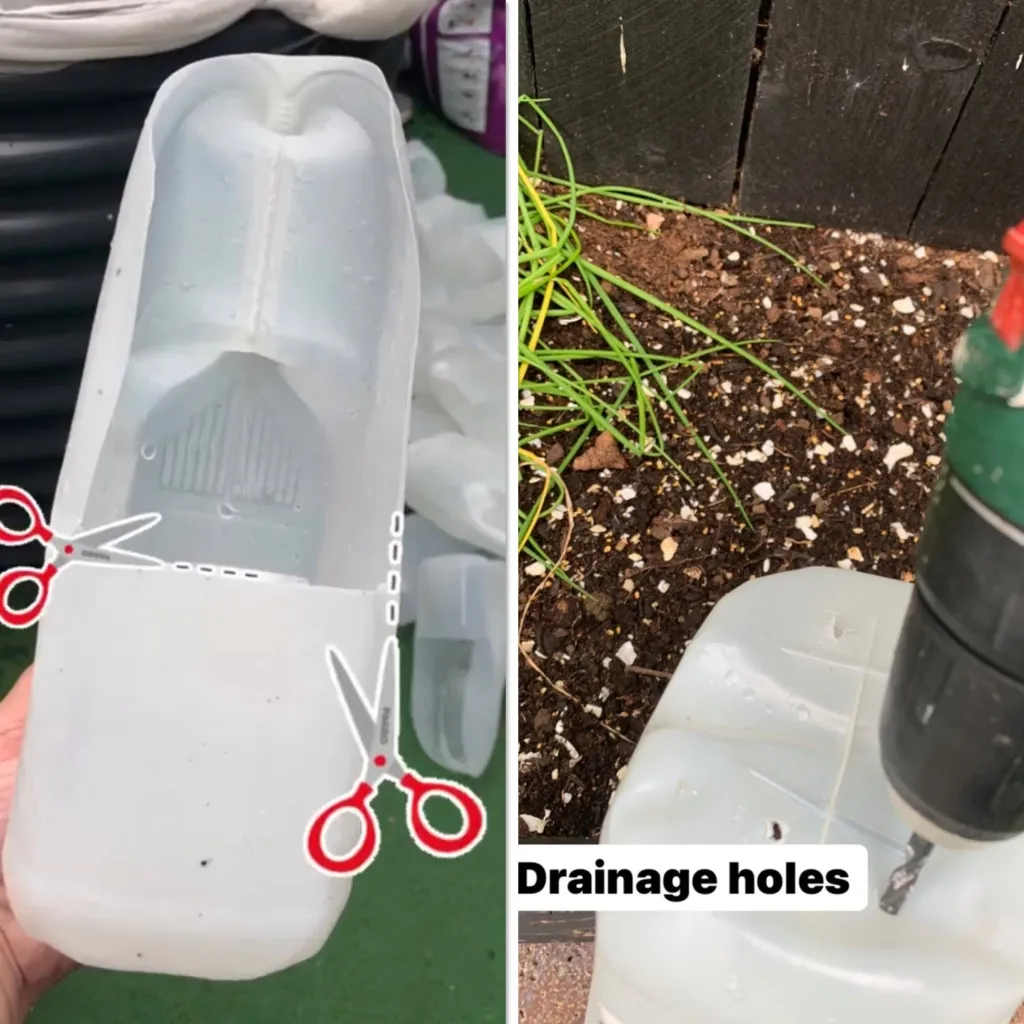
- Using scissors or a utility knife, carefully cut the top portion of each jug, leaving a handle intact for hanging.
- Puncture several drainage holes in the bottom of each jug to prevent waterlogging.
 "Cutting milk jugs for vertical garden.
Step 2: Create the Support Structure:
- Determine the desired location for your vertical garden. A fence, wall, or even a sturdy trellis can serve as excellent backdrops.
- Measure and mark the placement of your curtain rods or dowels. Ensure they are level and securely attached to the support structure using screws.
 "Attaching curtain rods to fence for vertical garden."
Step 3: Hang Your Milk Jug Planters:
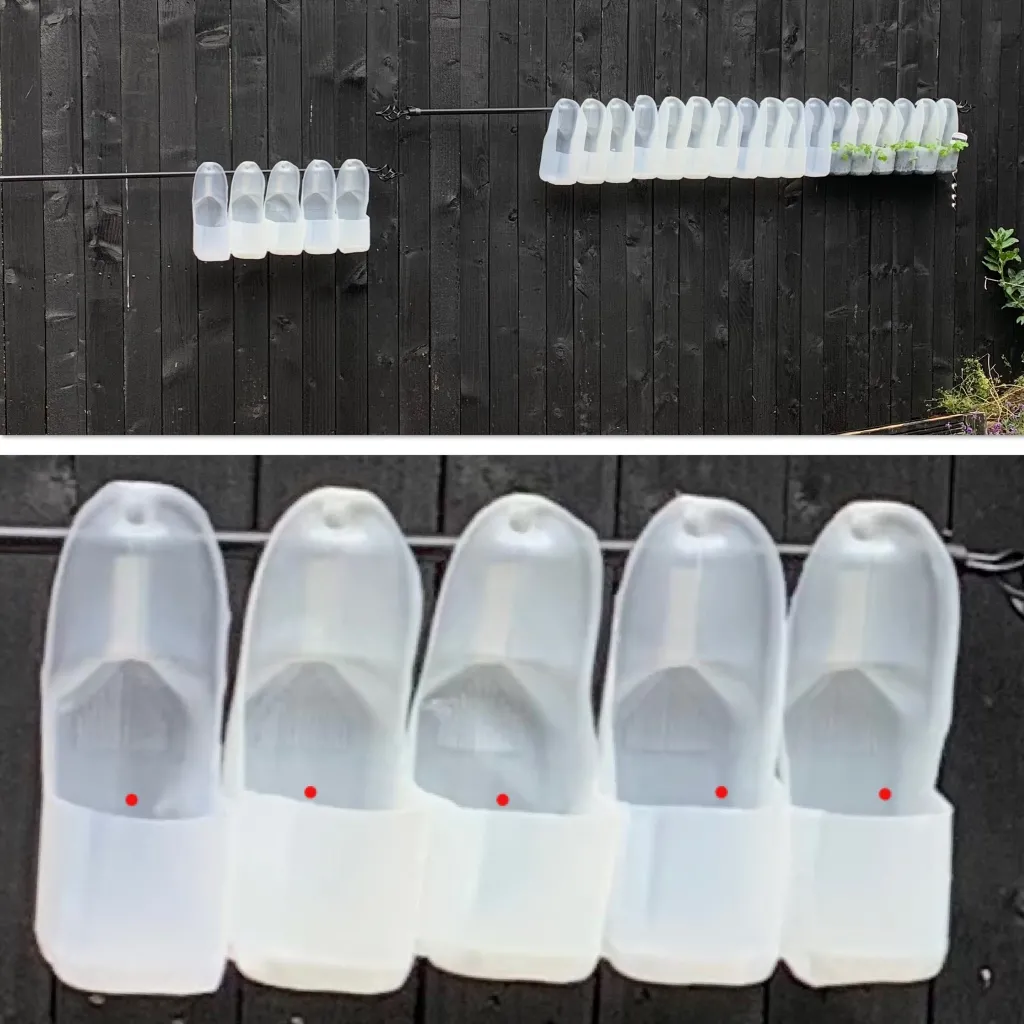
- Carefully thread the handle of each milk jug planter onto the curtain rods or dowels.
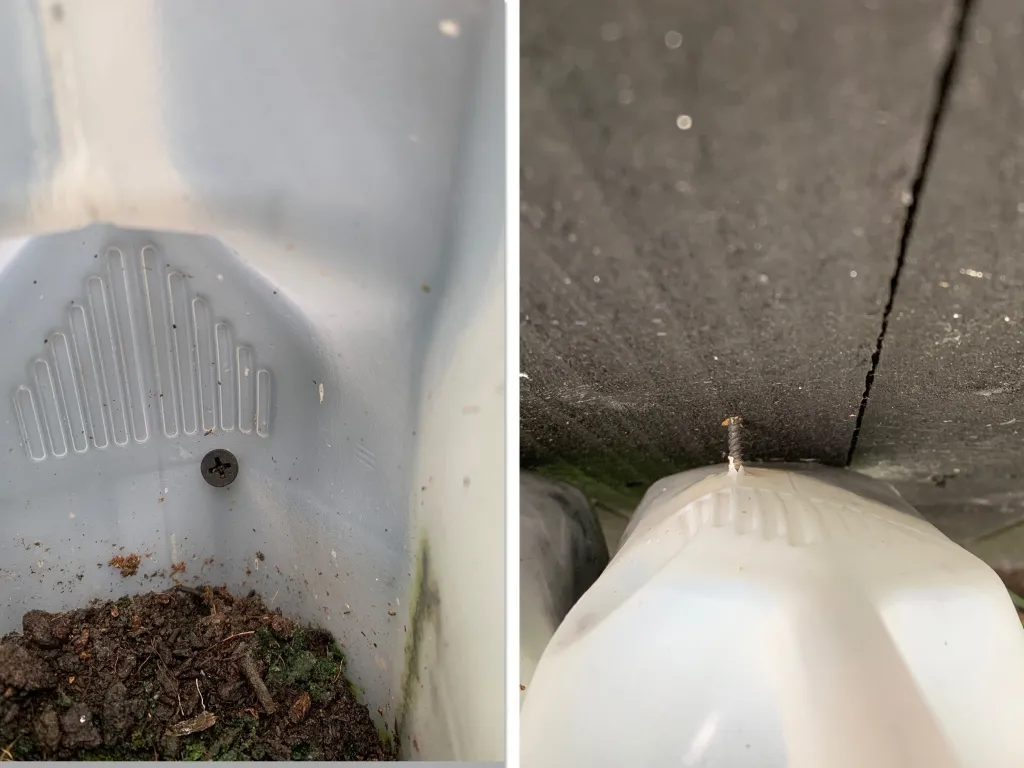
- For added stability, consider attaching each jug to the support structure with a screw beneath the handle. This will prevent them from swaying or tipping over, especially when filled with soil and plants.
 "Hanging milk jugs on curtain rods for vertical garden.
Step 4: Planting Time:
- Fill each milk jug planter with a well-draining potting mix, leaving some space at the top.
- Gently transplant your chosen seedlings or sow seeds directly into the soil, following recommended spacing guidelines.
- Water your newly planted vertical garden thoroughly, ensuring the water reaches the roots.
 "Planting in milk jug vertical garden."
Tips and Tricks for Vertical Garden Success
- Sunlight: Choose a location that receives adequate sunlight for your chosen plants. Most herbs and vegetables thrive in 6-8 hours of direct sunlight daily.
- Watering: Monitor the moisture levels in your milk jug planters regularly. Depending on your climate and the plants you choose, you may need to water them daily, especially during hot and dry periods.
- Fertilizing: Use a balanced liquid fertilizer every few weeks to provide your plants with the nutrients they need to flourish.
- Harvesting: One of the joys of gardening is enjoying the fruits (or vegetables!) of your labor. Harvest your herbs and vegetables regularly to encourage new growth.
The Joys of Vertical Gardening: Beyond the Aesthetics
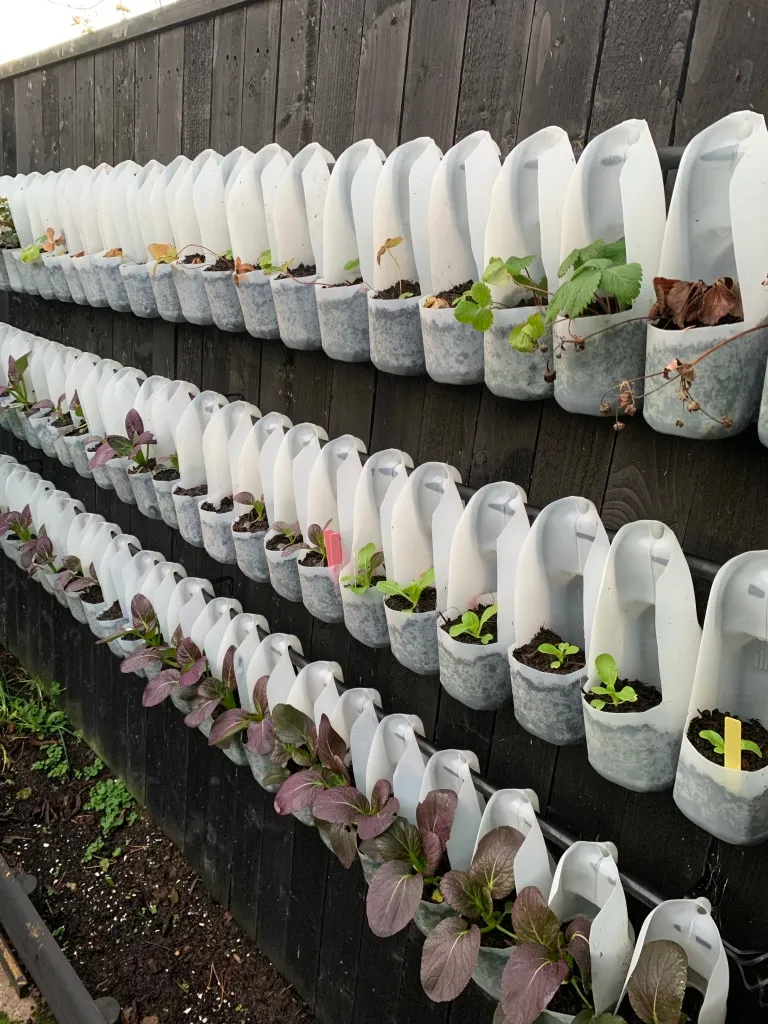
 "Vertical milk jug garden with lettuce."
Creating a vertical bottle garden from recycled milk jugs is more than just a fun DIY project. It’s a statement about sustainability, creativity, and connecting with nature in an urban or limited-space environment.
Here are just a few of the benefits you can reap:
- Space-saving: Ideal for balconies, patios, or small gardens, vertical gardens maximize your growing space by utilizing vertical surfaces.
- Eco-friendly: By repurposing milk jugs, you’re giving them a new lease on life and reducing plastic waste.
- Low-maintenance: Vertical gardens tend to require less weeding and watering than traditional gardens.
- Visually appealing: Add a touch of green beauty and a unique focal point to your outdoor space.
Conclusion: Let Your Creativity Bloom
Congratulations! You’ve successfully transformed ordinary milk jugs into a thriving vertical garden. Now, it’s time to sit back, relax, and watch your creation flourish.
Remember, gardening is a journey of continuous learning and experimentation. Don’t be afraid to try different plant combinations, explore creative designs, and most importantly, have fun!
We here at Robert Kline Art encourage you to share your vertical garden creations with us! Tag us on social media, leave a comment below, or browse our website for more inspiring DIY projects and handmade gift ideas.
Let’s continue to inspire each other to live creatively and sustainably!
