Building Your Own Backyard Oasis: A DIY Swing Set Guide

There’s something truly magical about a swing set. It’s a portal to childhood dreams, a laughter-filled zone, and a staple of happy backyards everywhere. Today, we’re going to embark on a rewarding journey – building a DIY swing set!
I recently completed this project myself, and let me tell you, the satisfaction of watching my kids enjoy a swing set built with my own two hands is priceless. It doesn’t have to be a daunting task either. With a little planning, the right materials, and a dash of DIY spirit, you can create a backyard haven that will bring joy for years to come.
Gathering Your Supplies
Before we dive into the construction phase, let’s gather our tools and materials. Here’s what you’ll need:
Lumber:
- (1) 6x6x8 Pressure treated post
- (2) 6x6x10 Pressure treated posts
Hardware:
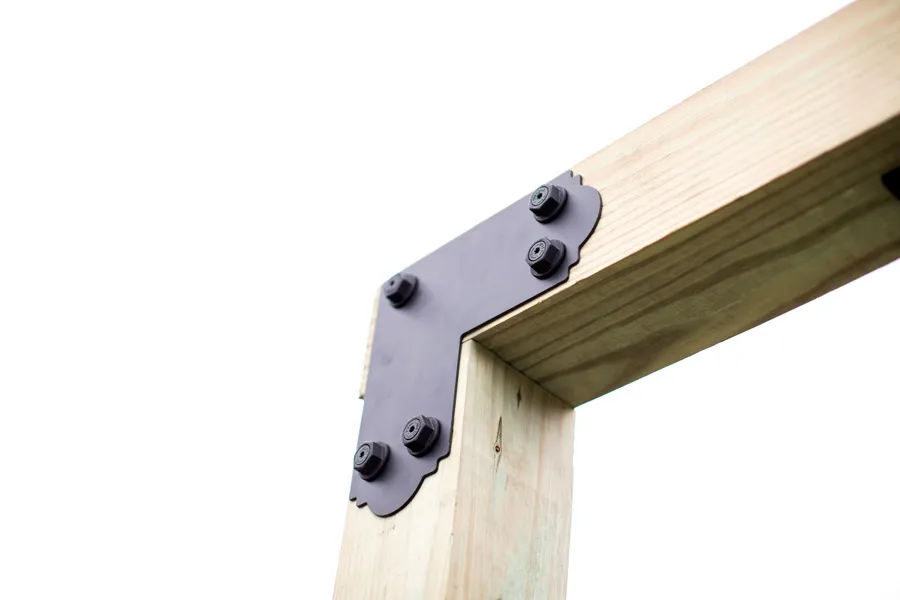
- (2) 6×6 L-brackets
- 3.5” Galvanized structural screws
- Hex head washers
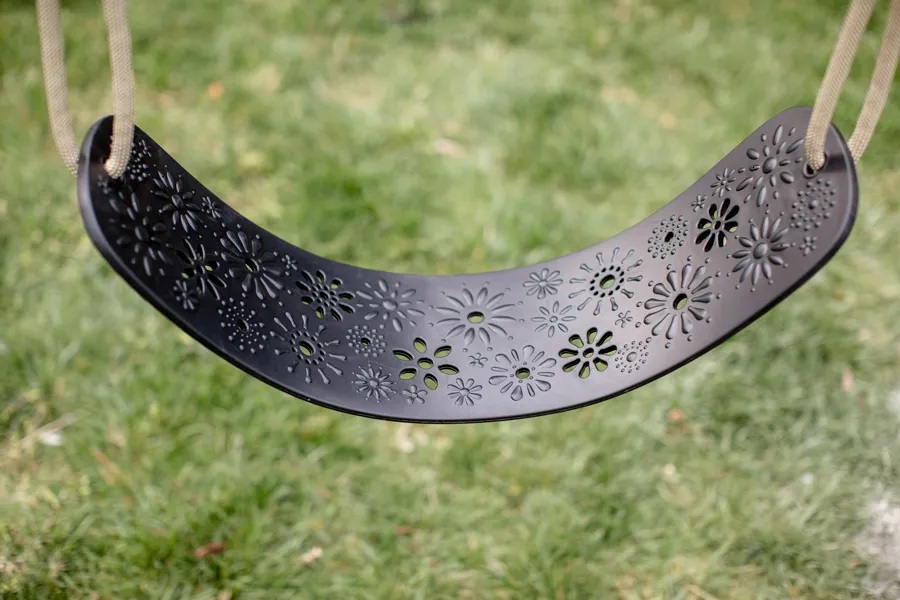
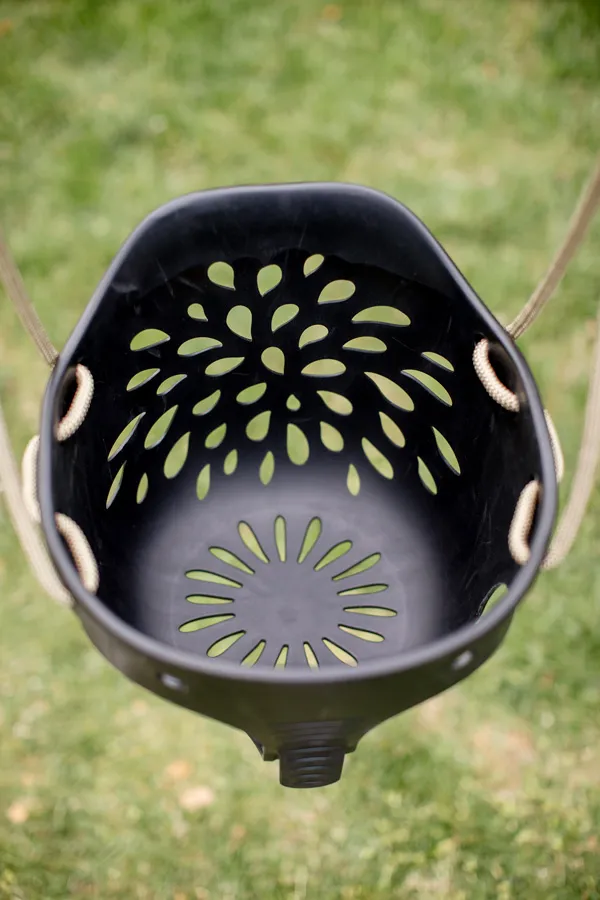
- Swingset (look for durable and weather-resistant options)
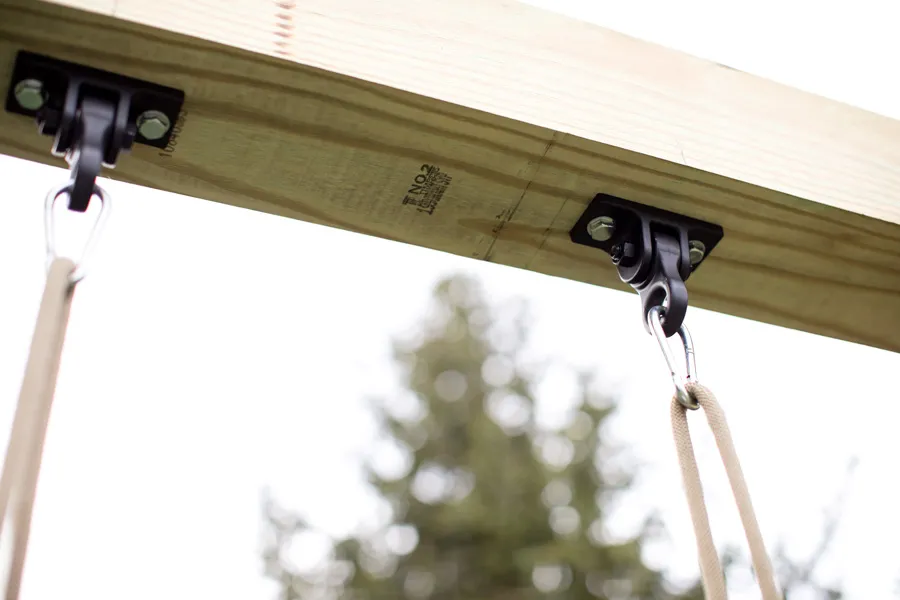
- Swing mounting hardware
Other Essentials:
- No-mix concrete bags (125 lbs per post or more for deeper holes)
- Gravel (for drainage)
- Post hole digger (a worthwhile investment to save time and effort)
- Level
Optional but Recommended:
- Safety goggles and gloves
- Tape measure
- Pencil
Remember, lumber prices can fluctuate, so it’s always a good idea to check current prices before starting your project.
Step-by-Step Construction Guide
Now, let’s turn that pile of lumber into a source of endless fun!
1. Selecting the Perfect Spot
Choosing the right location for your swing set is crucial. Look for a level area with ample space around it for safe swinging. Consider the following:
- Sunlight: Ideally, choose a spot that gets a mix of sun and shade throughout the day.
- Drainage: Avoid areas prone to waterlogging, as this can compromise the stability of your swing set over time.
- Visibility: Select a location where you can easily keep an eye on children playing.
2. Digging the Foundation
With your location chosen, it’s time to dig those post holes. Here’s how:
- Mark the Spot: Use your tape measure and pencil to mark the position of each post hole. For a standard swing set, you’ll need three holes.
- Dig Deep: Aim for holes at least 2 feet deep and around 10 inches wide. A post hole digger will make this task much easier.
- Add Gravel: Once the holes are dug, add a layer of gravel to the bottom. This will aid with drainage and prevent the posts from sitting in water.
3. Setting the Posts
Now comes the satisfying part – setting those posts in place!
- Position the Posts: Carefully lower each post into its designated hole. Use your level to ensure they are plumb (perfectly vertical).
- Secure with Temporary Braces: Once the posts are level, use scrap wood to create temporary braces. This will keep them stable while the concrete sets.
- Mix and Pour Concrete: Follow the instructions on your concrete mix bag. Pour the concrete into the holes, ensuring it completely surrounds the posts.
- Double-Check Alignment: Before the concrete hardens, take one final look to ensure the posts are still level and properly aligned.
4. Attaching the Top Beam and Brackets
With the posts securely in place, it’s time to add the top beam and brackets:
- Position the Top Beam: Lift the top beam (your 6x6x8 post) and position it across the top of the two taller posts. Use your level to ensure it’s level and centered.
- Attach L-Brackets: Secure the top beam to the posts using your L-brackets and structural screws. Pre-drilling holes can help prevent the wood from splitting.
5. Installing the Swings
The moment we’ve all been waiting for – hanging those swings!
- Measure and Mark: Determine the desired spacing for your swings and mark the locations on the top beam.
- Install Swing Hangers: Attach your swing hangers to the top beam according to the manufacturer’s instructions.
- Hang the Swings: Attach the swings to the hangers, ensuring they are securely fastened.
6. Adding the Finishing Touches
Your swing set is nearly complete! Here are a few finishing touches to consider:
- Sand and Stain: Sand down any rough edges and apply a weather-resistant stain or paint to protect the wood and enhance its appearance.
- Add Safety Features: Consider adding rubber mulch or another soft surface beneath the swing set to cushion any falls.
- Personalize It: Let your creativity shine! Paint the swing set, add decorative elements, or hang a fun swing set sign.
Enjoy the Fruits of Your Labor
Congratulations! You’ve successfully built your own DIY swing set. Now, step back, admire your handiwork, and invite those little ones (and the young at heart) to experience the joy of swinging.
Don’t forget to share pictures of your amazing creation with me! And for more inspiring DIY projects and creative ideas, be sure to explore the rest of the Robert Kline Art website. Happy crafting!
 "Swing set in a backyard" class=
 "Swingset with a bucket swing and a regular swing" class=
 "A wooden swing set in progress of being built" class=
 "A wooden swing set in a backyard" class=
 "A swing set with two swings" class=
 "A wooden swing set with two swings" class=
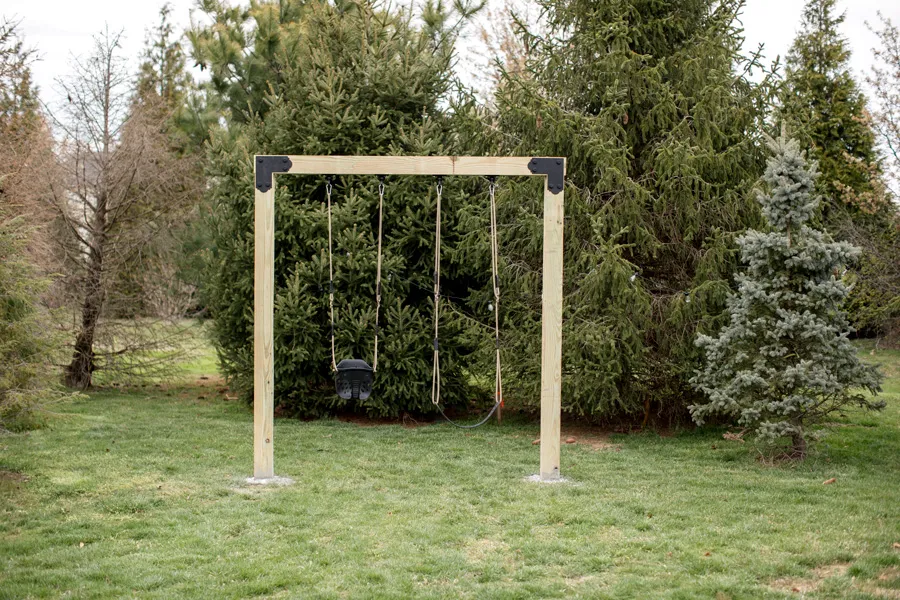 "Two different types of swings on a swingset" class=
