Blog
Craft Your Own Relaxation: A DIY Guide to Building an Outdoor Lounge Chair
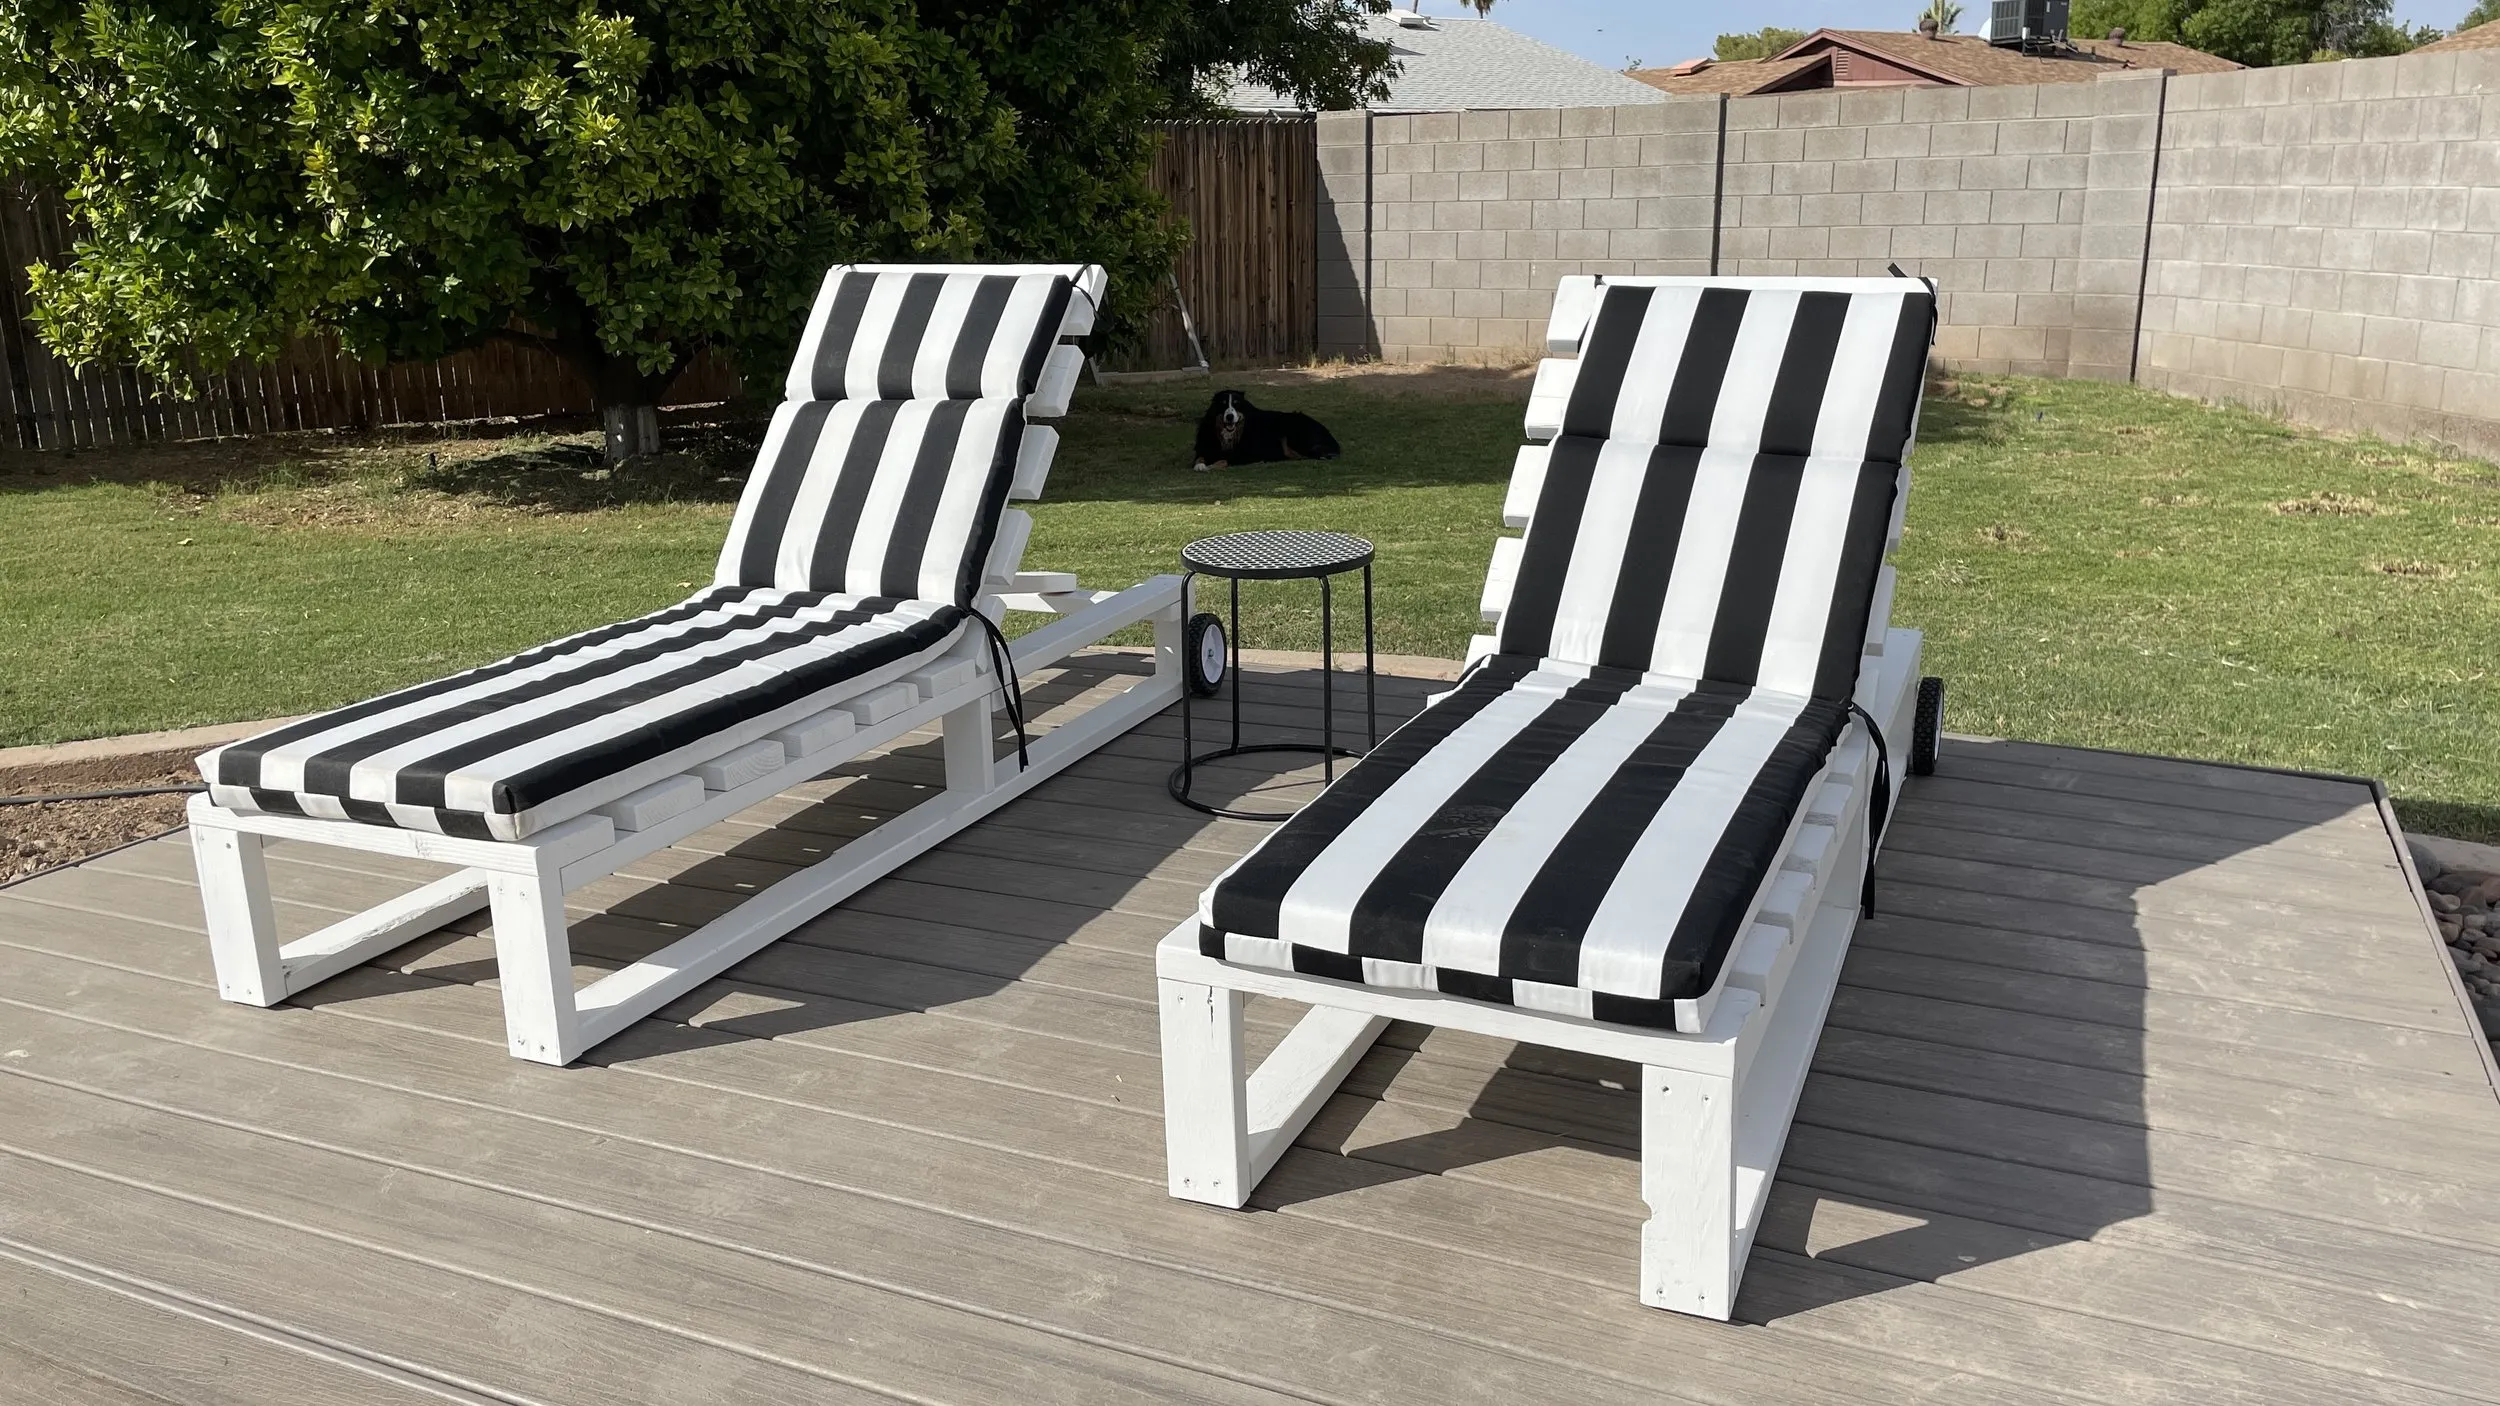
Ah, summer! The sun is shining, the birds are singing, and the only thing missing is a comfortable place to soak it all in. What better way to enjoy the great outdoors than by lounging in a stylish chair crafted with your own two hands?
This summer, skip the overpriced patio furniture and join me, Robert Kline, on a rewarding journey of creativity and craftsmanship as we embark on a DIY adventure to build a stunning outdoor lounge chair. This project is perfect for both seasoned DIY enthusiasts and beginners looking to dive into the world of woodworking. With a little time and effort, you’ll have a unique and comfortable spot to relax all summer long.
Gathering Your Tools and Materials
Every masterpiece begins with the right tools and materials. Here’s a list to get you started:
Tools:
- Miter Saw
- Drill
- Kreg Jig
- Table Saw (optional)
- Brad Nailer
- Sander
- Jigsaw
Materials:
- (4) 2x6x8 lumber
- (2) 1x6x8 lumber
- (8) 1x4x8 lumber
- 2 1/2″ Pocket Hole Screws
- 1 1/4″ Wood Screws
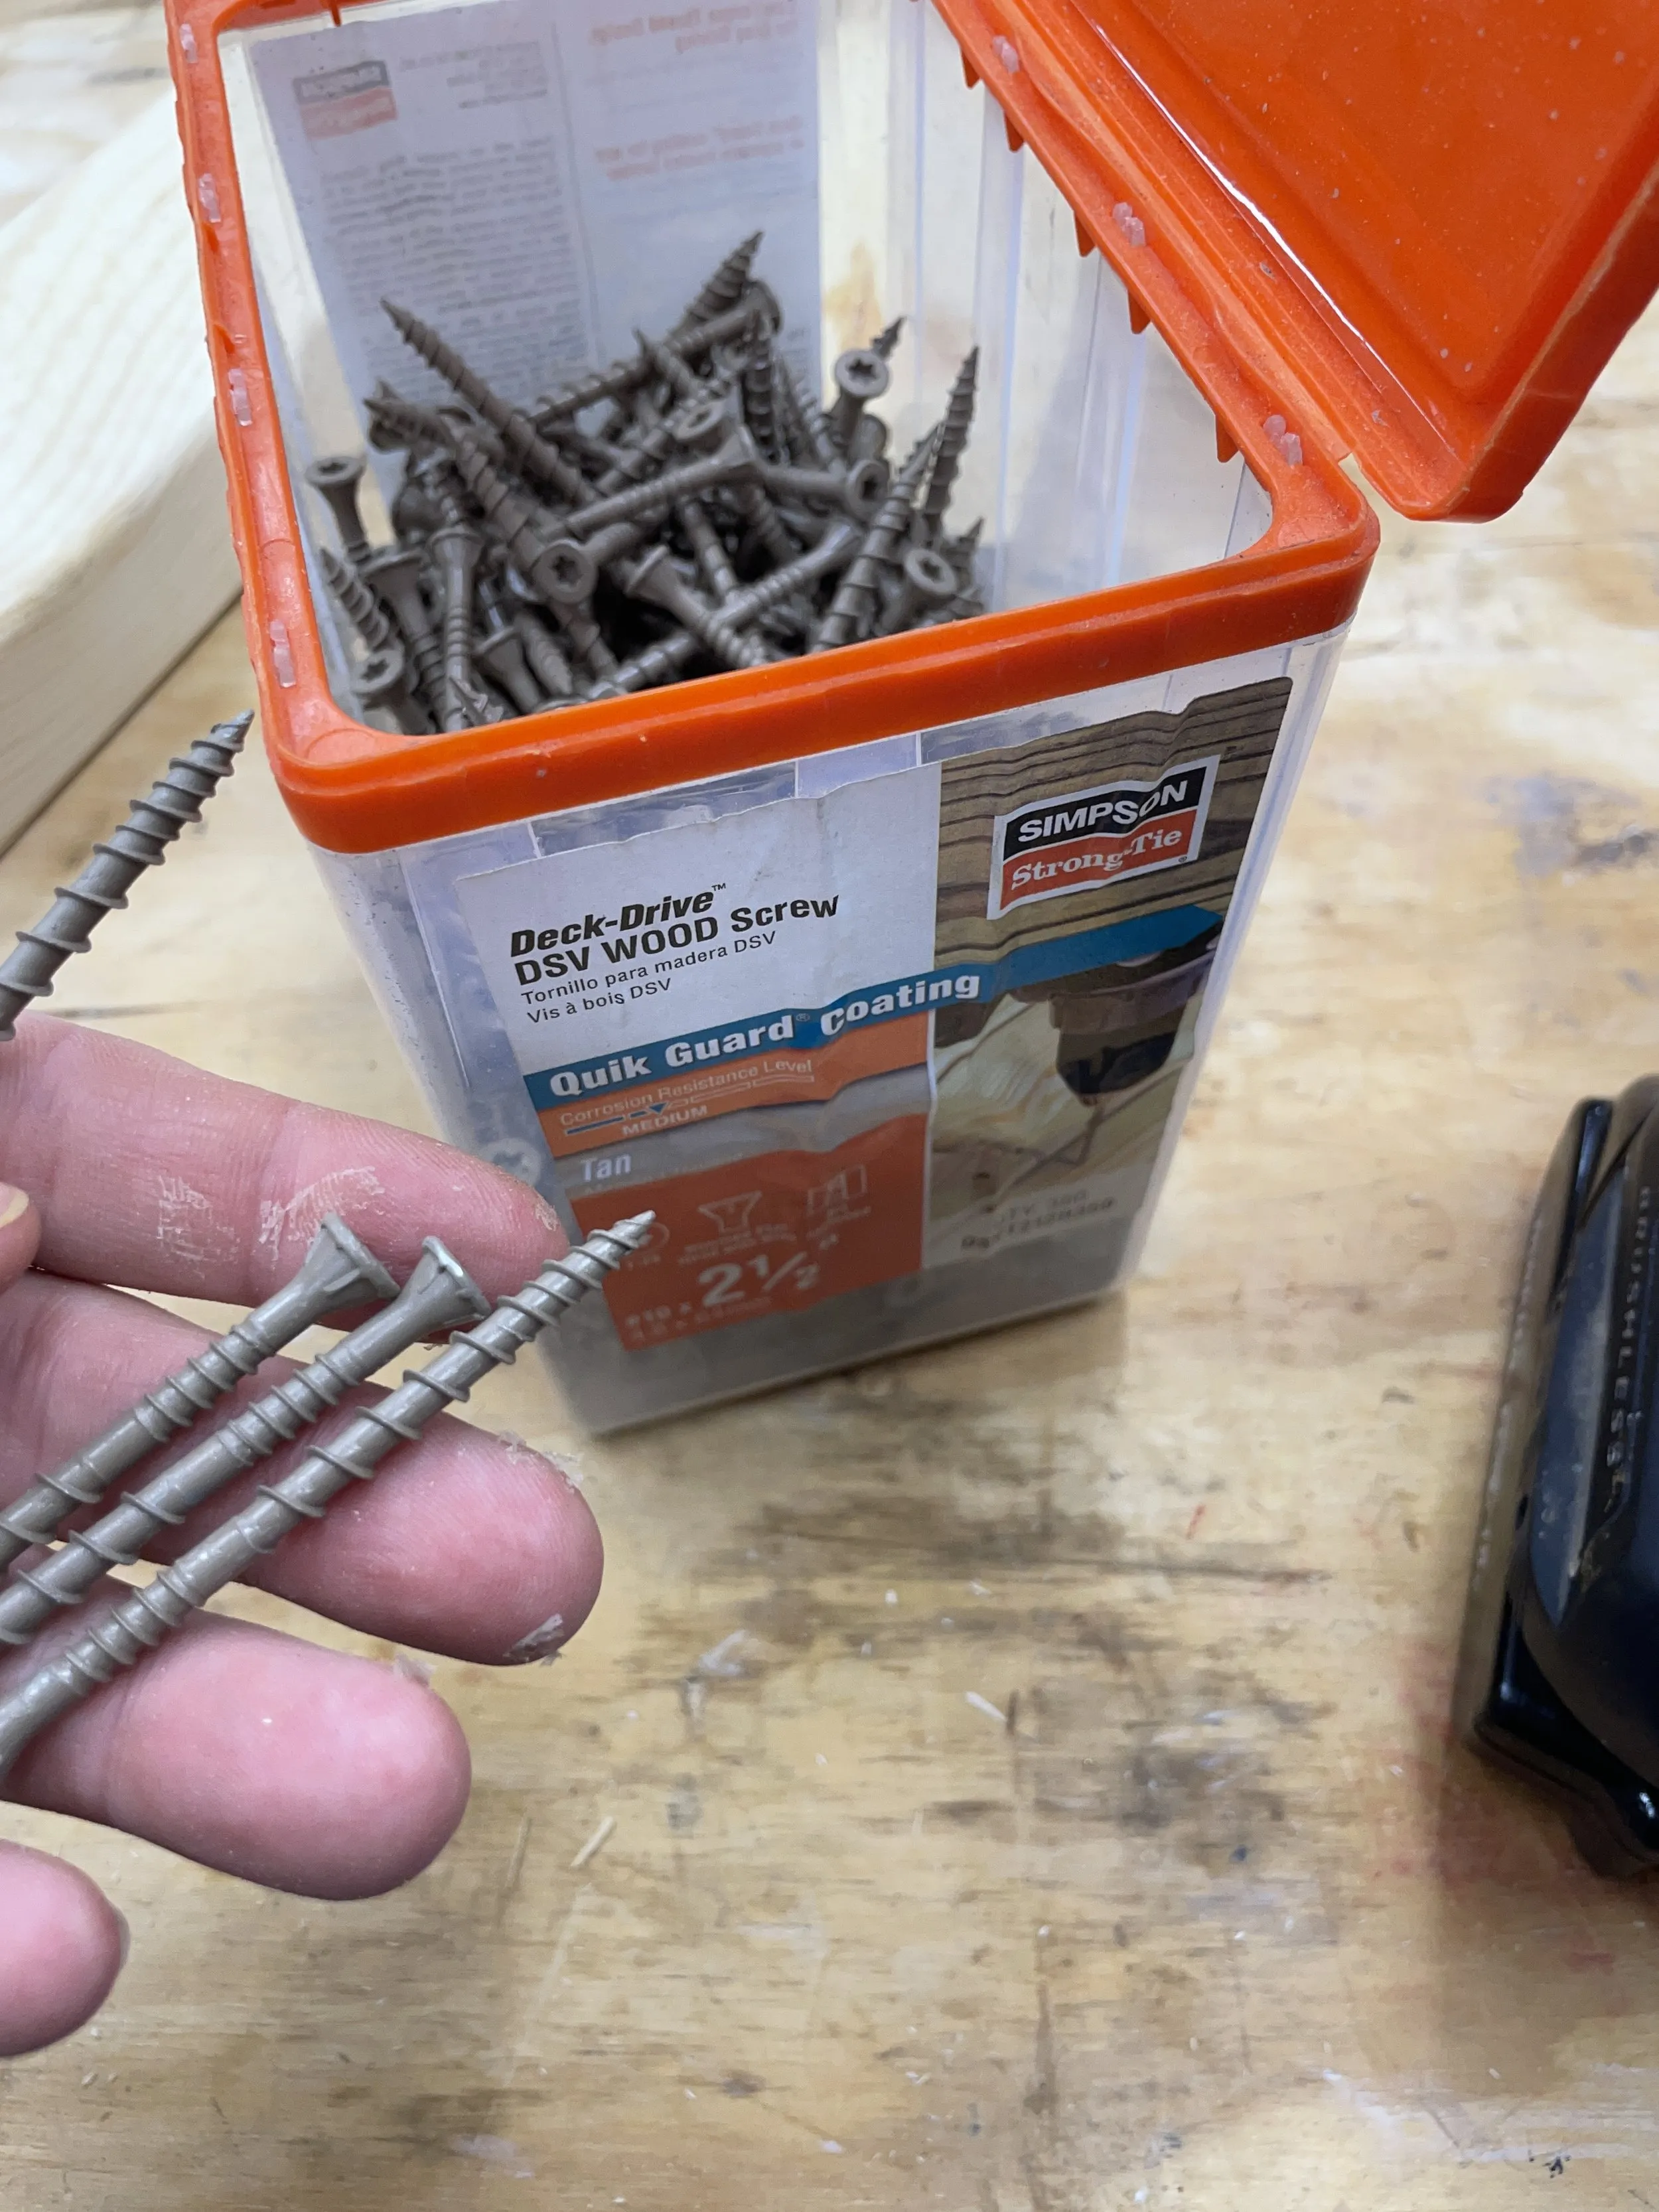
- 2 1/2″ Wood Screws
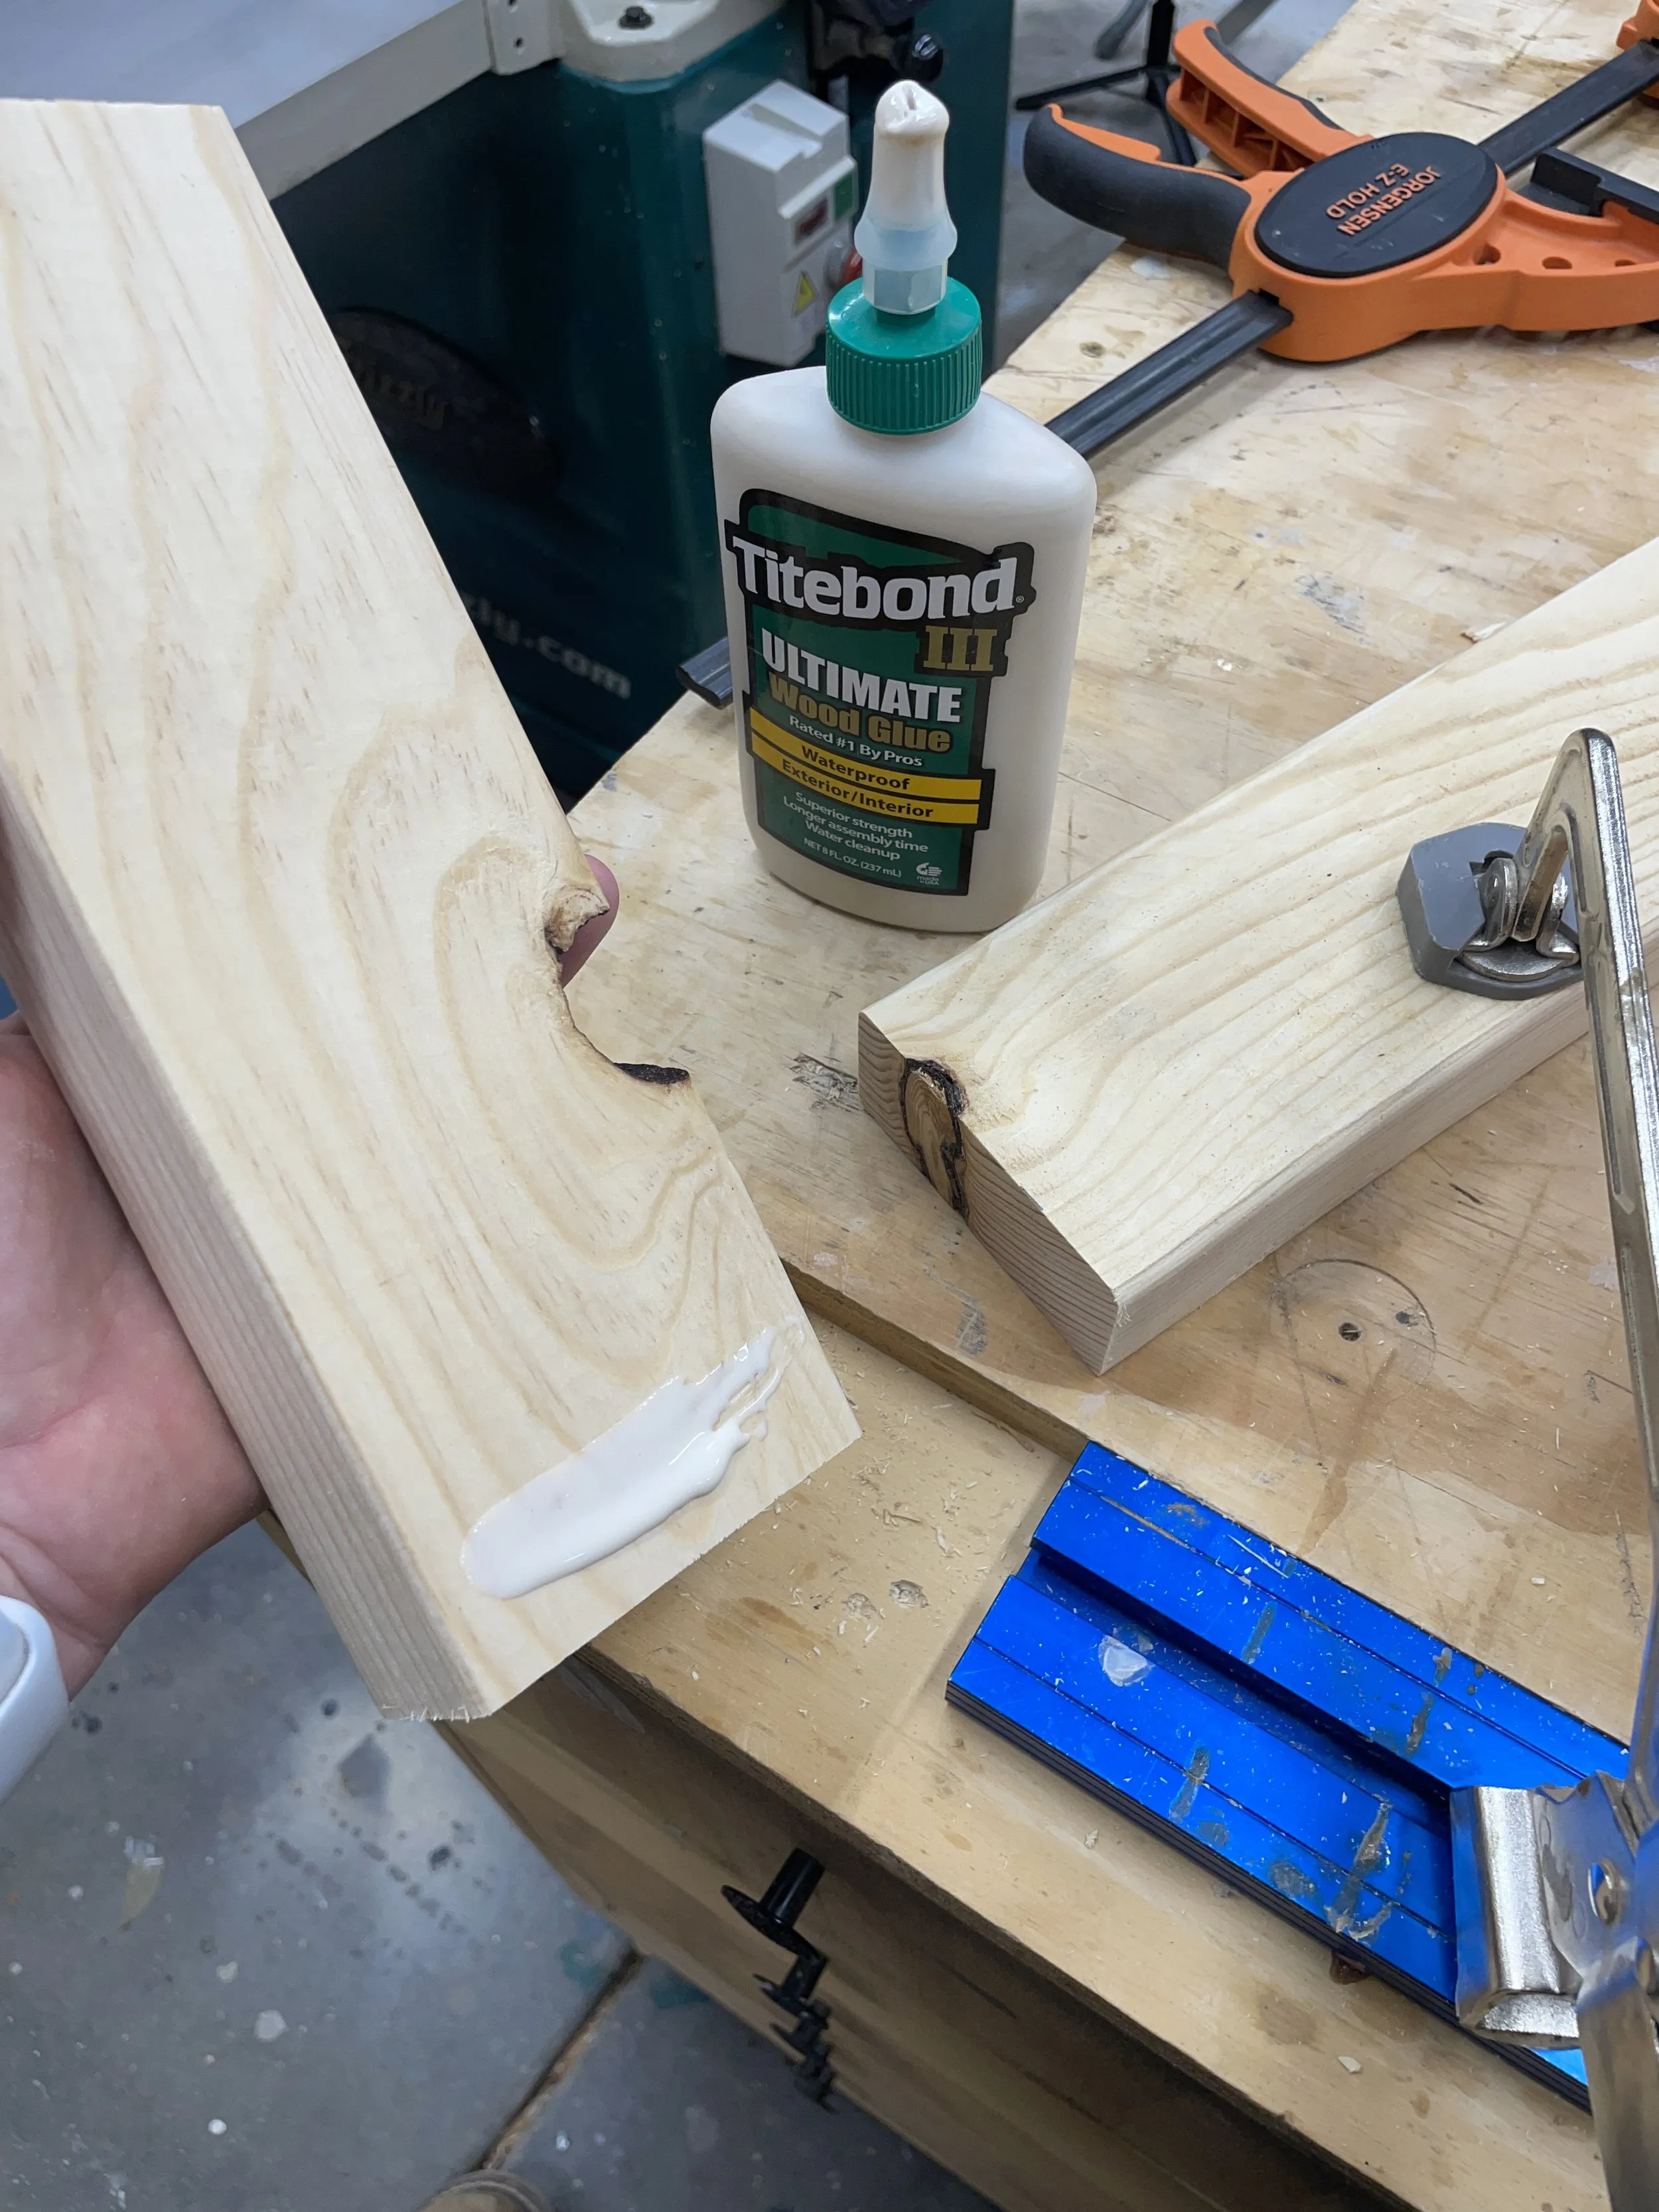
- Wood Glue
- 1 1/2″ Hinge
- Piano Hinge
- Cushions
- Outdoor Spray Paint
- Glue Bot
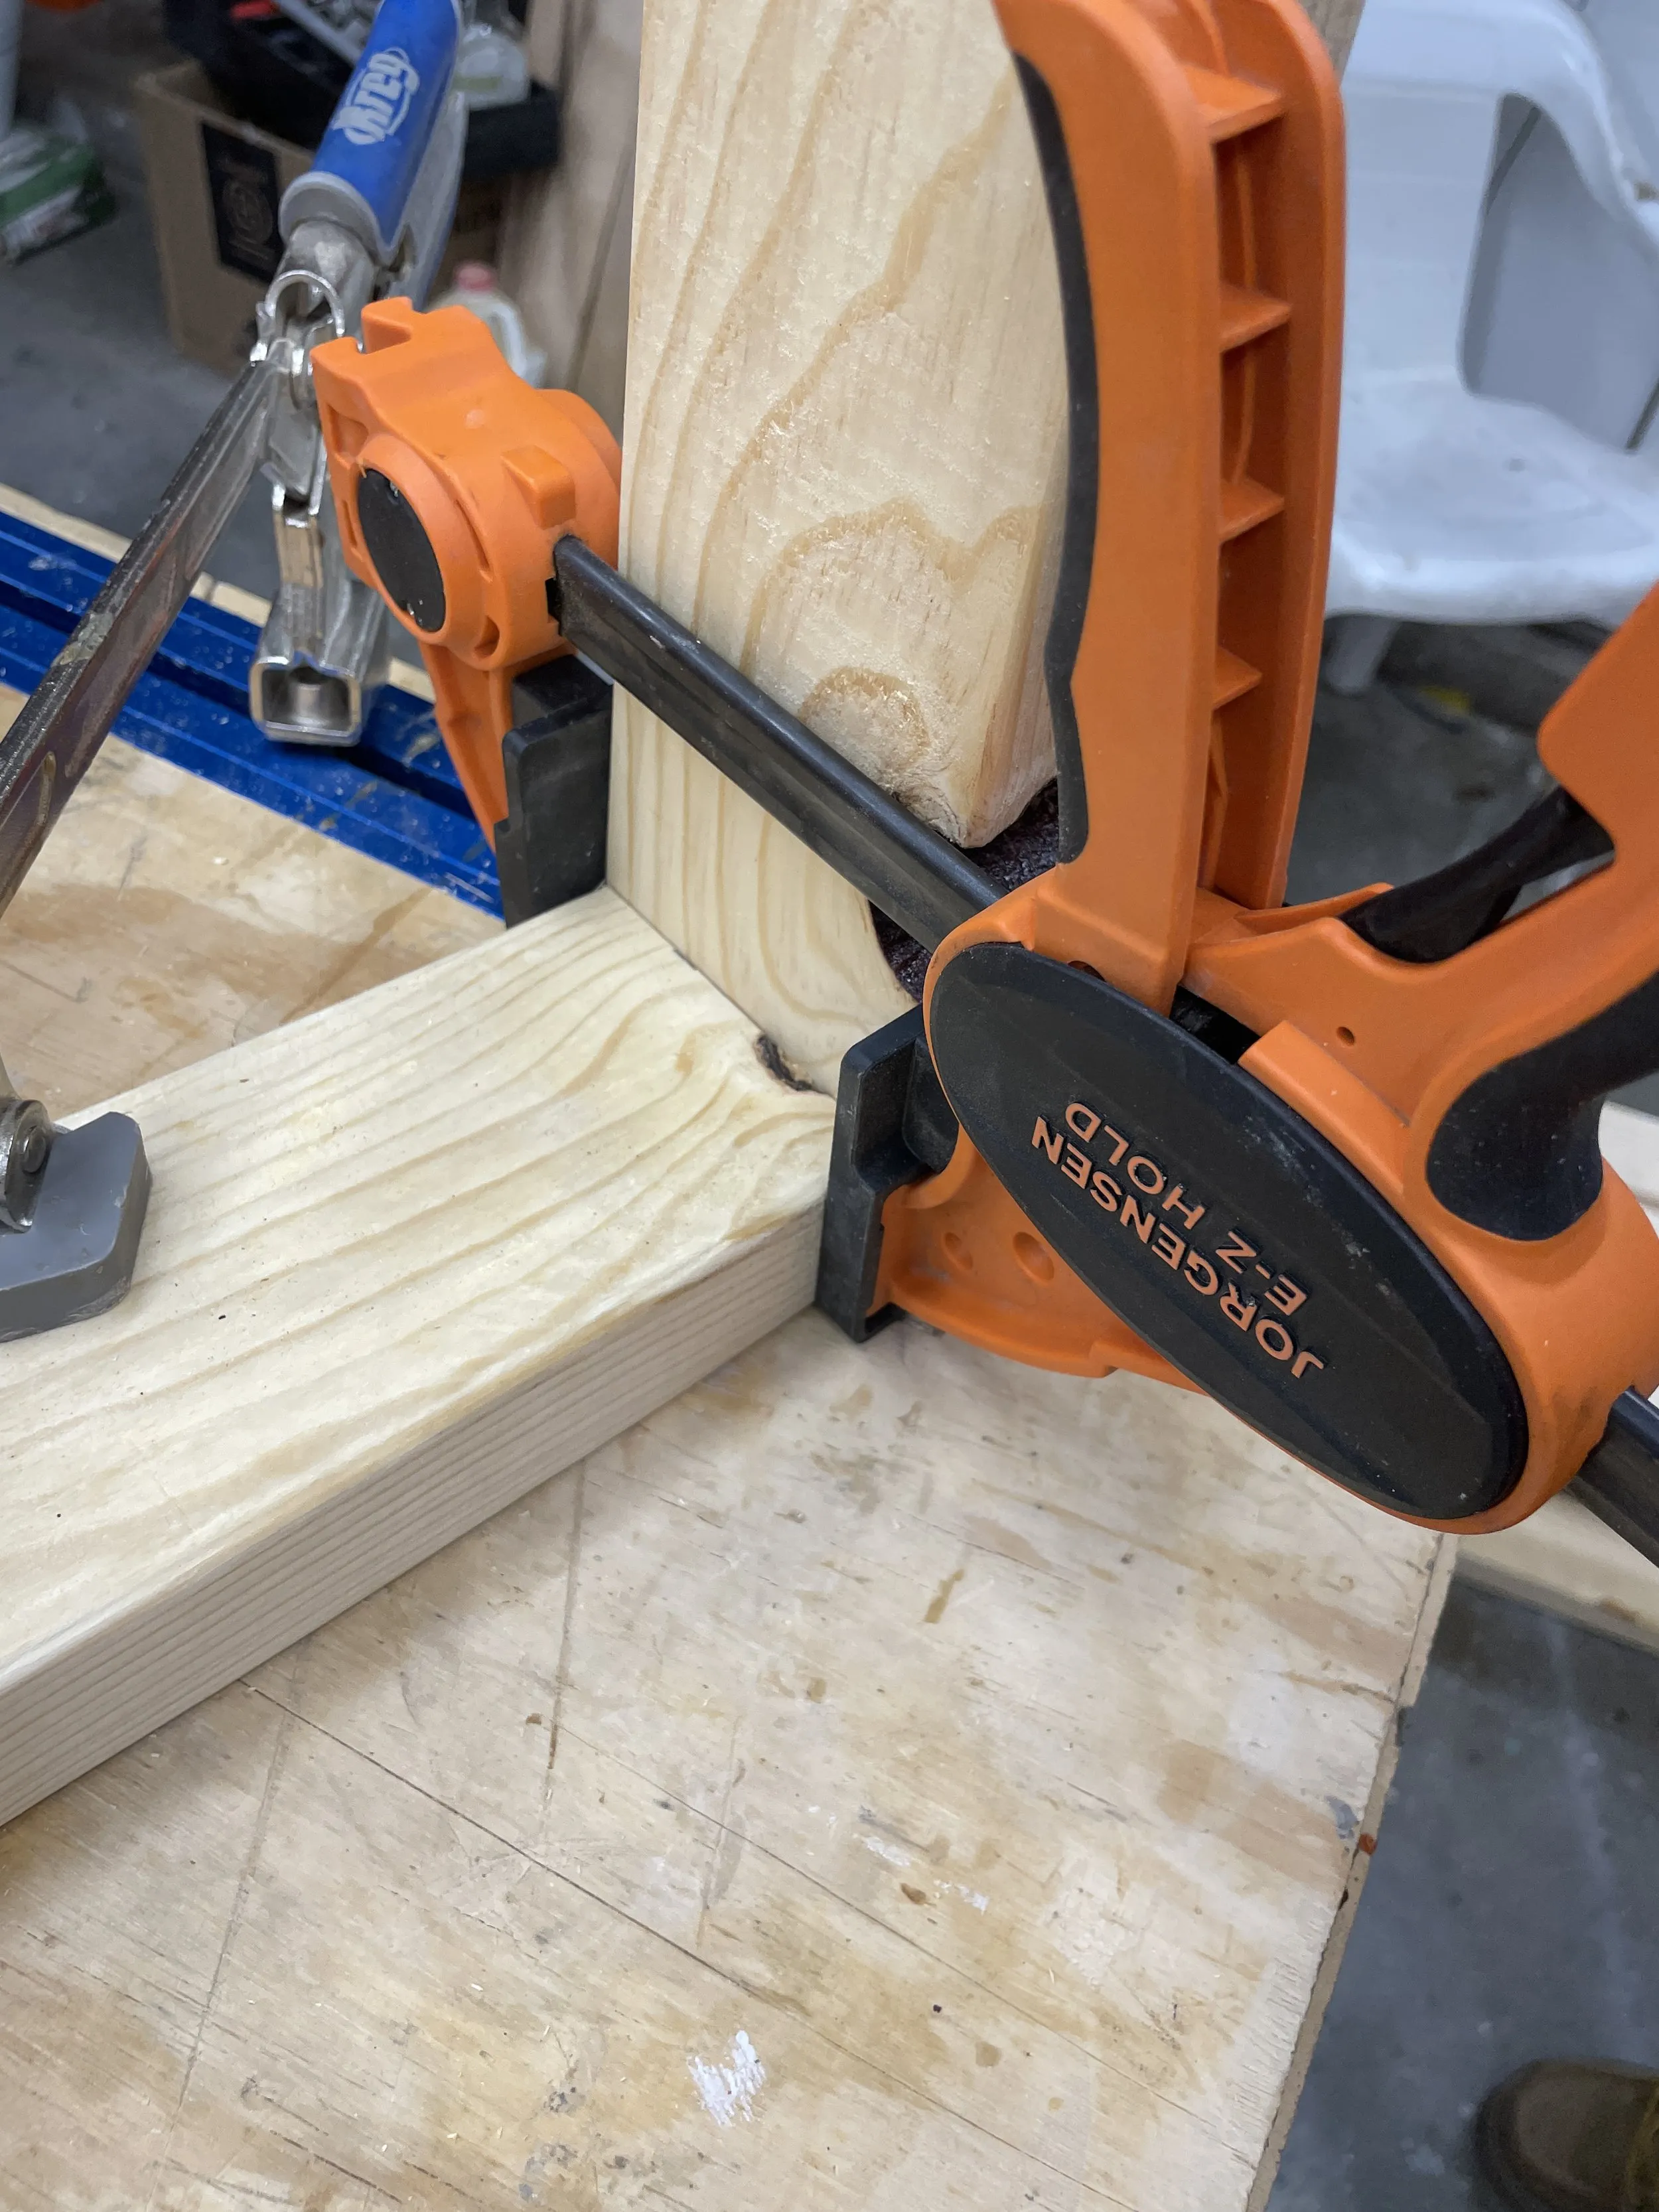
- Clamp
You can find most of these materials at your local hardware store.
 DIY Outdoor Lounge Chairs
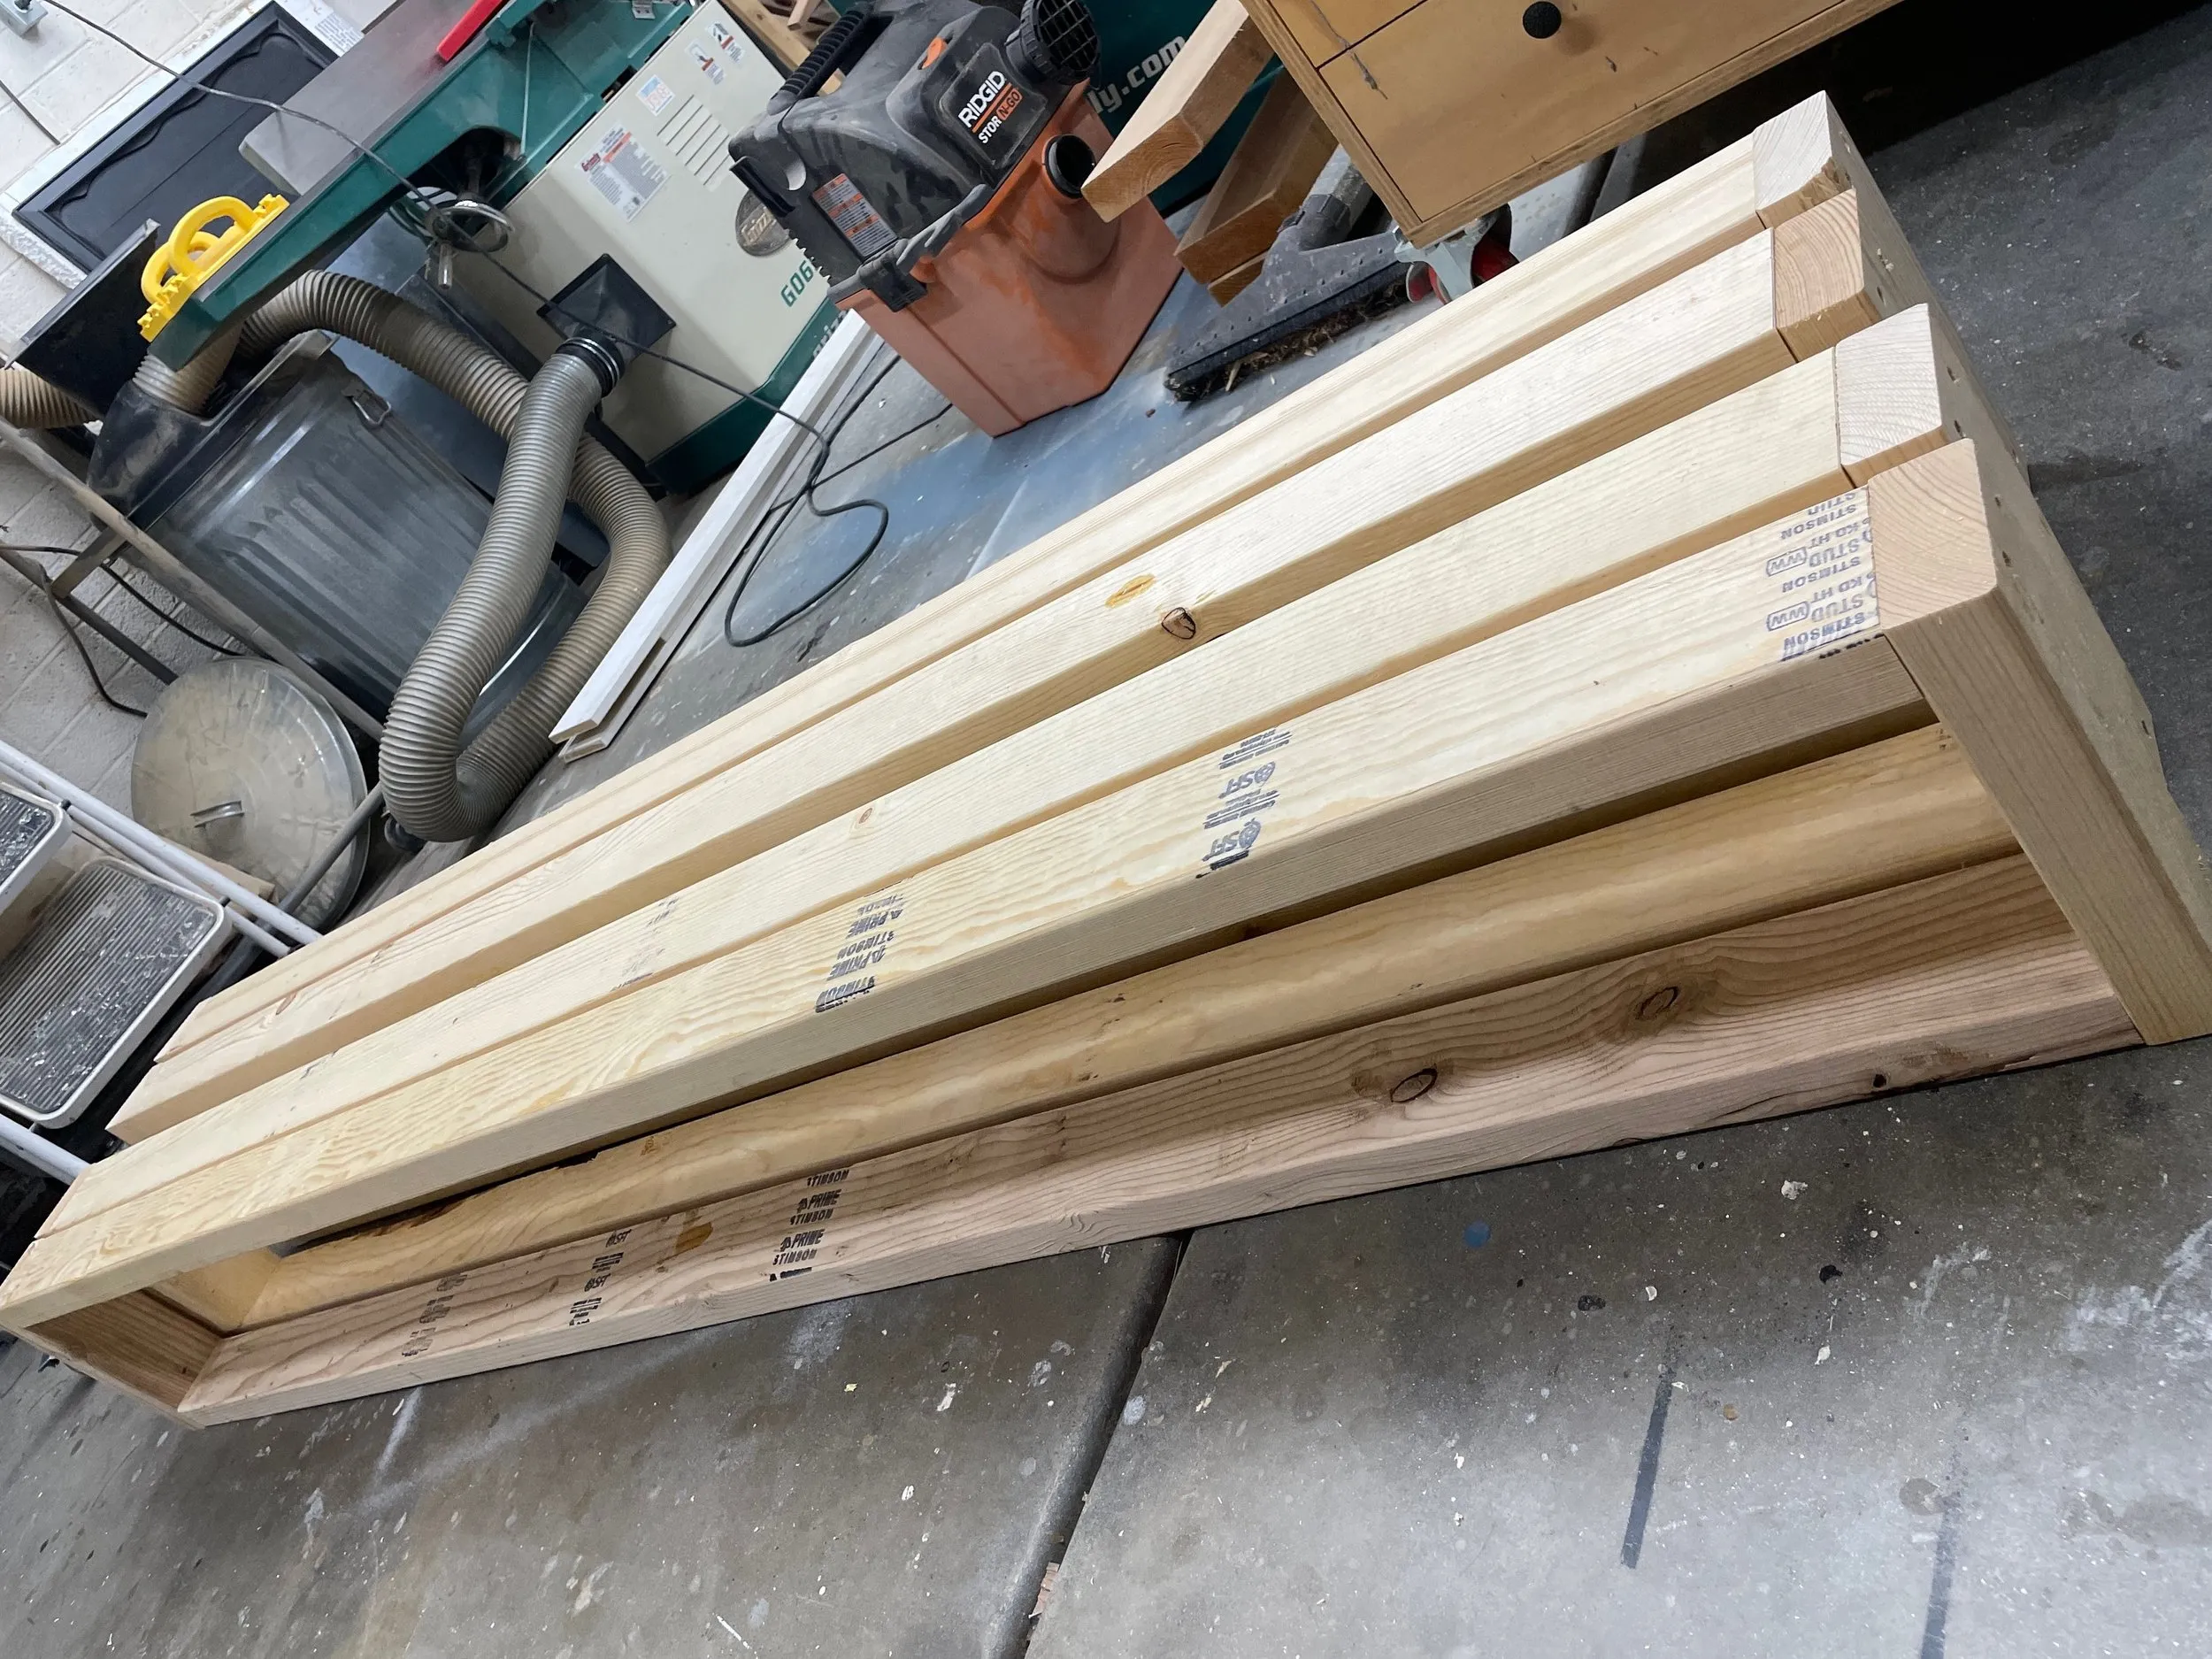
Caption: Having all the necessary materials prepped and organized will make the building process much smoother.
Building the Lounge Chair Frame
The foundation of our lounge chair is a sturdy frame. Let’s start building:
Step 1: Assembling the Frame
- Begin by cutting the 2x6x8 lumber into pieces for the top and bottom frames, following the dimensions provided in the plans (which you can find on Robert Kline Art).
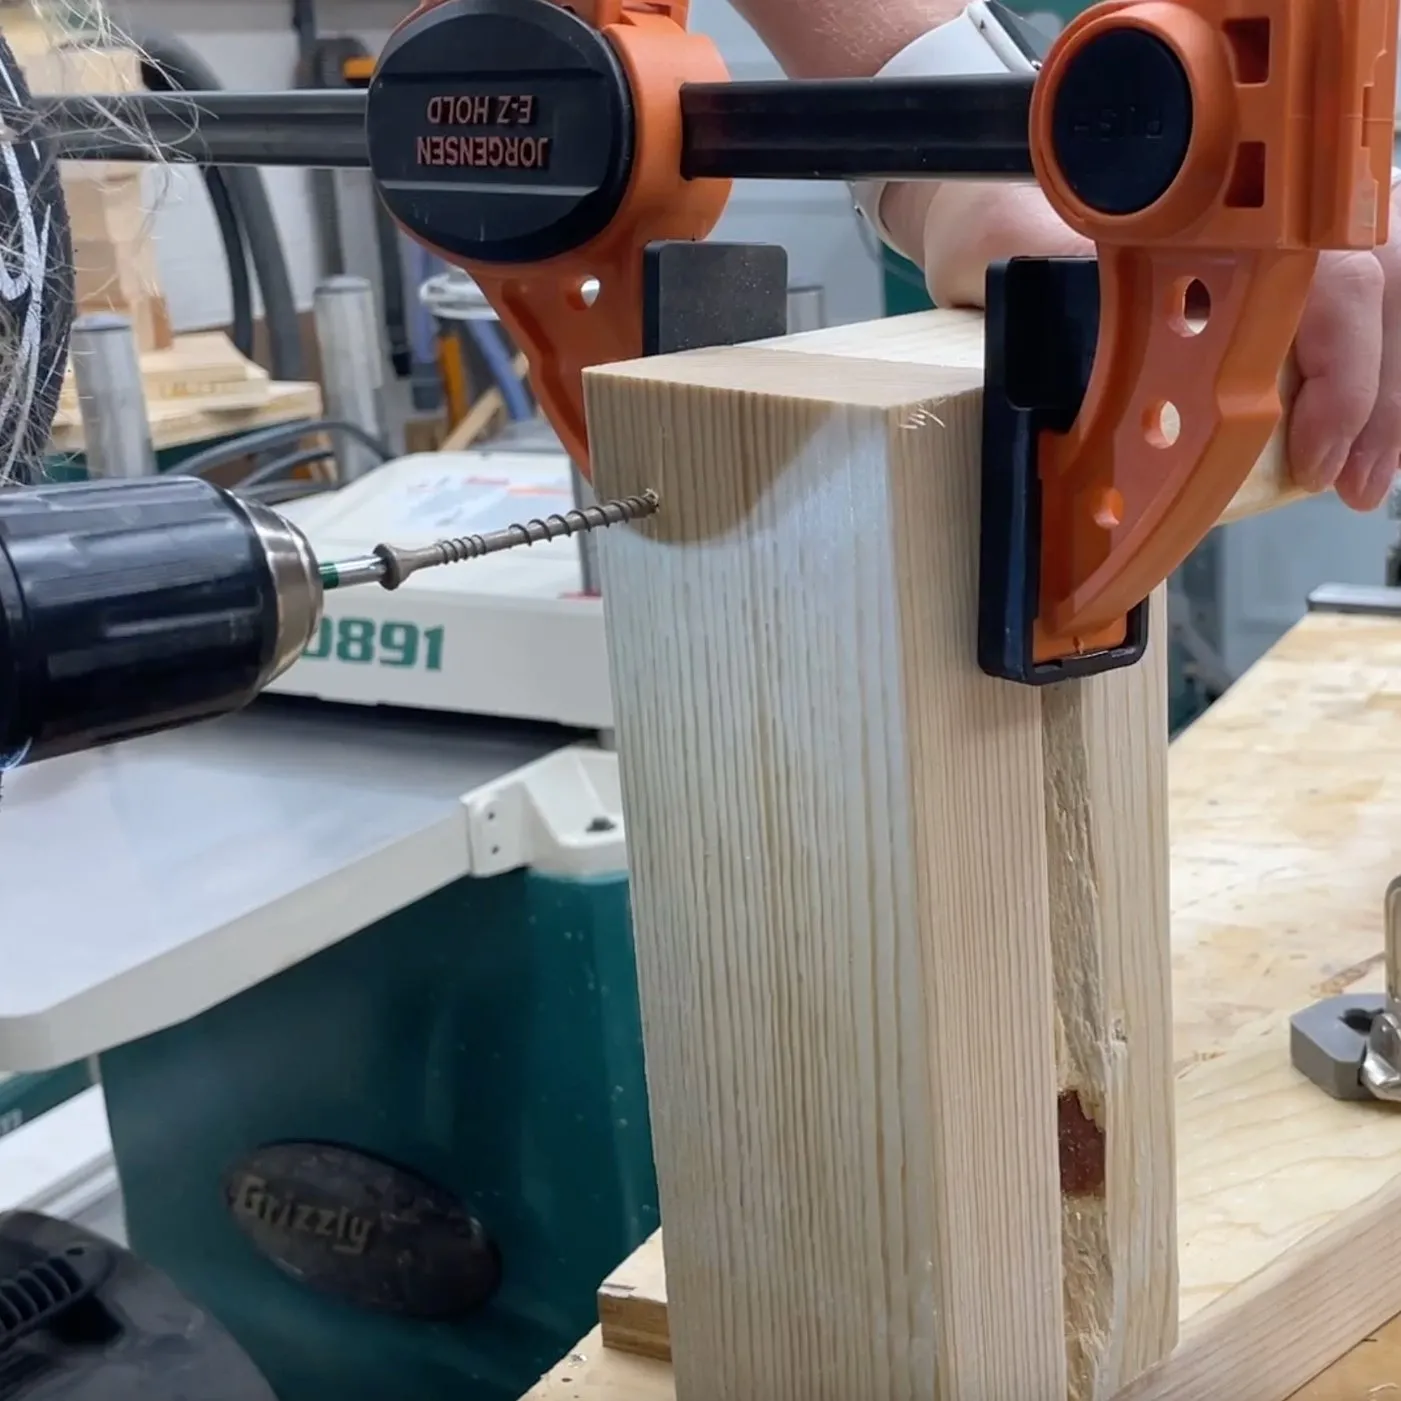
- Next, using your Kreg Jig, drill 1 1/2″ pocket holes at both ends of each frame piece. Pocket holes create strong joints and give the chair a professional look.
- Apply wood glue to the ends of the frame pieces and secure them together using 2 1/2″ pocket hole screws to form the rectangular frame.
 Building the frame of a DIY Lounge Chair
Caption: A Kreg Jig makes it easy to create strong pocket hole joints for a professional look.
Step 2: Adding Support Cleats
- Cut the support cleats to size from the 1x4x8 lumber according to your plans.
- Position the cleats on the inside of the frame, about 1 1/4″ from the top edge.
- Secure them to the frame using 2 1/2″ wood screws and wood glue for added strength.
 Attaching cleats for the lounge chair slats
Caption: Cleats provide a secure base for attaching the slats that form the seat and back of the chair.
Step 3: Integrating the Cross Support
- Cut the cross support piece to size from the remaining 2x6x8 lumber and drill 1 1/2″ pocket holes at each end.
- Carefully flip the lounge chair frame upside down.
- Position the cross support between the bottom of the cleats and attach it using 2 1/2″ pocket hole screws and wood glue.
 Adding a cross support to the lounge chair frame
Caption: The cross support adds extra stability and ensures the chair can handle the weight of someone relaxing.
Creating the Comfortable Seating
With the frame complete, let’s move on to the part that makes this a “lounge” chair:
Step 4: Installing the Bottom Slats
- Cut the bottom slats to size from the 1x6x8 lumber. These slats form the comfortable base of your chair.
- Arrange them evenly across the cleats, ensuring the end slat sits flush with the edge of the frame.
- Attach each slat securely to the cleats using 2″ wood screws and wood glue.
 Attaching the bottom slats of the outdoor lounge chair
Caption: Make sure to evenly space the slats for both comfort and visual appeal.
Step 5: Constructing the Top Slat Assembly
- Cut the top slats and back supports to the dimensions specified in your plans.
- Before attaching, use a jigsaw to carefully cut a space in one of the top slats to accommodate the top handle of the chair. Smooth out the cut edges with a sander for a polished look.
- Lay the top slats face down, evenly spaced, and attach the back supports to the backside of the slats using 1 1/4″ wood screws and wood glue.
 Preparing the top slat assembly with a handle cutout
Caption: The handle cutout adds a nice design element and makes it easier to adjust the chair’s position.
Step 6: Adding a Back Slider
- Cut the back slider pieces from the remaining 1x4x8 lumber. The slider allows for adjustable reclining positions, adding another level of customization to your lounge chair.
- Assemble the slider by attaching the side pieces to the bottom piece using 1 1/4″ brad nails and wood glue. The back edges of the side pieces should be flush with the back edge of the bottom piece.
Step 7: Securing the Back Slider
- Center the assembled slider on the back of the top slat assembly and attach it securely using 1 1/4″ wood screws and wood glue.
- Cut the spacer blocks to size from scrap lumber and attach them inside the slider using 1 1/4″ wood screws and wood glue. These will help the back rest smoothly slide and lock into place.
Step 8: Assembling the Arms
- Cut the arm assembly pieces to size, referring to your chosen lounge chair plan.
- Using 1 1/4″ brad nails and wood glue, attach the shorter arm piece to the longer one, ensuring the square ends are flush for a seamless joint.
Step 9: Attaching the Arms
- Center the assembled arm on the top of the cross support, attaching it with an outdoor-rated hinge. This allows the arms to fold down when the chair is not in use, saving space.
Step 10: Completing the Seat
- (Note: It’s a good idea to wait until after applying the finish to attach the top assembly to prevent getting paint on the hinges.) Carefully lay the top slat assembly upside down on top of the bottom slats.
- Using a piano hinge, connect the top slat assembly to the bottom slats. For a clean look, mark the piano hinge holes with a pencil and pre-drill before attaching it with screws.
 Using a piano hinge to attach the top and bottom slat assemblies
Caption: A piano hinge provides a long-lasting, durable connection between the seat and back sections.
Adding the Finishing Touches
Our lounge chair is nearly complete! Let’s add some final touches to elevate its visual appeal and protect it from the elements.
Step 11: Attaching the Side Trim
- Cut the side trim pieces to size. These pieces conceal the raw edges of the seat slats, providing a polished appearance.
- Attach them to the sides of the frame using 1 1/4″ wood screws and wood glue, making sure the inside edges of the trim are flush with the inside of the frame.
Step 12: Installing the End Trim
- Measure and cut the end trim pieces to fit the width of the chair frame.
- Secure them to the ends of the chair using 1 1/4″ wood screws and wood glue.
Step 13: Sanding and Finishing
- Inspect your chair carefully and fill any visible screw holes with wood filler. Allow it to dry completely.
- Give your entire chair a thorough sanding, ensuring all surfaces are smooth and free of any rough edges.
- Now for the fun part! Choose an outdoor spray paint in a color that complements your style and apply two even coats to your lounge chair. For a professional result, follow the paint manufacturer’s instructions carefully.
 A finished DIY outdoor lounge chair, ready for relaxation
Caption: A fresh coat of outdoor paint adds color, personality, and protection to your DIY creation.
Conclusion
Congratulations on building your very own outdoor lounge chair! As someone who has dedicated years to the craft, I can assure you, there’s no feeling quite like relaxing in a piece of furniture you built yourself. This chair is a testament to your craftsmanship and a comfortable retreat where you can unwind and enjoy the fruits of your labor.
I encourage you to unleash your creativity and personalize your chair even further with decorative accents, colorful cushions, or a matching side table.
Head over to Robert Kline Art for more inspiring DIY projects and craft ideas. And be sure to share photos of your finished lounge chair – I can’t wait to see your unique creations!
