Blog
How to Create a Stunning DIY Outdoor Hanging Planter

Hey there, fellow craft enthusiasts! Robert Kline here, and let me tell you, nothing brings me more joy than transforming simple materials into beautiful, functional pieces. Today, we’re diving headfirst into the world of gardening with a project that’s close to my heart: a DIY outdoor hanging planter.
Finding Peace and Inspiration in the Garden
Like many of you, I’ve discovered a newfound appreciation for my garden. It’s become a sanctuary, a place to escape the hustle and bustle, and reconnect with nature. And what better way to enhance this space than by adding a touch of handcrafted charm?
This DIY hanging planter is not just about adding greenery; it’s about creating a statement piece that reflects your unique style. And the best part? It’s surprisingly easy to make! No need to be a master craftsman; if I can do it, trust me, you can too.
Gathering Your Supplies: Simple Yet Effective
Before we get our hands dirty, let’s gather our tools and materials. You’ll be amazed at how few items we need for this project:
- Three planters: These will form the tiers of our hanging masterpiece.
- 10mm rope: Choose a sturdy rope that can handle the weight of the planters and soil.
- Tape measure/ruler: Precision is key, my friends!
- Heavy-duty brackets: These will securely hold our planter to the wall.
- Drill with bits: We’ll need both metal and masonry drill bits, depending on your chosen hanging location.
- Marker pen: For those all-important markings.
- Flowers and soil: The heart and soul of our hanging garden.
Crafting Your Hanging Planter: A Step-by-Step Guide
Now comes the fun part! Let’s break down the process into manageable steps:
Step 1: Creating the Drainage Holes
Using your 8mm drill bit, carefully drill holes into all four corners of each planter’s base. Repeat the process on the top of two planters, ensuring the holes align for a symmetrical look.
Pro Tip: Starting with a smaller drill bit helps prevent the metal from warping.
Step 2: Threading the Rope
Cut four equal lengths of rope. Thread one through the top hole of a planter and secure it with a knot. Repeat for the remaining corners.
Step 3: Creating the Tiers
On each rope, measure and mark 30cm from the planter’s edge. Tie a knot at each mark. These knots will support the next planter tier.
Step 4: Assembling the Planters
Thread the ropes through the holes of the second planter, ensuring the knots rest on the planter’s base. Repeat with the third planter, leaving the bottom planter without a base hole for stability.
Step 5: Hanging Your Masterpiece
If hanging from a fence, use heavy-duty over-the-door hooks. For a brick wall, use your masonry drill bit to install the brackets securely.
Step 6: Adding the Finishing Touches
Now comes the most satisfying part: planting! Choose your favorite flowers, ensuring they thrive in your climate and get adequate sunlight.
 DIY OUTDOOR HANGING PLANTER PINTERST GRAPHIC
Tips for Success: Insights From Robert Kline Art
Over the years, I’ve picked up a few tricks of the trade. Here are some additional tips to make your DIY hanging planter a resounding success:
- Choose the right location: Consider sunlight, wind exposure, and accessibility for watering.
- Use high-quality potting mix: This ensures proper drainage and nutrient supply for your plants.
- Don’t be afraid to experiment: Get creative with your plant choices! Mix and match colors, textures, and trailing varieties for a visually stunning display.
- Regular maintenance is key: Water your plants regularly and fertilize them according to their needs.
More Than Just a DIY Project: The Joy of Creation
This DIY outdoor hanging planter is more than just a gardening project; it’s a testament to the joy of creating something beautiful with your own two hands. It’s about transforming your outdoor space into a reflection of your personality and style.
So, what are you waiting for? Gather your supplies, unleash your inner artist, and create a stunning hanging planter that will be the envy of your neighborhood. And remember, the most important ingredient in any craft project is to have fun!
Tell me, what are your favorite ways to add a personal touch to your outdoor space? Share your thoughts and experiences in the comments below. I love hearing from fellow craft enthusiasts!
And for more unique DIY projects and handcrafted gift ideas, be sure to explore the Robert Kline Art website. Happy crafting!
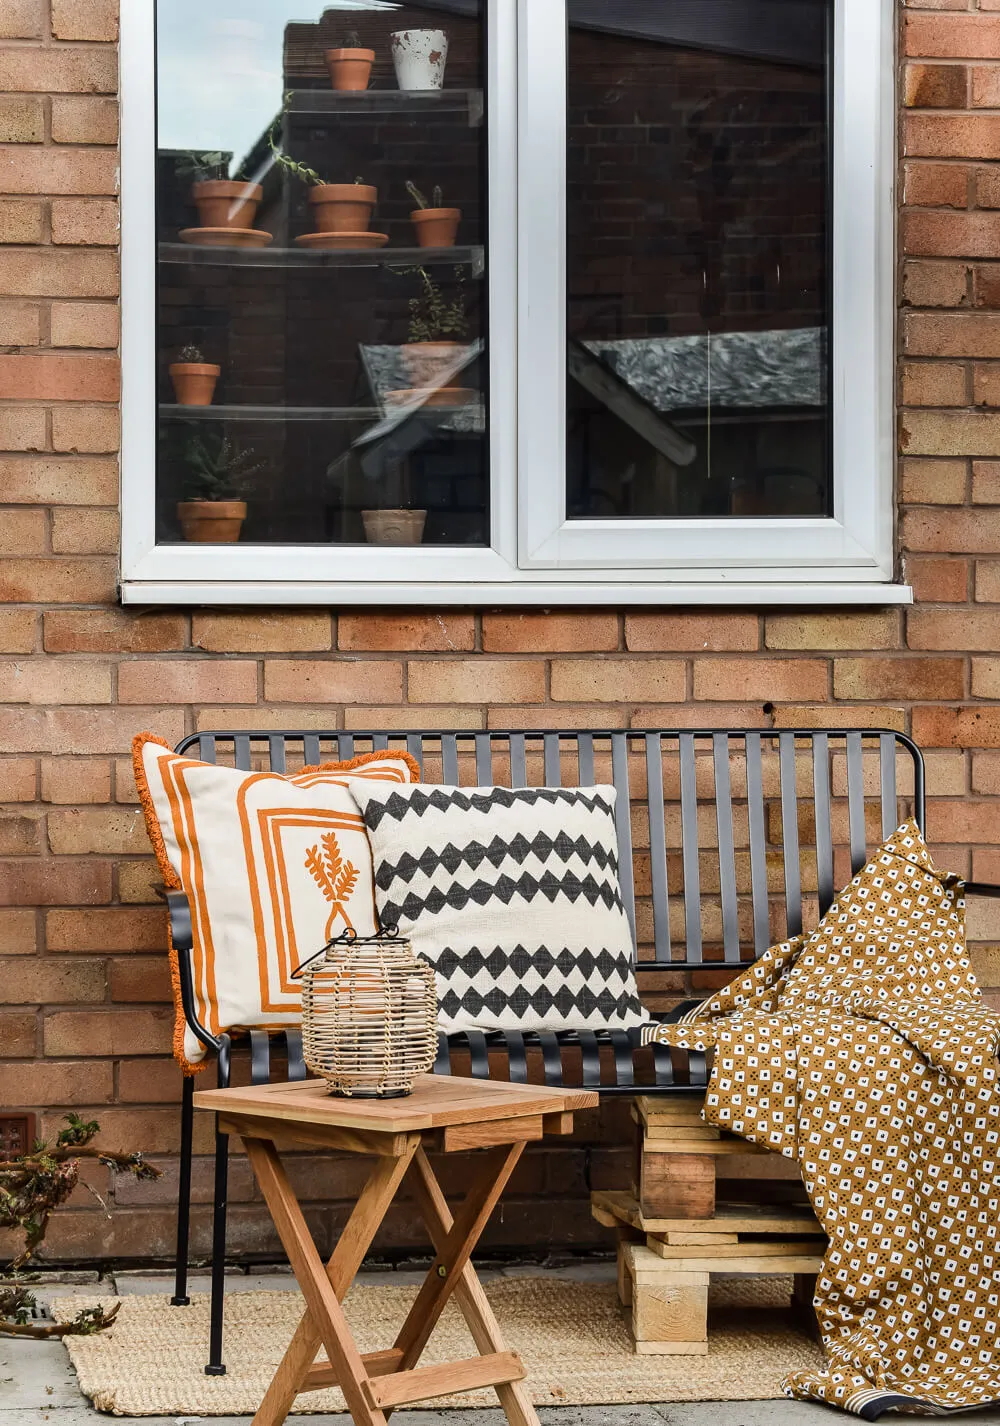
 Image of garden furniture from habitat UK. Garden bench, table and cushion
