Blog
Create a Stunning DIY Outdoor Hanging Planter: A Step-by-Step Guide

Hi everyone, Robert Kline here! While I cherish my time creating art indoors, something about spring always draws me outside. Lately, my garden has become my sanctuary, a place to escape and reconnect with nature. It’s amazing how a little fresh air and sunshine can work wonders on the mind and soul!
Inspired by this newfound appreciation for the outdoors, I decided to embark on a DIY project that’s been on my mind for ages: building an outdoor hanging planter. And let me tell you, the process was incredibly rewarding and surprisingly simple!
Why This DIY Hanging Planter is a Must-Try
This project is perfect for those who, like me, find solace in getting their hands dirty and creating something beautiful. It’s about more than just adding greenery to your space; it’s about transforming ordinary planters into a unique and eye-catching statement piece.
And the best part? You don’t need advanced carpentry skills or expensive materials. With a few readily available supplies and my easy-to-follow instructions, you’ll have your own hanging planter gracing your garden in no time.
Gather Your Tools and Materials
Before we begin, let’s gather everything we’ll need:
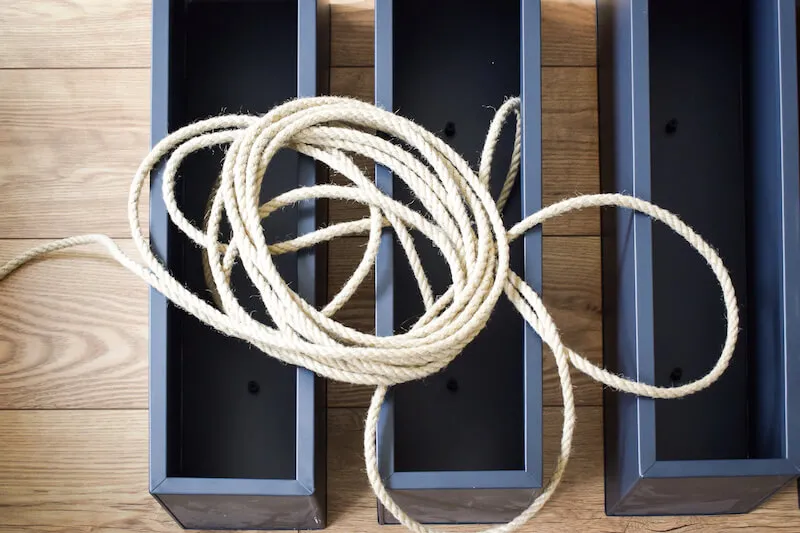
- 3 x Planters: Choose planters of your preferred size and material. Metal planters offer a sleek and modern aesthetic.
- 10mm Rope: Opt for a sturdy rope that can withstand the weight of the planters and soil. A 5-meter length should be sufficient.
- Tape Measure/Ruler: Precision is key for a balanced and symmetrical hanging planter.
- 2 x Heavy Duty Brackets: Choose brackets that complement your planter’s style and can handle the weight.
- Drill with Bits: You’ll need an 8mm and 10mm drill bit for metal (if using metal planters) and a 6mm masonry drill bit for brick walls.
- Marker Pen: For precise marking of drilling points.
- Flowers of Your Choice: Select flowers that thrive in your climate and complement your garden’s color scheme.
- Soil: Choose a well-draining potting mix suitable for your selected plants.
 DIY OUTDOOR HANGING PLANTER PINTERST GRAPHIC
Let’s Get Crafting! A Step-by-Step Guide
Step 1: Create the Drainage and Rope Holes
Using your marker pen, carefully mark four points on the top of each planter, 5cm from each corner. These marks will guide your drilling.
Start by drilling a pilot hole with the 8mm drill bit, followed by the 10mm bit to enlarge the holes. Repeat this process for the base of two planters, ensuring the holes align with those on top.
Pro Tip: Drilling into metal can be intimidating, but with the right tools and a steady hand, it’s a breeze. Use a bit of cutting oil for smoother drilling.
Step 2: Thread the Rope
Cut four equal lengths of rope, ensuring they are long enough to hang the planters at your desired height. Thread one rope end through a top hole of the first planter (the one without base holes) and tie a secure knot at the base.
Step 3: Create the Hanging Structure
Measure 30cm down from the planter’s base and mark the rope. Tie a firm knot at this mark. Thread the rope’s other end through a top hole of the second planter (with base holes), ensuring the knot rests against the planter’s base.
Step 4: Repeat for a Stunning Cascading Effect
Repeat Step 3, connecting the second and third planters with the remaining rope lengths. Ensure consistent spacing between planters for a balanced and visually appealing hanging display.
 3 X PLANTERS AND 10MM ROPE
Step 5: Securely Mount Your Hanging Planter
Determine the ideal location for your hanging planter. You can use heavy-duty over-the-door hooks on a sturdy fence or drill brackets into a brick wall.
Expert Tip: If drilling into brick, use a masonry drill bit and wall plugs for added stability and security.
Step 6: The Finishing Touches: Planting Your Flowers
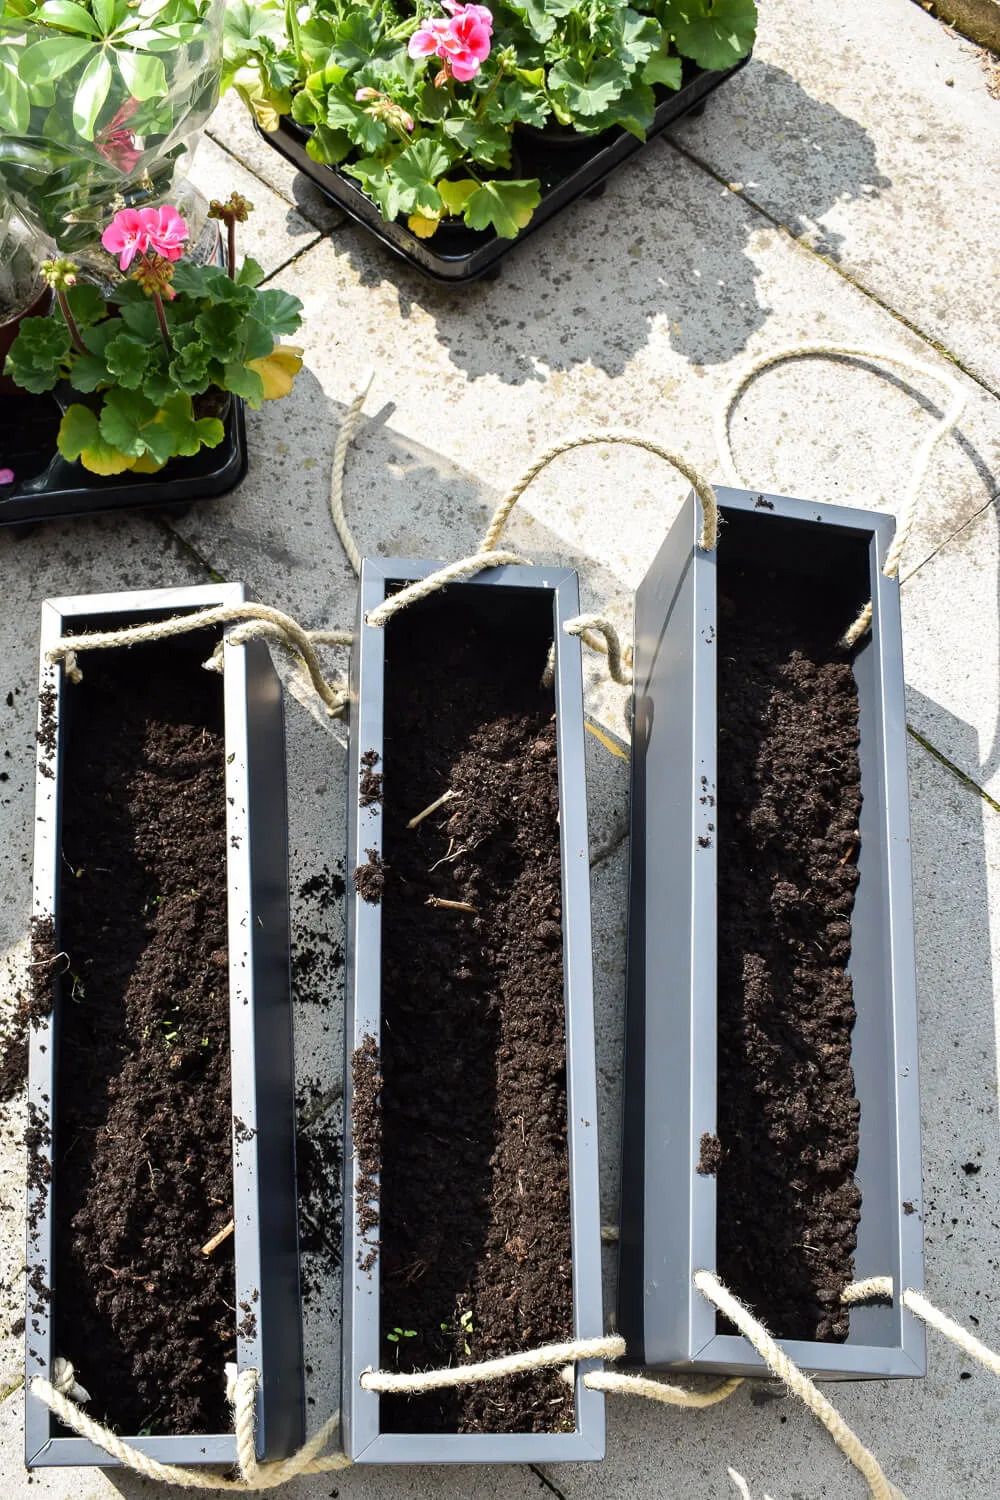
With your hanging planter securely mounted, it’s time for the most exciting part – adding the flowers! Fill each planter with a well-draining potting mix and plant your chosen flowers, ensuring they have ample space to grow.
 Soil in three metal planters
Enjoy Your DIY Masterpiece!
Congratulations! You’ve successfully created a stunning and unique outdoor hanging planter. Step back and admire your handiwork as it adds a touch of handcrafted charm and vibrant color to your outdoor space.
Share Your Creations with Robert Kline Art!
I encourage you to explore your creativity and personalize this project further by experimenting with different planter styles, rope colors, and flower combinations. Don’t forget to share photos of your creations with me on the Robert Kline Art website or social media. I can’t wait to see your unique interpretations!
Remember, creating something beautiful with your own hands is an incredibly fulfilling experience. Happy crafting, everyone!
