Blog
Building a Stunning DIY Garden Arch with Cattle Panels

Hey there, fellow garden enthusiasts! Robert Kline here, your guide to crafting beautiful and functional garden spaces. Today, we’re diving into the world of vertical gardening with a simple yet stunning project: building an arched trellis using cattle panels. Imagine a picturesque archway adorned with vibrant blooms and bountiful harvests – that’s the magic we’re creating!
Why Choose an Arched Trellis?
For me, gardening is as much about the journey as it is about the harvest. An arched trellis isn’t just a practical structure; it’s a statement piece that adds a touch of enchantment to your garden. It beckons you to stroll beneath its leafy canopy and savor the fruits of your labor.
But beyond aesthetics, vertical gardening offers a myriad of benefits:
- Space Optimization: Transform unused vertical space into a thriving garden, perfect for smaller yards or those looking to maximize their yields.
- Healthier Plants: Improved air circulation and sunlight penetration reduce the risk of diseases and encourage stronger growth.
- Ergonomic Harvesting: Say goodbye to backaches! Vertical gardening makes tending to your plants and harvesting your bounty a breeze.
Budget-Friendly Beauty: Cattle Panel Trellis
I’m all about creating stunning garden features without breaking the bank, and that’s where cattle panels come in. These readily available panels are incredibly affordable (around $30 each) and surprisingly versatile. They’re also durable enough to withstand the elements, ensuring your arched trellis brings joy for seasons to come.
What you’ll need:
- 1 Cattle Panel (approximately 18 feet long)
- 2 Metal T-Posts (6 feet tall or similar)
- 10 Medium-Length Zip Ties
Expert Tip: “Before you head to the store, it’s always a good idea to call around for the best prices on cattle panels,” advises seasoned gardener and DIY enthusiast, Sarah Jones. “You might be surprised at the deals you can find!”
Crafting Your Arched Trellis: A Step-by-Step Guide
This project is a breeze, especially with an extra set of hands. Grab a gardening buddy and let’s get started:
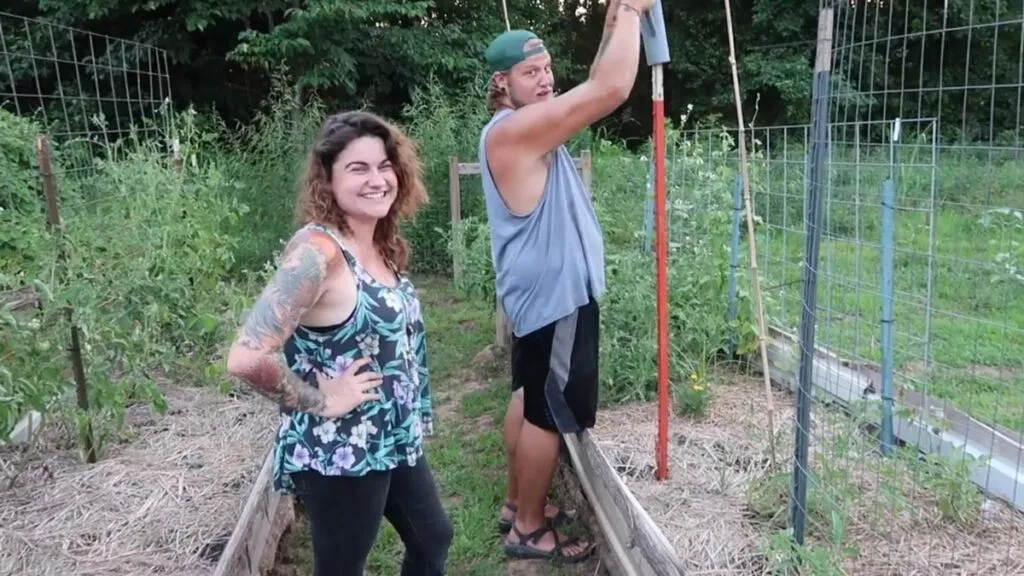
- Position Your First T-Post: Drive the first T-post firmly into the ground, ensuring the notches face inward towards the arch. If you’re placing the trellis in a raised bed, leave about 4-6 inches between the edge of the bed and the post.
 A man pounding in a t-post into the ground of a raised garden bed.
Image: Installing a T-Post for a cattle panel arch - Secure the Cattle Panel: Slide the short side of the cattle panel onto the notched side of the T-post.
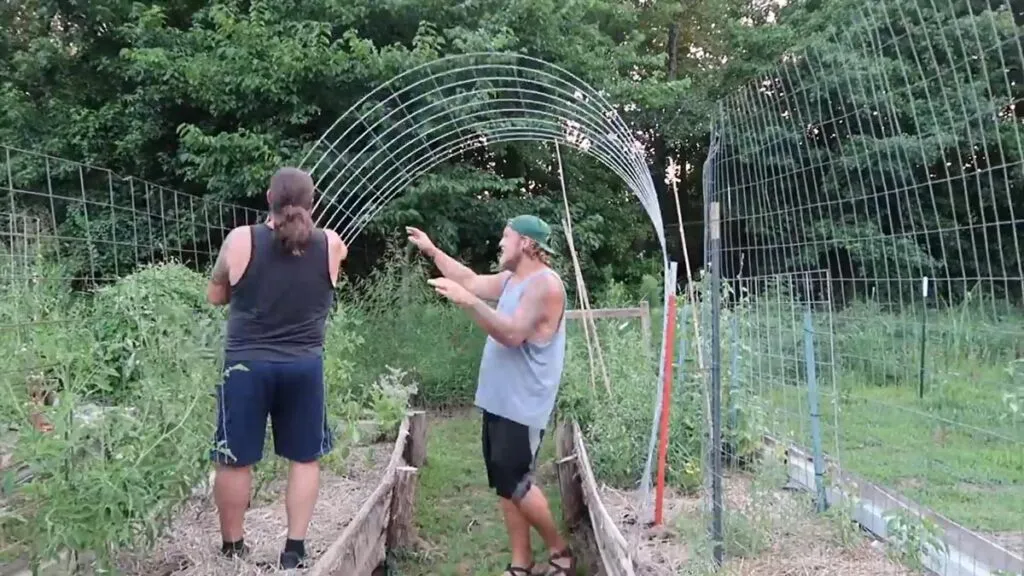
- Create the Arch: Gently bend the cattle panel over your head, positioning the other short side in the opposite raised bed (or at your desired width).
 Two men bending a cattle panel for an arched vertical trellis.
Image: Bending a cattle panel to create the perfect arch - Adjust and Align: Take a step back and fine-tune the height and width of your arch until it’s picture-perfect.
- Install the Second T-Post: Align the second T-post with the other end of the cattle panel, ensuring both posts are centered and the notches face the panel.
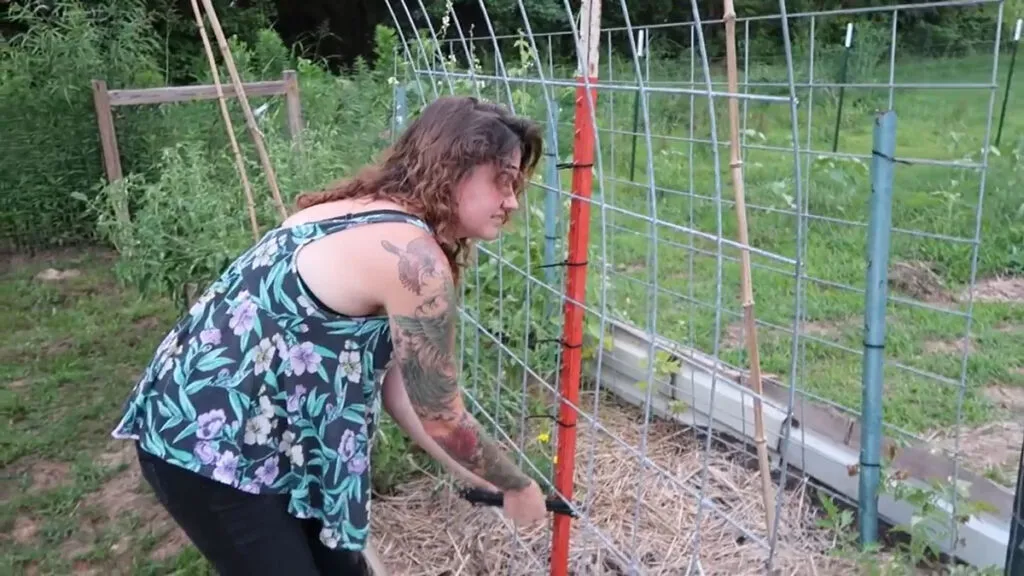
- Secure with Zip Ties: Have your helper hold the panel steady while you drive the second T-post into the ground. Fasten the cattle panel to both T-posts using zip ties, using 5-6 ties per post.
 A woman putting on zip ties to a cattle panel attached to a t-post.
Image: Securing the cattle panel to the T-post with zip ties
And there you have it – a sturdy and elegant arched trellis ready to support your garden dreams!
From Experience: I’ve had some of my cattle panel trellises up for several seasons without any issues. They’re incredibly resilient! Just remember to clear away dead plants in the fall to avoid a frustrating cleanup come springtime.
Choosing Your Vertical Garden Stars
The beauty of an arched trellis lies in the endless possibilities for vertical gardening. Here are a few of my favorite climbers that thrive on this structure:
- Beans: Scarlet runner beans, lima beans, and pole beans all add a touch of whimsy with their twining vines and vibrant blooms.
 A woman picking beans from a trellis in the garden.
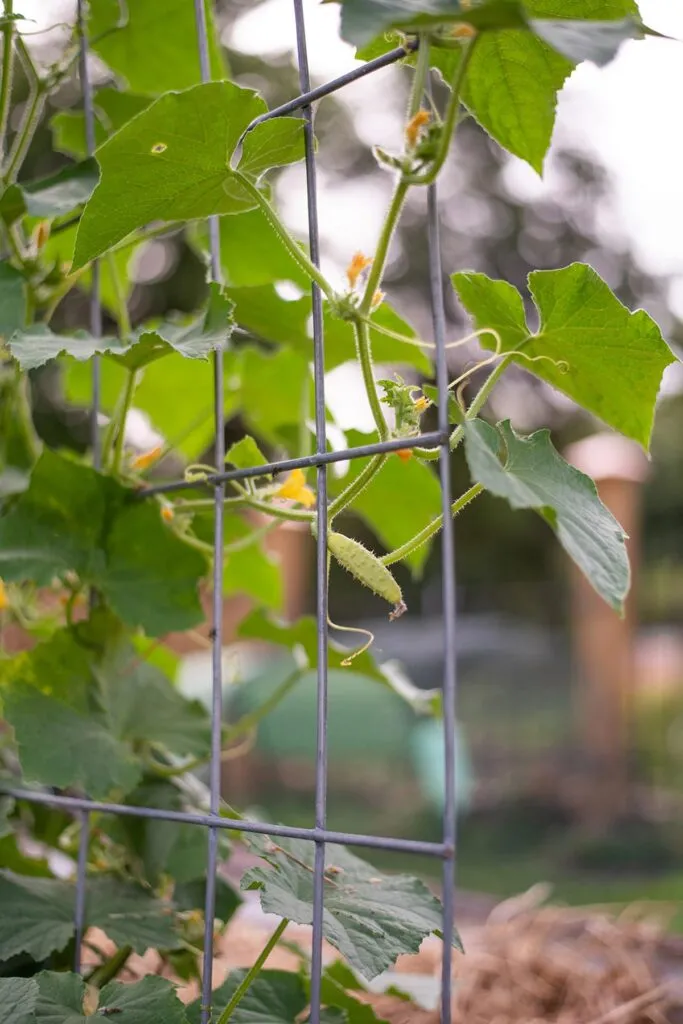
Image: Harvesting beans from a lush vertical garden - Cucumbers: Enjoy an abundance of crisp cucumbers with the added convenience of vertical gardening.
 Cucumbers growing on a vertical trellis in the garden.
Image: Cucumbers thriving on a vertical trellis - Melons: Create a mesmerizing display with cascading melons like banana melons or kajari melons.
 A woman holding up a melon in a mesh bag hanging from the vine.
Image: Supporting a growing melon on a vertical structure - Tomatoes: Choose climbing varieties like the Trip-L-Crop tomato for a bountiful and easily accessible harvest.
Embrace the Vertical Gardening Journey
Building a DIY garden arch is more than just a construction project; it’s an opportunity to infuse your creativity and passion for gardening into your outdoor space. So gather your materials, put on your gardening gloves, and let’s get building!
I’d love to hear about your arched trellis adventures! Share your experiences, tips, and photos in the comments below. And be sure to explore the Robert Kline Art website for more inspiring DIY projects and handcrafted treasures. Happy gardening!
