Blog
Building a DIY Loft Bed: An Easy and Affordable Guide
Hey everyone, Robert Kline here from Robert Kline Art, and today we’re diving into the world of DIY furniture with a project that’s both practical and stylish: a loft bed!
A loft bed is a fantastic way to maximize space in any room, especially for kids or those living in smaller apartments. And the best part? Building your own is easier than you might think! I’ll walk you through the entire process, sharing my personal tips and tricks to ensure your loft bed project is a resounding success.
Choosing Your Lumber: The Easy Way vs. The Frugal Way
The first step is gathering your materials, and lumber is obviously our star player. You have two options here:
Option 1: The Easy Way (and Still Budget-Friendly)
Head to your local home improvement store and pick up pre-milled 2x4s and 2x6s. This is the way to go if you want to save time and hassle.
Pros:
- Convenience: No need to mill the lumber yourself.
- Affordability: Still a very budget-friendly option, around $75 for all the wood.
- Simplicity: Perfect for beginners.
Cons:
- Potential Warp or Knots: Pre-milled lumber might have more imperfections.
Option 2: The Not-So-Easy Way (For the Dedicated DIYer)
If you’re like me and enjoy a little extra woodworking, buy 2x12s and rip them down to size yourself. This method requires a table saw and a bit of patience but can save you a few bucks.
Pros:
- Lower Cost: You’ll spend slightly less, around $60 for the lumber.
- Higher Quality: You can choose the best pieces with fewer knots, ideal if you want to stain the bed.
Cons:
- Time-Consuming: Milling the wood takes time and effort.
- Requires More Tools: You’ll need a table saw for ripping the boards.
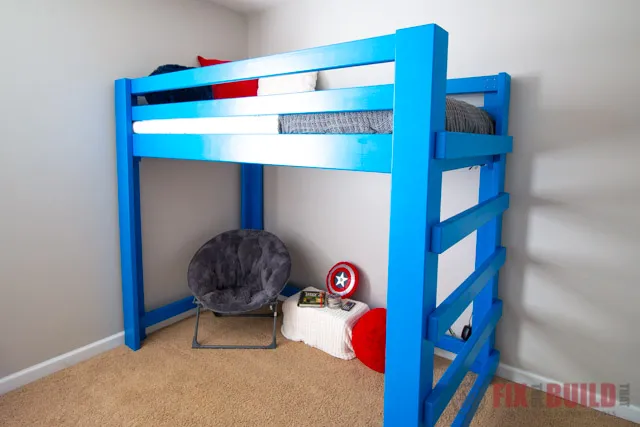
 DIY Loft Bed How to Build
A completed DIY loft bed, ready for a cozy night’s sleep.
Building the Loft Bed: A Step-by-Step Guide
Once you’ve chosen your lumber, it’s time to roll up those sleeves and start building!
Step 1: Cut and Assemble the Legs
Begin by cutting your boards to length for the legs. I like to run them through a planer for a smooth finish, but sanding works too. Each leg consists of a 2×6 attached to a 2×4 at a 90-degree angle. Use wood glue and biscuits for a strong and aligned joint.
Pro Tip: Round over all the edges with a router for a polished look and to prevent any sharp corners.
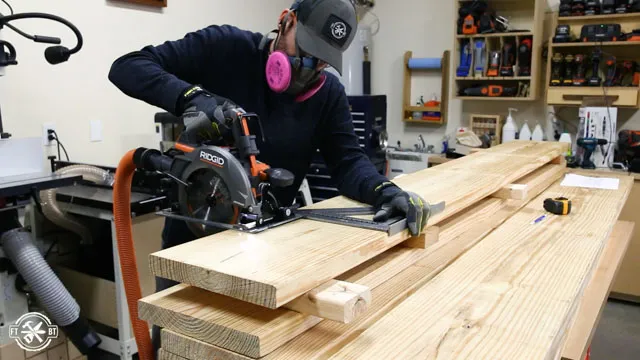 Cut wood with circular saw
Cutting the wood to size is the first step in building your DIY loft bed.
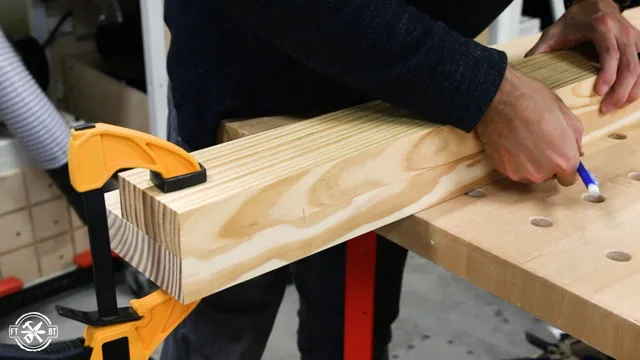 mark wood for biscuit joint
Use a biscuit joiner to ensure the legs are strong and securely attached.
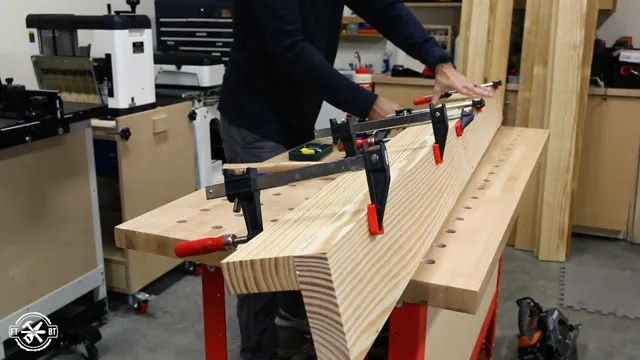 clamp wood together
Clamping the wood ensures a tight bond while the glue dries.
Step 2: Cut and Assemble the Bed Frame
Measure your mattress to determine the exact length of your bed frame. Cut the 2x6s accordingly and drill pocket holes in the shorter boards for attaching them to the longer side rails.
Expert Insight: “Always double-check your mattress dimensions,” says Sarah Thompson, a seasoned furniture maker. “Mattress sizes can vary slightly, and you don’t want any surprises during assembly.”
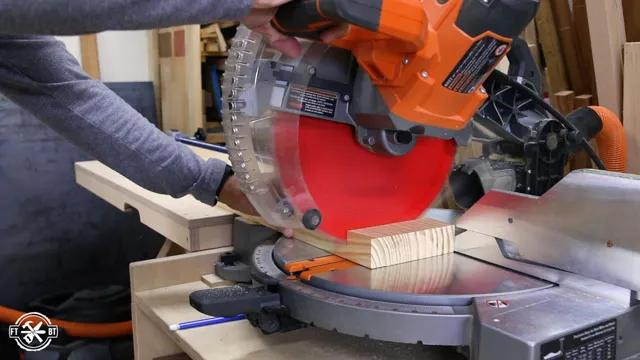 cut wood for bed frame
Cut the wood for the bed frame, making sure it’s the right size for your mattress.
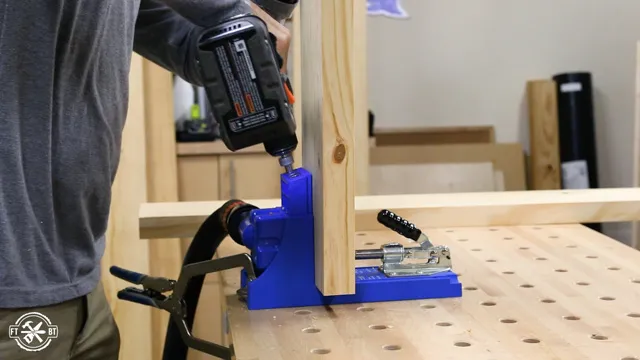 using kreg K4 to drill pocket holes into wood
Drilling pocket holes creates strong joints for the bed frame.
Step 3: Assemble the Headboard and Footboard
The headboard and footboard provide stability and serve as the ladder’s support. Attach the pre-cut 2x4s to the legs using screws. For a cleaner look, attach the ladder rails on the outside of the footboard legs, concealing the screws.
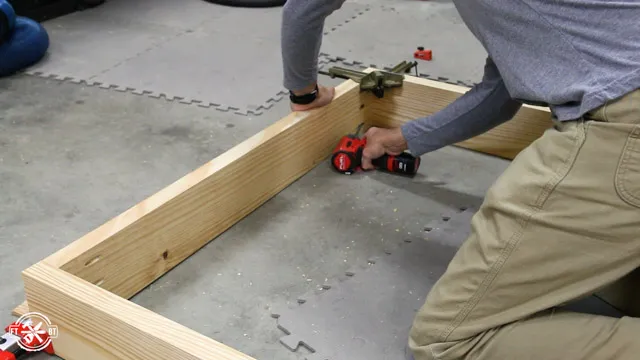 screwing sides of bed frame together
Attach the sides of the bed frame to create the basic structure.
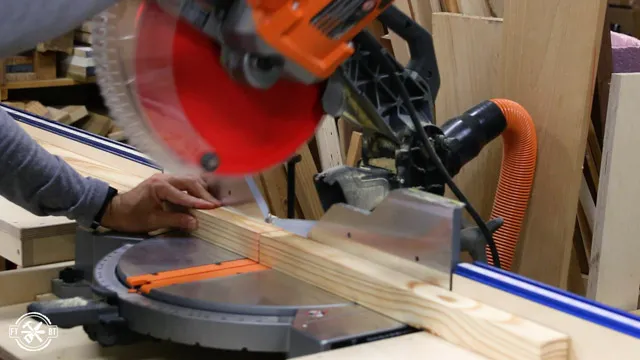 cutting 2x2s with a miter saw
Cutting the supports for the mattress slats ensures a comfortable sleeping surface.
Step 4: Connect the Frame and Add Guardrails
With the headboard, footboard, and frame ready, it’s time for final assembly. Use clamps to secure the pieces together, ensuring everything is square and level before drilling pilot holes and screwing the components together.
Safety First: Guardrails are crucial for loft beds. Attach them securely to the inside of the bed frame using screws.
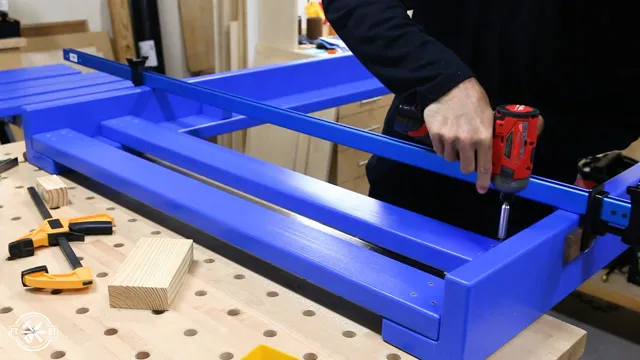 screwing guard rails into loft bed frame
Guard rails are essential for safety, especially for younger users.
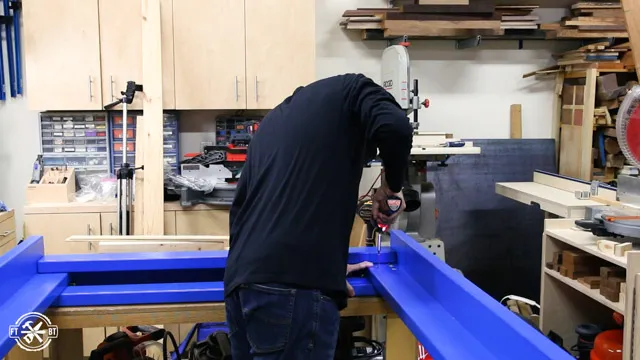 attaching stretcher to side of loft bed
Attaching the stretchers adds stability and prevents the bed from racking.
Step 5: Add Slats and Finishing Touches
Cut 1×4 furring strips to size and lay them across the bed frame to support the mattress. You can also opt for a sheet of plywood, depending on your mattress type.
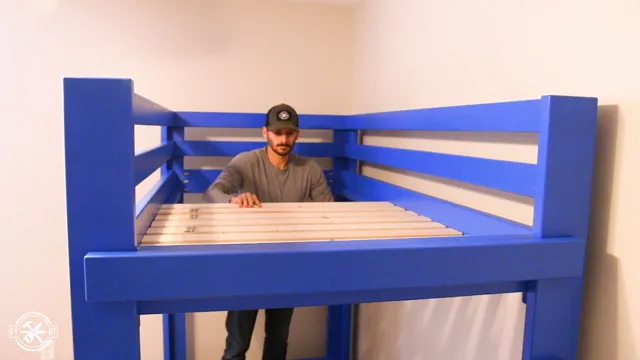 adding slats to loft bed
Adding slats provides support for the mattress and ensures a comfortable sleep.
Time to Get Creative!
Now that your loft bed is built, let your creativity shine!
-
Paint: A fresh coat of paint instantly transforms the look. Choose your child’s favorite color for a personalized touch.
-
Stain: Enhance the natural beauty of the wood with a stain that complements your decor.
-
Decor: Add fairy lights, curtains, or even a slide for a fun and inviting space.
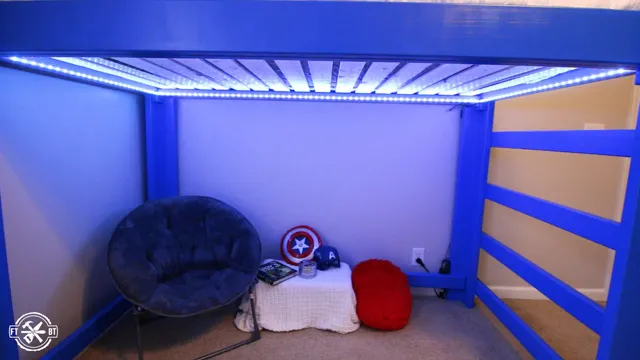 LED lights under diy loft bed
Adding LED lights creates a cozy and inviting atmosphere.
Conclusion
Building your own loft bed is a rewarding experience that combines practicality with creativity. With some basic tools, a bit of patience, and a dash of imagination, you can create a unique and functional piece of furniture that you and your family will cherish for years to come.
So why not give it a try? You might surprise yourself with what you can achieve! And when you’re done, be sure to share your creations with us here at Robert Kline Art. We’d love to see your handiwork!
Looking for more inspiration? Explore more of our DIY furniture projects and handcrafted gift ideas at Robert Kline Art!
