Blog
Elevate Your Workspace: A Guide to Crafting Your Own DIY Laptop Stand
Hey there, fellow creators! Robert Kline here, and let me tell you, as someone who spends a fair amount of time at my desk, I’ve come to realize the importance of a comfortable and ergonomic workspace. One simple yet transformative addition to achieving this is a laptop stand.
During the COVID-19 lockdown, like many of you, I found myself working from home, often hunched over my laptop at the kitchen table. It wasn’t long before my posture started to protest. That’s when I decided to take matters into my own hands and build a laptop stand.
The experience was so rewarding that I wanted to share it with you all. In this guide, we’ll walk through the process of crafting three distinct laptop stand designs, each catering to different needs and skill levels. Whether you’re a seasoned DIY enthusiast or just starting out, you’ll find a project here to elevate your workspace and your laptop game.
Let’s get crafting!
Finding Inspiration: Exploring Design Possibilities
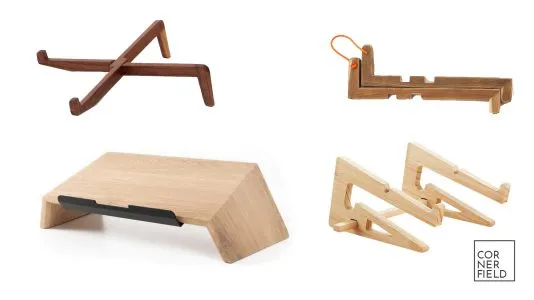
Before diving into the build, I find it’s always helpful to gather some inspiration. I browsed online, checking out various wooden laptop stands – not necessarily to buy, but to get those creative juices flowing.
 "Different laptop stand designs"
Image: A collection of laptop stand designs for inspiration.
The beauty of DIY is that you can customize your project to perfectly suit your needs and aesthetic preferences. To illustrate this, I decided to experiment with three different designs:
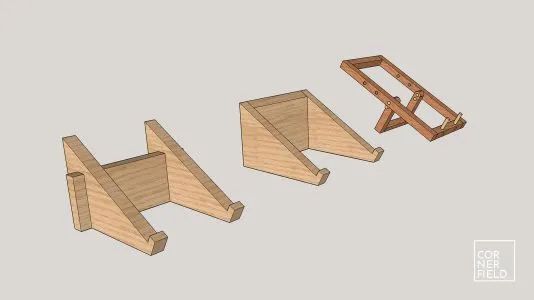 "Three laptop stand designs"
Image: Visual representation of the three laptop stand designs to be built.
- Fixed Platform Stand: The minimalist’s choice – sturdy and straightforward.
- Collapsible Platform Stand: Perfect for those short on space, this design allows for easy storage.
- Foldable Stand: The versatility champion – adjustable angles and ultimate portability.
Building Your Laptop Stand: Three Ways
Now, let’s roll up our sleeves and get to the heart of the matter – the build! Each design has its own unique construction process, so I’ve broken things down into three sections. We’ll start with the simplest and gradually work our way to the more intricate design.
Fixed Platform Stand: Simple Yet Effective
This design is all about clean lines and straightforward construction. Here’s what you’ll need:
Materials:
- Wooden board (approximately 460mm x 250mm)
- Wood glue
- Sandpaper
- Finish of your choice (e.g., varnish, oil)
Tools:
- Jigsaw
- Clamps
- Table saw (optional, but recommended for precise cuts)
Instructions:
-
Prepare Your Board:
- If you’re feeling adventurous, you can create your own patterned plywood like I did.
- Print out the stand shape template (available in A4 and Letter sizes in the Links & Download section below) and adhere it to your board.
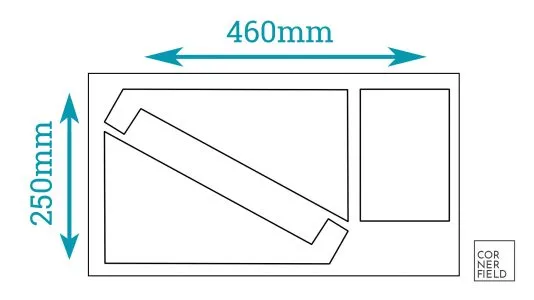 "Laptop stand template on wood
Image: The laptop stand template adhered to the chosen wood.
-
Cut Out the Shapes:
- Use your jigsaw to carefully cut along the traced lines.
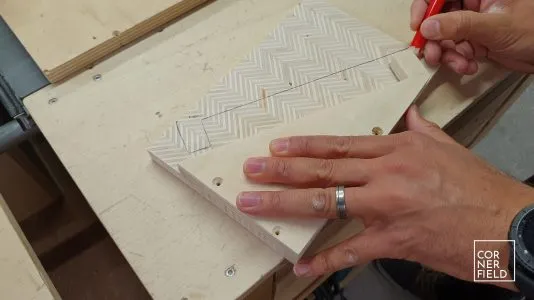 "Cutting the wood with a jigsaw"
Image: Cutting the stand shape using a jigsaw.
-
Sand and Match:
- Secure the two side pieces together using painter’s tape and sand them simultaneously. This ensures they’ll be identical in size.
- Cut the back piece to your desired width using a table saw for a clean, straight edge.
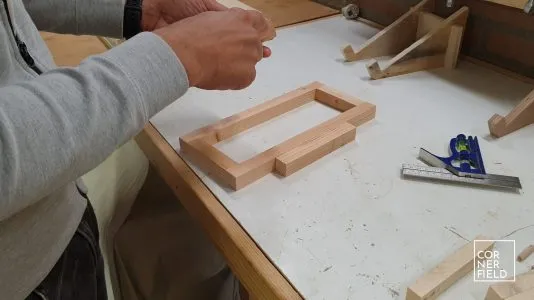 "Sanding the wood pieces"
Image: Sanding the side pieces together for uniformity.
-
Assemble and Finish:
- Apply wood glue to the edges of the side pieces and attach the back piece, securing it with clamps.
- Once the glue dries, give your stand a final sanding and apply your chosen finish.
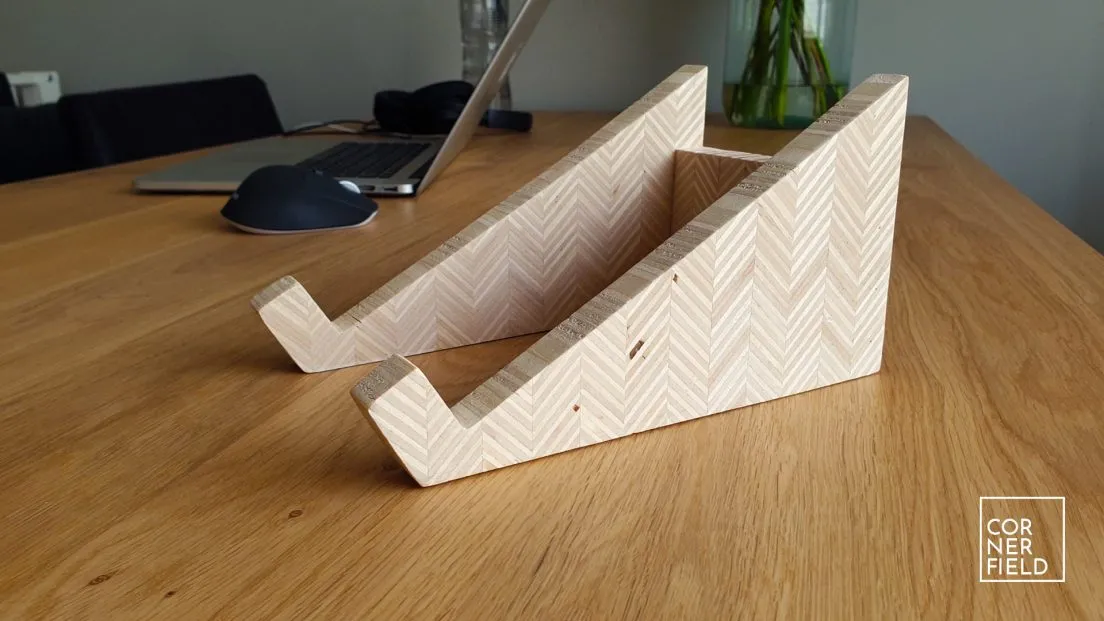 "Assembled laptop stand"
Image: The assembled fixed platform laptop stand.
Collapsible Platform Stand: Space-Saving Design
This design builds upon the fixed platform stand by incorporating a clever collapsible feature.
Additional Materials:
- None – you’ll use the same materials as the fixed platform stand.
Additional Tool:
- Table saw or band saw (highly recommended for precise slot cuts)
Instructions:
-
Prepare the Back Piece:
- The back piece for this design should be wider to accommodate the slots that enable it to collapse.
- Determine the ideal width by taking four times the thickness of your wood and adding a bit for ease.
-
Cut the Slots:
- Use a table saw or band saw to carefully cut slots into the back piece.
- These slots should be about half the height of the back piece to ensure a snug fit when assembled.
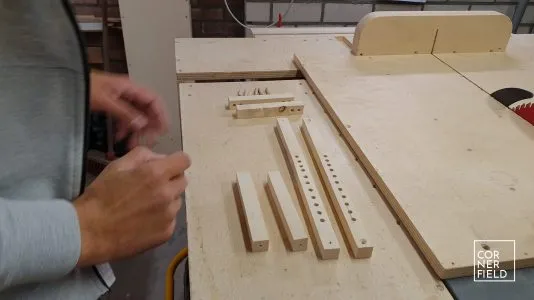 "Cutting slots into wood"
Image: Using a table saw to create precise slots for the collapsible mechanism.
-
Assemble and Finish:
- With the slots cut, slide the side pieces into the back piece. The stand should now hold its shape securely.
- Finish by sanding and applying your chosen finish.
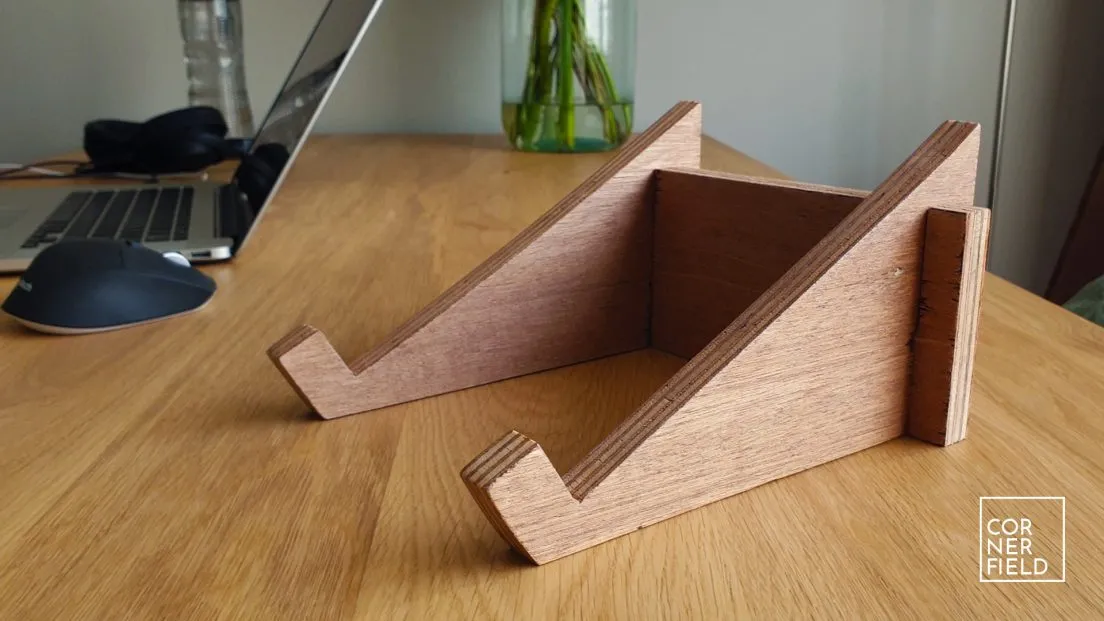 "Collapsible laptop stand complete"
Image: The finished collapsible laptop stand, ready to be folded or unfolded as needed.
Foldable Stand: The Versatile Option
This design takes a different approach, incorporating adjustable angles and a compact foldable design.
Materials:
- Square wooden dowels (approximately 20mm x 20mm)
- Wooden dowels (10mm and 6mm diameter)
- Wood glue
- Sandpaper
- Finish of your choice
Tools:
- Drill with 6mm and 10mm drill bits
- Drill press (optional, but recommended for perfectly aligned holes)
- Saw for cutting dowels
Instructions:
-
Cut the Pieces:
- Determine the desired dimensions for your stand based on your laptop size and preferred height.
- Cut the square dowels to size for the frame and legs.
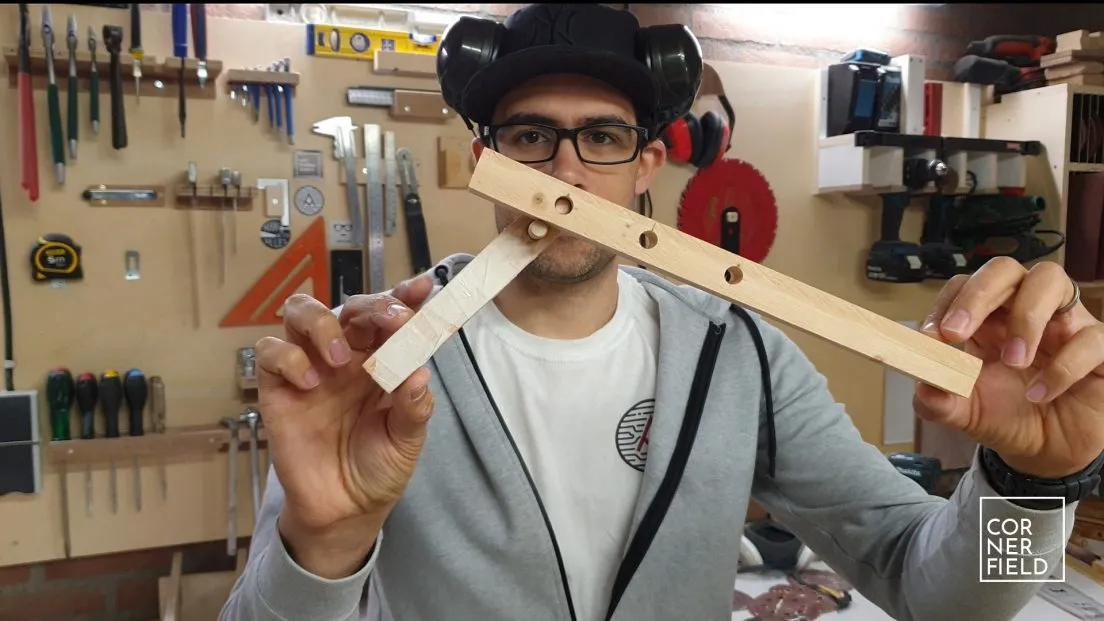 "Wooden dowels for laptop stand"
Image: The cut wooden dowels, ready for assembly.
-
Drill the Holes:
- Secure the side pieces of the frame together and drill holes for the adjustable angle settings.
- For the legs, drill a hole at the top for the pivot point.
- Insert a dowel into the pivot hole of a leg and position it on the frame to determine the placement of the second hole. This ensures the leg won’t rotate freely.
 "Sanding the wood pieces"
Image: Drilling precisely placed holes for the legs and adjustable angles.
-
Assemble the Legs:
- Glue the dowels in place for the legs, or leave the lower dowel unglued to allow for leg storage on the frame.
-
Create the Front Stop:
- To prevent your laptop from sliding, you’ll need a front stop. Get creative here!
- I opted for a simple design with dowels, using a drilling template to ensure identical hole placements.
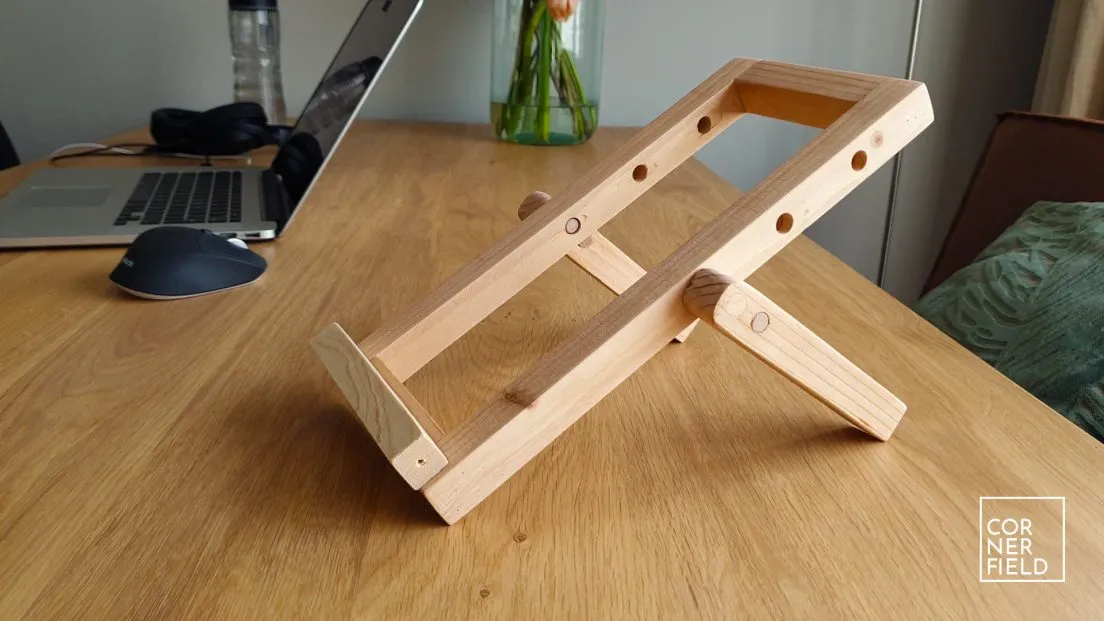 "Assembled foldable laptop stand"
Image: The foldable laptop stand, fully assembled and ready to use.
-
Assemble and Finish:
- Once all parts are ready, sand everything smooth and apply your chosen finish.
- Your foldable, adjustable laptop stand is complete!
Reflections and Conclusion
After completing all three designs, I personally found myself gravitating towards the simplicity and effectiveness of the fixed stand. However, the beauty of this project lies in its adaptability. If you value storage or portability, the other designs offer fantastic solutions.
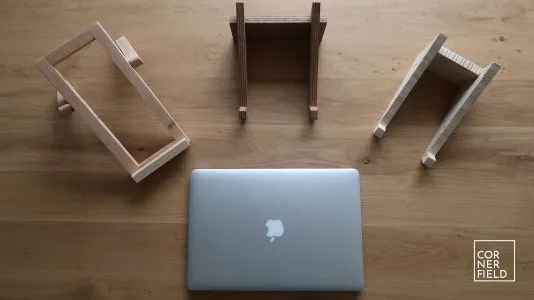 "All three laptop stand designs together"
Image: The three completed laptop stand designs, showcasing the diversity of possibilities.
Whichever design you choose, I encourage you to embrace the process, experiment, and customize it to your liking. There’s nothing quite like the satisfaction of creating something with your own two hands!
Ready to Embark on Your Own DIY Laptop Stand Journey?
I’ve made the 3D model and design templates available for download below. Let’s get those creative sparks flying!
Links & Downloads:
- SketchUp 3D Model: [Link to 3D model]
- Shape Template (A4): [Link to A4 template]
- Shape Template (Letter): [Link to Letter template]
I’d love to see your creations! Feel free to share your finished laptop stands in the comments below or tag Robert Kline Art on social media.
Happy crafting!
