Blog
DIY Leaning Ladder Shelf: A Beginner’s Guide to Chic Storage
Hey there, fellow craft enthusiasts! Remember the gorgeous leaning ladder shelf in my recent Master Ensuite reveal? You guys flooded me with questions about it, so today, I’m excited to share a complete step-by-step guide on how to build your very own! Inspired by a pricey boutique find, this DIY version is not only budget-friendly but also surprisingly easy to tackle, even for beginners. So, grab your tools, and let’s get crafting!
Gathering Your Supplies
Before we dive in, let’s gather everything we’ll need for this project. I’ve included affiliate links for your convenience:
Lumber:
- Two 1″ x 4″ x 6′ pine boards (for the ladder sides)
- Six .5″ x 2.5″ x 3′ pine boards (for the shelf supports)
- 3/4″ plywood cut into the following dimensions for shelves (or have your local hardware store cut them for you):
- 4.5″ x 22″
- 6.75″ x 22″
- 9″ x 22″
- 11.5″ x 22″
- 14″ x 22″
- 3/4″ trim for the front of each shelf (optional, for a polished look)
Tools and Materials:
- Measuring tape
- Pencil
- Chop saw (or hand saw)
- Wood glue (I recommend DAP Rapid Fuse)
- Nail gun (or hammer and nails)
- Level
- Safety glasses
- Wood stain (I used Red Chestnut)
- Polyurethane
- Paintbrush or rag
 Supplies for DIY Ladder Shelf
Step-by-Step Building Process
1. Prepare Your Shelves
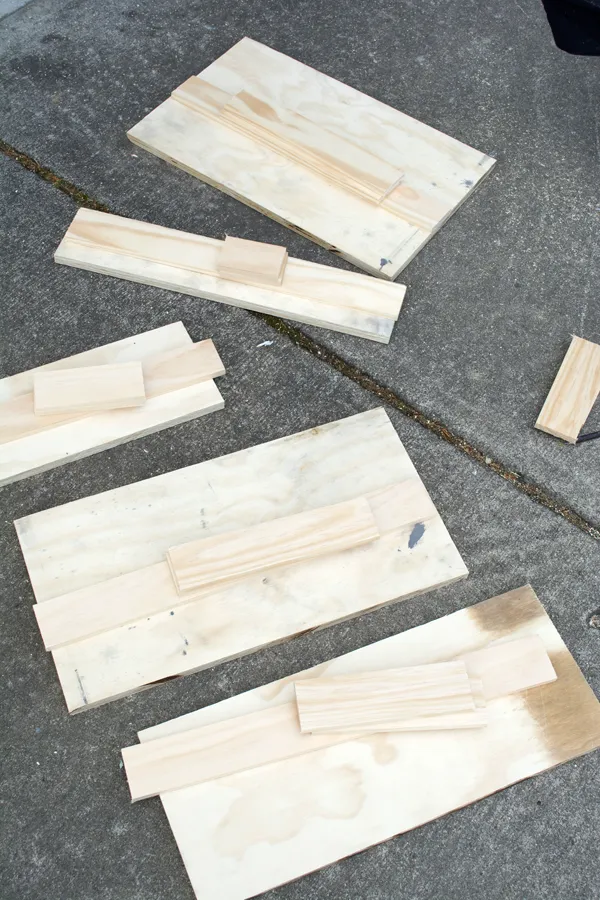
- Cut: Begin by cutting your plywood sheets to the dimensions listed above. These will form the base of your shelves.
- Trim (Optional): For a clean, finished edge, cut your 3/4″ trim pieces to size. You’ll need one long piece for the back of each shelf and two shorter pieces for the sides.
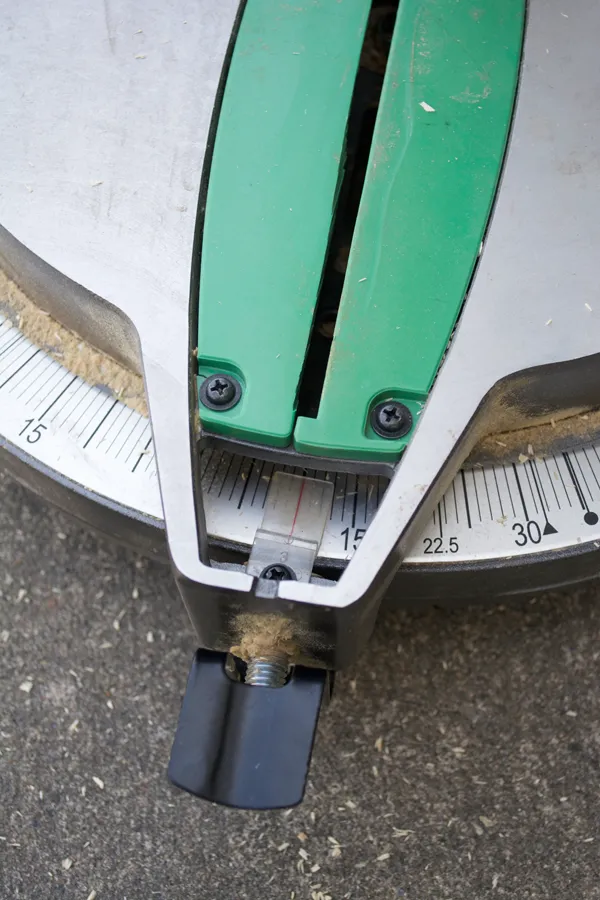 Chop Saw for wood working
2. Assemble the Shelf Frames
- Glue the Back Trim: Apply a generous amount of wood glue to the back edge of each plywood shelf and firmly attach the long trim piece. Allow the glue to dry completely.
- Attach Side Trims (Optional): Once the back trim is dry, repeat the process with the side trim pieces. Apply glue, position them on the sides of the shelf, flush with the back trim, and secure them in place.
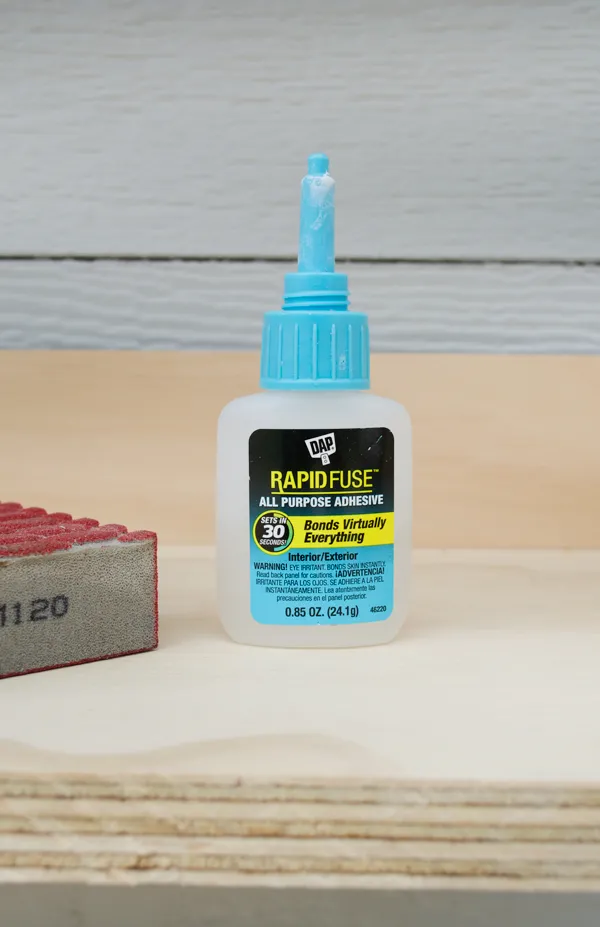 Glue used for wood working and building ladder shelf
3. Create the Ladder Sides
- Angle the Base: Using your chop saw (or hand saw), cut a 10-degree angle on one end of each 1×4 board. This will create the slanted look of the ladder legs.
 Wood cuts for a leaning ladder shelf
4. Attach the Shelves
- Enlist a Helper: This step is much easier with two people!
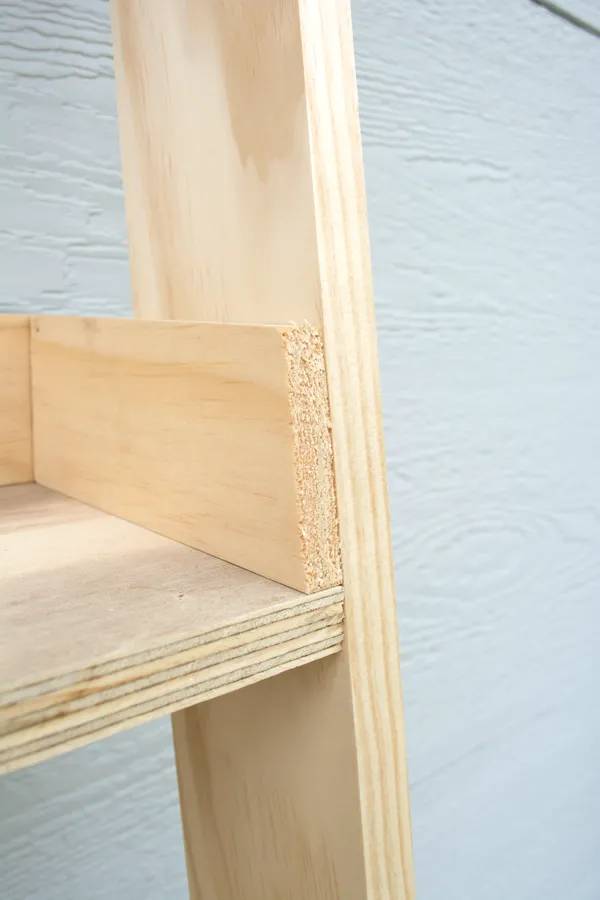
- Position and Secure: Have one person hold a shelf against the ladder sides at your desired height. Use a level to ensure it’s straight and then use your nail gun (or hammer and nails) to attach the shelf to the ladder sides, driving two nails through each side of the support.
- Repeat for Remaining Shelves: Continue attaching the remaining shelves, adjusting the height as desired and ensuring they are level.
Pro-tip: If you don’t have a helper, try using clamps to temporarily hold the shelves in place while you secure them to the ladder sides.
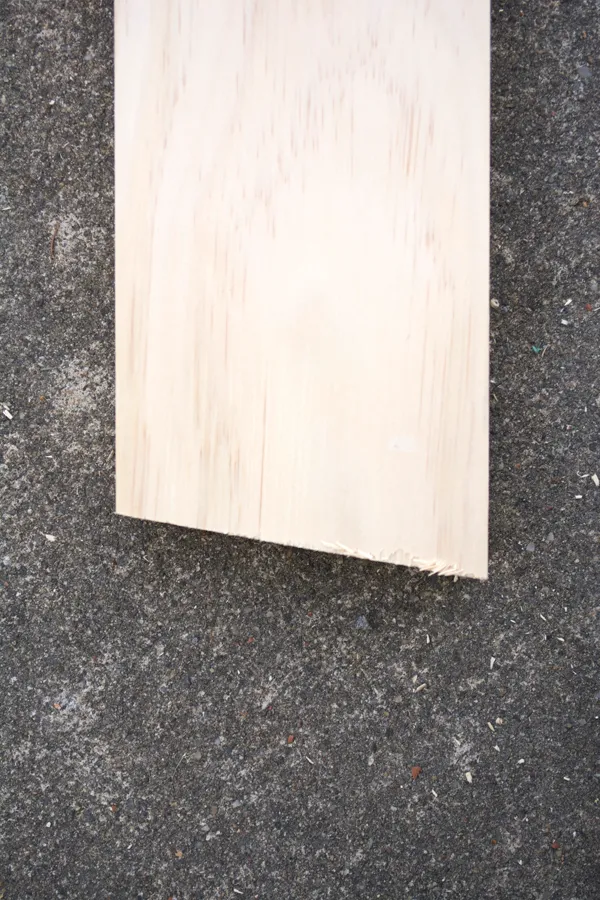 DIY Leaning Shelf Step by step Guide
5. Finishing Touches
- Optional Front Trim: At this stage, you can choose to add a 3/4″ trim piece to the front edge of each shelf for a more polished and cohesive look, just as I did.
- Stain and Seal: Now it’s time to add some color and protection! Using a paintbrush or rag, apply your chosen wood stain evenly to all surfaces of the ladder shelf. Allow it to dry completely, and then apply a coat or two of polyurethane to seal and protect the wood.
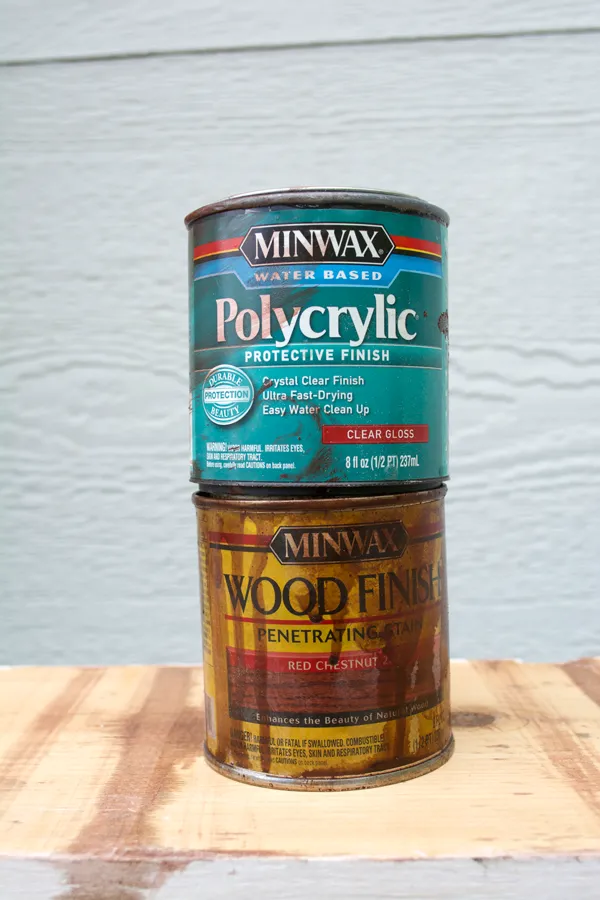 Stain and polycrylic used on wooden ladder shelf
Style Your New Shelf!
Congratulations, you’ve built your own DIY leaning ladder shelf! Now comes the fun part – styling! Use it to display books, plants, decorative accents, or even bathroom essentials.
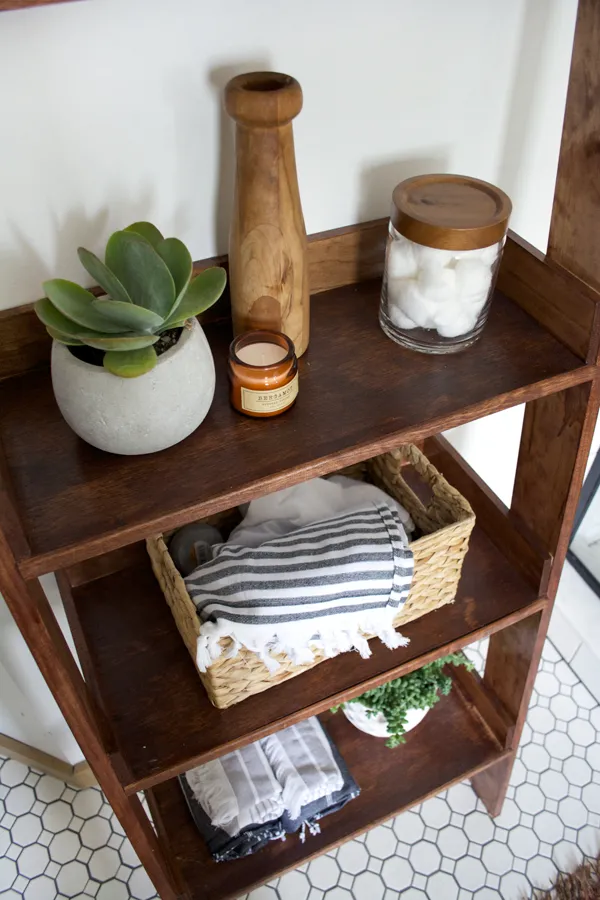 Wooden Leaning Ladder Shelf Brepurposed
This project is incredibly versatile and customizable. You can adjust the dimensions, stain color, and styling to perfectly match your space and taste.
I’m so happy with how my DIY leaning ladder shelf turned out, and I can’t wait to see your creations! Don’t forget to share photos of your finished projects in the comments below. For more unique handmade gift ideas and crafting inspiration, explore the rest of the Robert Kline Art website. Happy crafting!
