Blog
How to Build a DIY Floating TV Shelf: A Step-by-Step Guide

Hey there, fellow craft enthusiasts! Robert Kline here, from Robert Kline Art. Are you tired of bulky TV stands cramping your style? Craving a modern, minimalist look for your living space? Then you’re in the right place! Today, I’m excited to share a simple yet stylish DIY project that will elevate your home decor game: building your very own floating TV shelf!
 title image, living room, media shelf, white walls, tv, white art, ochre lounge chair, blue rug, celia vase with curly willow, sisal ottomans, small black lamp
Why Choose a Floating TV Shelf?
Floating shelves aren’t just trendy; they’re incredibly practical! They free up valuable floor space, creating a more open and spacious feel in any room. Plus, they provide a sleek platform to showcase your TV and add a touch of modern elegance to your home.
What You’ll Need:
Before we dive into the construction, let’s gather our tools and materials:
Tools:
- Miter Saw
- Drill
- Circular Saw (or table saw)
- Tape Measure
- 1 ¼” Hole Saw
- Level
- Clamps
- Sander
Materials:
- (1) 2″x4″x8′ OR (1) 2″x6″x8′ (for the shelf frame)
- 2″x4″x ¾” Plywood (for the shelf top and bottom)
- Edge Banding
- 2 ½” Wood Screws
- 1 ¼” Wood Screws
- Wood Glue
- Finish of Your Choice (paint or stain)
Let’s Get Building!
Step 1: Assembling the Frame
The first step is creating the sturdy backbone of our floating shelf: the frame.
- Choosing Your Height: Decide how tall you want your shelf opening. A 2″x4″ will give you a 3 ½” opening, while a 2″x6″ will create a 5 ½” opening. You can customize the height further by ripping a board to your desired width.
- Cutting the Pieces: Cut your chosen board to a length of 48″. Then, cut three more pieces at 10 ½” each for the supports.
- Assembling the Frame: Apply wood glue to the ends of the 48″ board and attach two of the shorter boards to create a “U” shape. Secure them with 2 ½” screws, pre-drilling the holes to prevent splitting. Glue and screw the third short board in the center of the “U” to complete the frame.
 plans for building a diy floating media shelf
Step 2: Creating Cable Pass-Throughs
No one wants a jumble of cords cluttering their stylish new shelf! Let’s create a convenient pass-through for a clean look:
- Drilling the Hole: Using a 1 ¼” (or larger) hole saw, drill a hole through the center support board of the frame. This will allow you to neatly manage cables and cords.
Pro-Tip: Always plan the hole location to avoid drilling into any screws!
Step 3: Adding the Plywood Top and Bottom
Time to add the surfaces of our shelf!
- Cutting the Plywood: Cut your ¾” plywood sheet in half to create two pieces measuring 12″ x 48″. Smooth out any rough edges with your sander.
- Applying Edge Banding: Apply edge banding to the plywood edges for a polished and finished look.
- Drilling Additional Cable Holes (If Needed): Before attaching the plywood, decide if you’ll need additional cable holes on the top or bottom surface and drill them accordingly.
- Attaching the Plywood: Center a plywood piece on the frame and secure it using 1 ¼” wood screws. Flip the shelf over and repeat the process for the bottom piece.
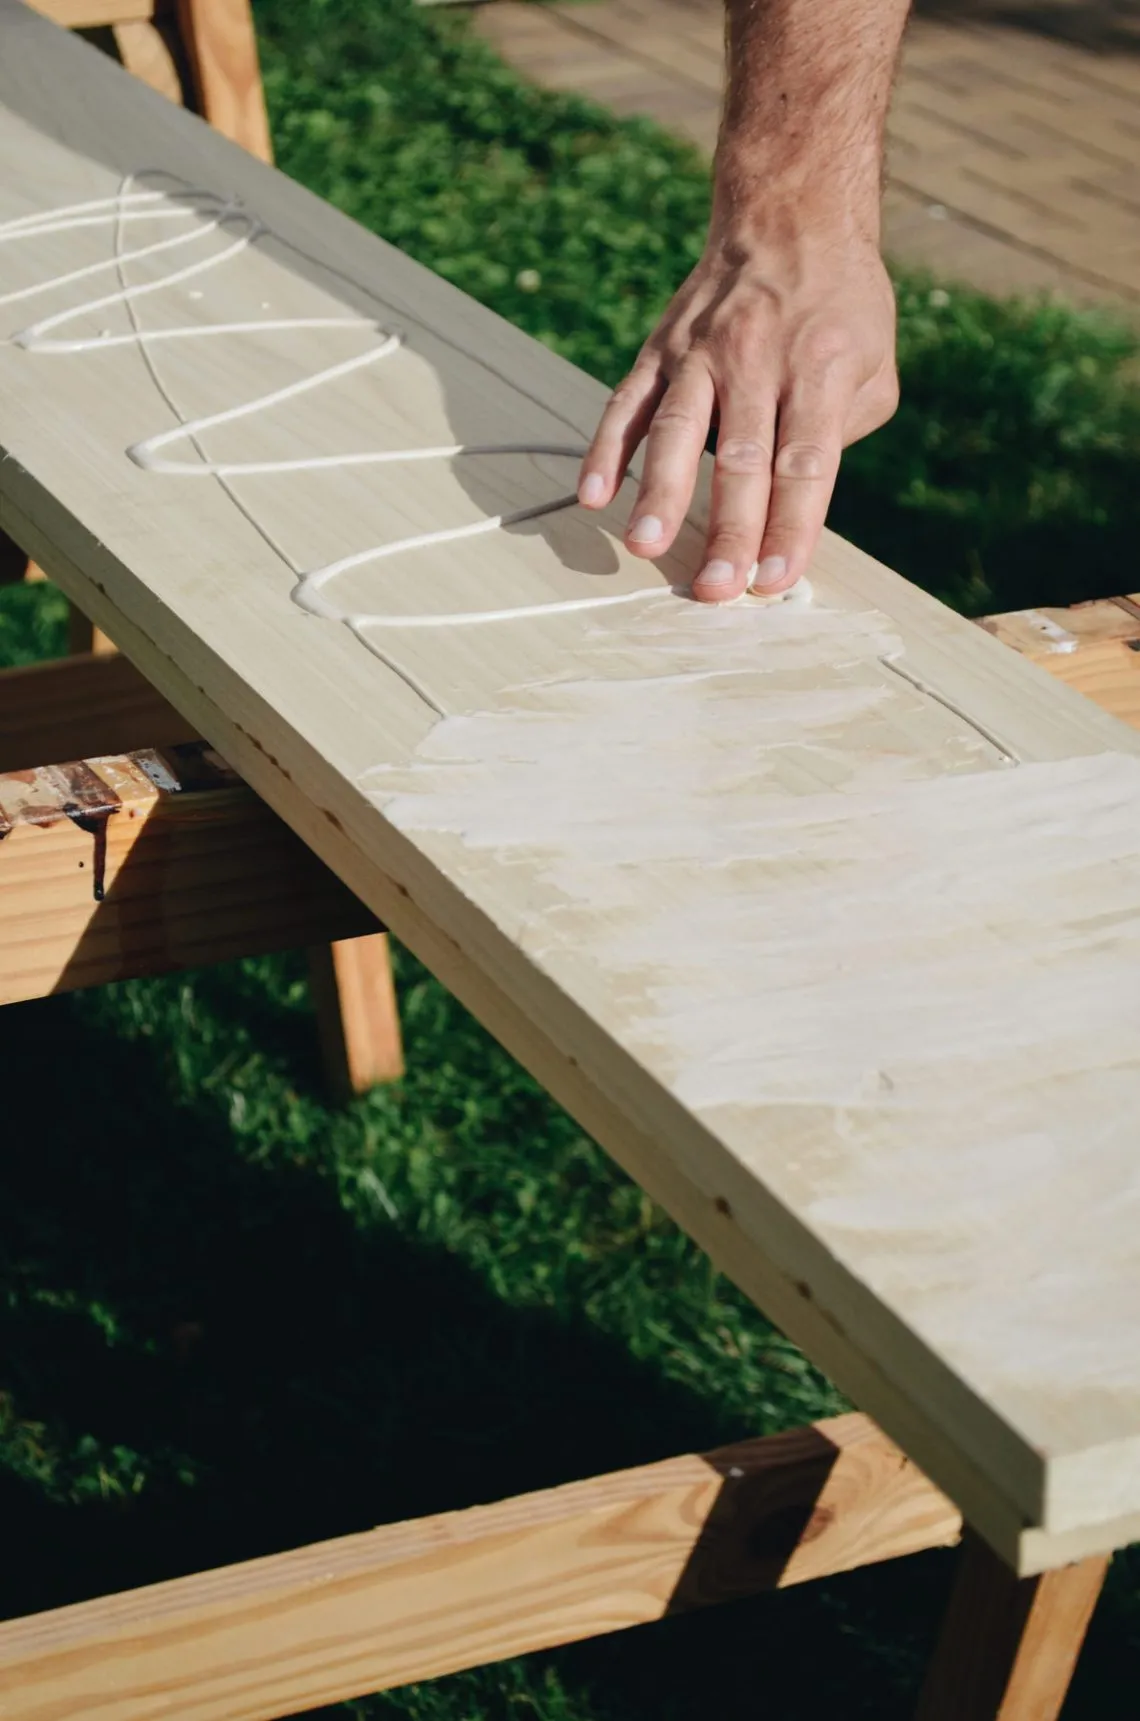
 hand smearing wood glue on 1 x 10 board, green grass,
Step 4: Finishing Touches
Now for the fun part—adding your personal touch!
- Prepping for Finish: Fill any screw holes with wood putty and sand the entire shelf thoroughly for a smooth and even surface.
- Applying Your Finish: Let your creativity shine! Choose your favorite paint or stain to match your décor. Consider a distressed finish for a touch of rustic charm or a sleek, modern look with a bold color.
Expert Tip from Sarah, Interior Designer: “Dark walnut stains can add a touch of sophistication, while white finishes create an airy and spacious feel.”
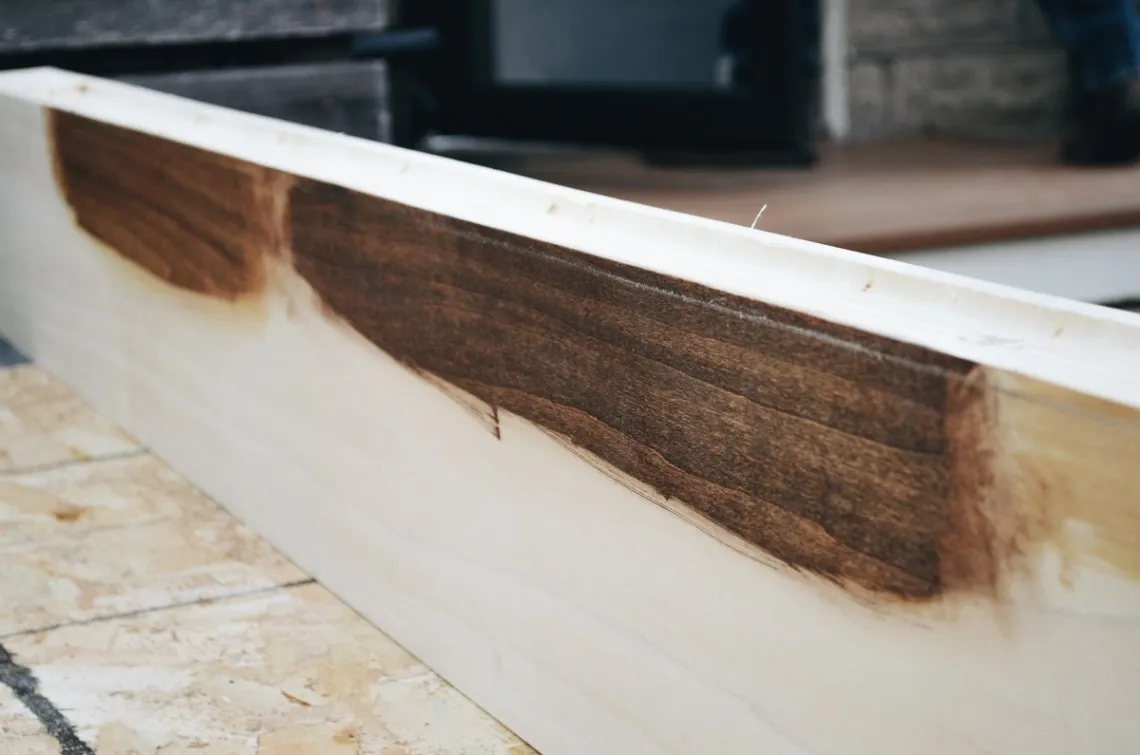
 dark walnut stain on poplar wood
Step 5: Mounting Your Masterpiece
The moment of truth!
- Finding the Perfect Spot: Decide where your floating shelf will take center stage and locate at least two wall studs for maximum support (three is ideal).
- Ensuring Level Placement: Enlist a friend’s help to hold the shelf level against the wall while you mark the stud locations.
- Securely Mounting the Shelf: Drive 2 ½” screws through the back of the shelf into the marked studs. Ensure the shelf is firmly attached and level.
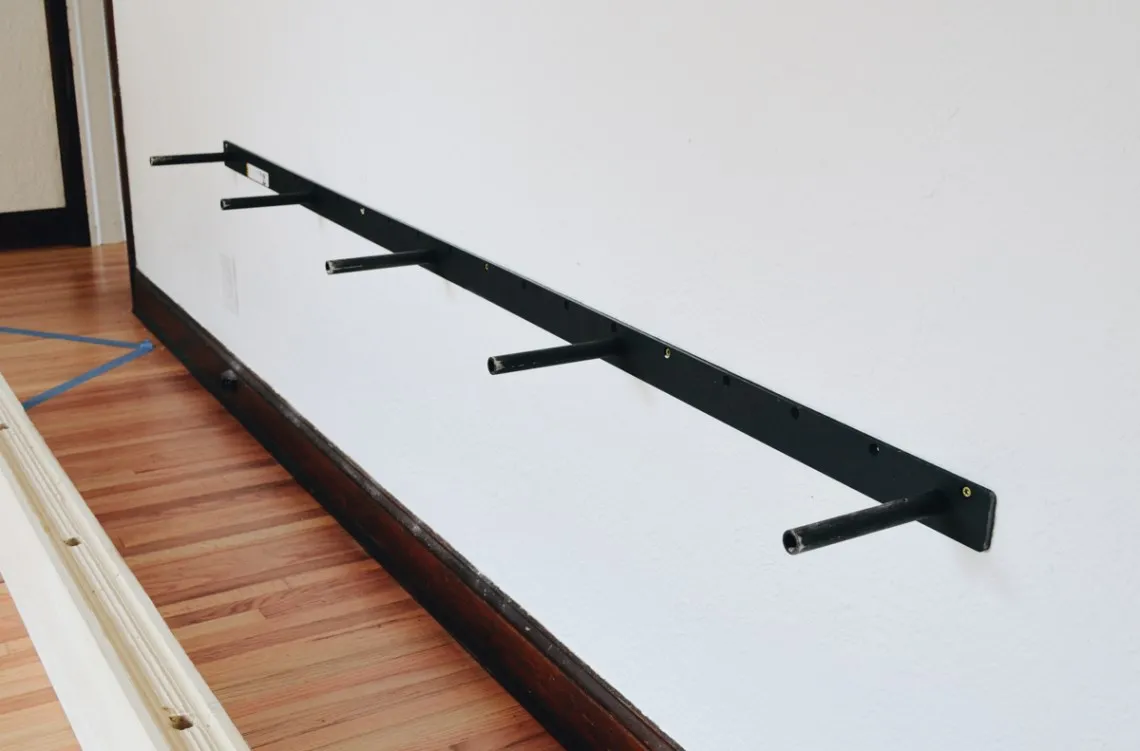
 floating shelf bracket mounted to wall, white walls, natural oak wood floors, dark walnut wood trim
Congratulations!
You’ve officially created a stunning, functional piece of DIY furniture! Step back, admire your handiwork, and enjoy the modern elegance your new floating TV shelf brings to your space.
Want More DIY Inspiration?
Check out other fantastic handmade gifts and décor ideas on the Robert Kline Art website for your next crafting adventure!
