Blog
Building Sturdy and Stylish DIY Floating Shelves
Hey there, fellow craft enthusiasts! Robert Kline, your trusted guide in the world of handmade creations, here. Today, we’re diving deep into a project that’s both practical and aesthetically pleasing: building your very own DIY floating shelves.
These aren’t just any shelves, mind you. We’re talking about heavy-duty, wall-to-wall shelves that can handle anything you throw at them (well, almost!). This guide, inspired by my own workshop transformation, will take you through every step, from planning to admiring your handiwork.
Why Floating Shelves?
Floating shelves are a fantastic way to add storage and style to any room. They offer a clean, modern look while maximizing space. And let’s be honest, a well-organized space makes for a happy creator!
Gathering Your Supplies
The beauty of DIY projects lies in their adaptability. You can adjust the dimensions to fit your space perfectly. For this guide, we’ll focus on building four robust 6-foot wide shelves.
Here’s what you’ll need:
Materials:
- Plywood Sheets: Four 1/4″ thick sheets (adjust quantity based on shelf dimensions)
- 2×4 Lumber: Twelve 8-foot long pieces
- Aspen Planks: 12 feet of 1″ x 6″ planks (for the front face)
- Wood Screws: 2.5″ and 4″
- Wood Stain: Your preferred color (I recommend a rich “Special Walnut”)
- Wall Touch-Up Paint
- Sandpaper
Tools:
- Miter Saw: For precise angle cuts
- Circular Saw: Essential for long, straight cuts
- Table Saw: Ideal for ripping down lumber to the desired width
- Drill: Your trusty sidekick
- Right Angle Drill Adapter: A lifesaver for tight spaces
- Nail Gun: For speed and efficiency
- Measuring Tape
- Level: Your new best friend for ensuring those shelves are straight
- Paint Brushes
- Rags
- Mallet
Building Your DIY Floating Shelves: A Step-by-Step Guide
Ready to get your hands dirty? Let’s do this!
1. Locate Those Studs
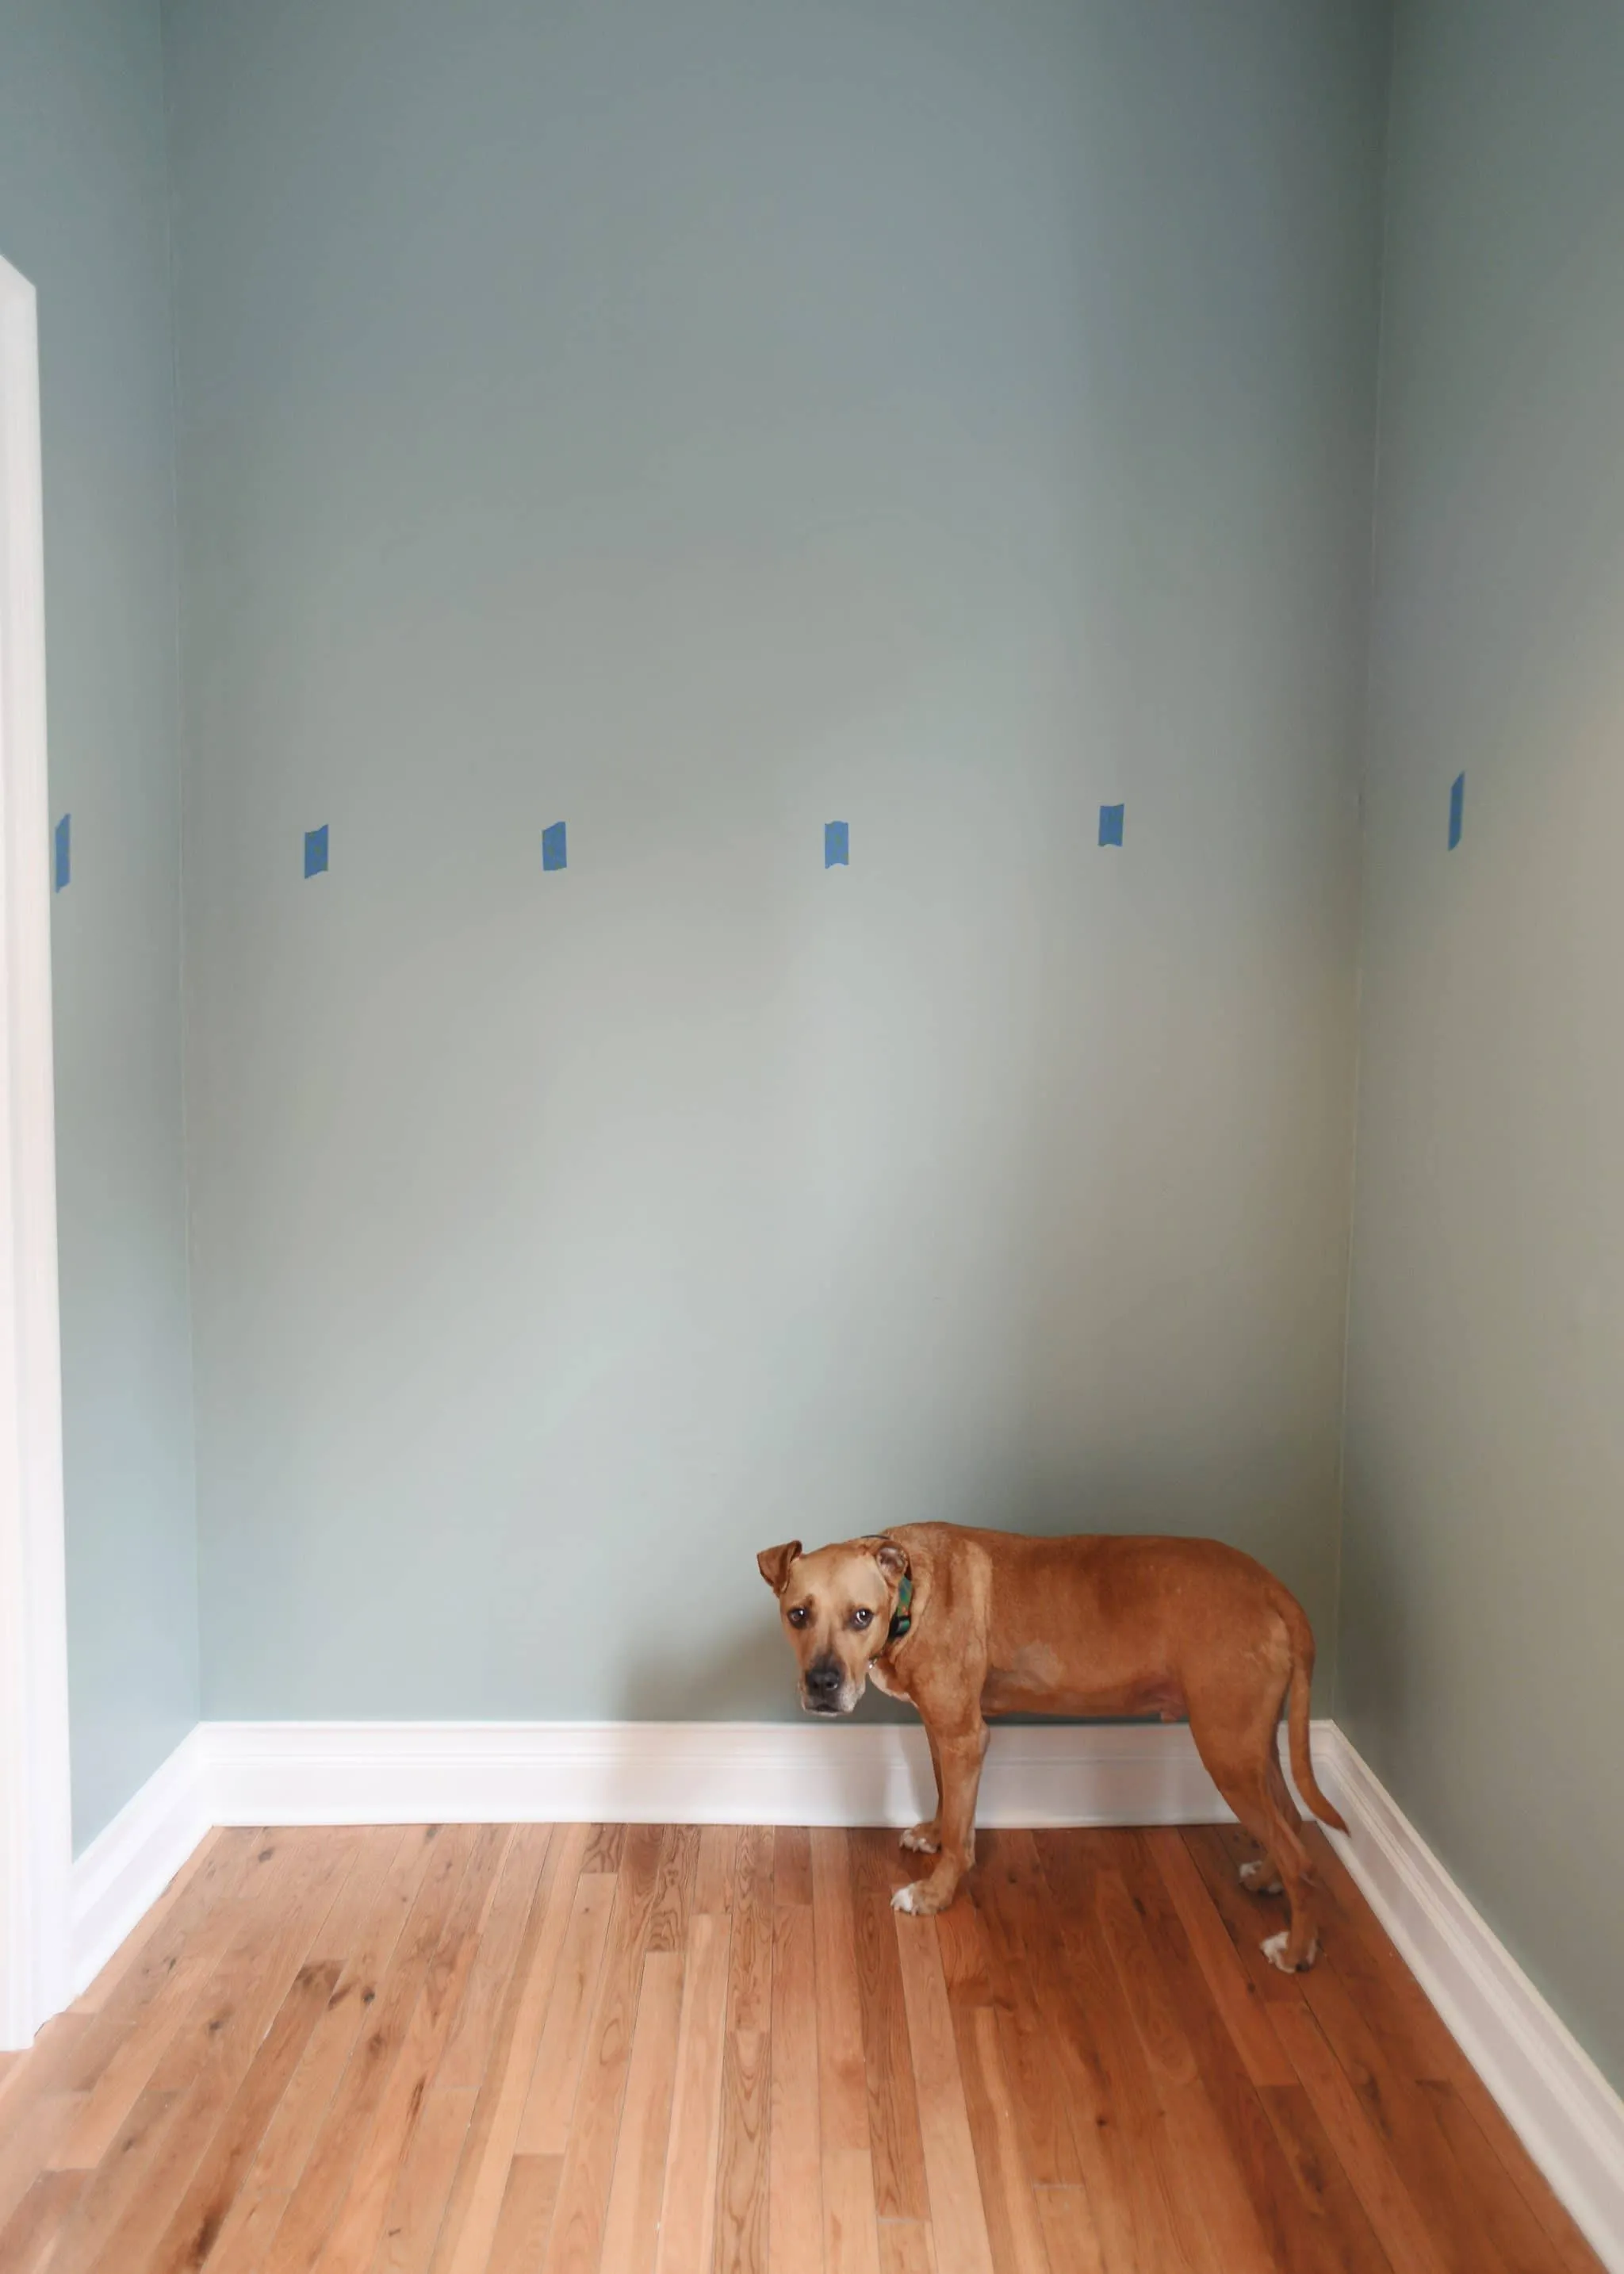
Before you even think about grabbing a saw, locate the studs in your wall. These are crucial for providing the necessary support for your shelves, especially if you plan on storing heavier items.
 searching for studs for our floating shelves | head to Yellow Brick Home for the step-by-step floating shelf tutorial!
Pro Tip: Use a stud finder for accuracy. Mark the stud locations lightly with a pencil.
2. Construct the Support System
Now, let’s build the backbone of our shelves!
- Cut the 2x4s: Cut two 2x4s to the width of your wall for each shelf. These will be the horizontal supports.
- Create the Ladder Structure: Cut the remaining 2x4s into 14-inch pieces. These will form the vertical supports.
- Assemble the “Ladder”: Use 2.5″ wood screws to attach the vertical supports to the horizontal 2x4s, creating a ladder-like structure. Space the supports evenly (about 12 inches apart).
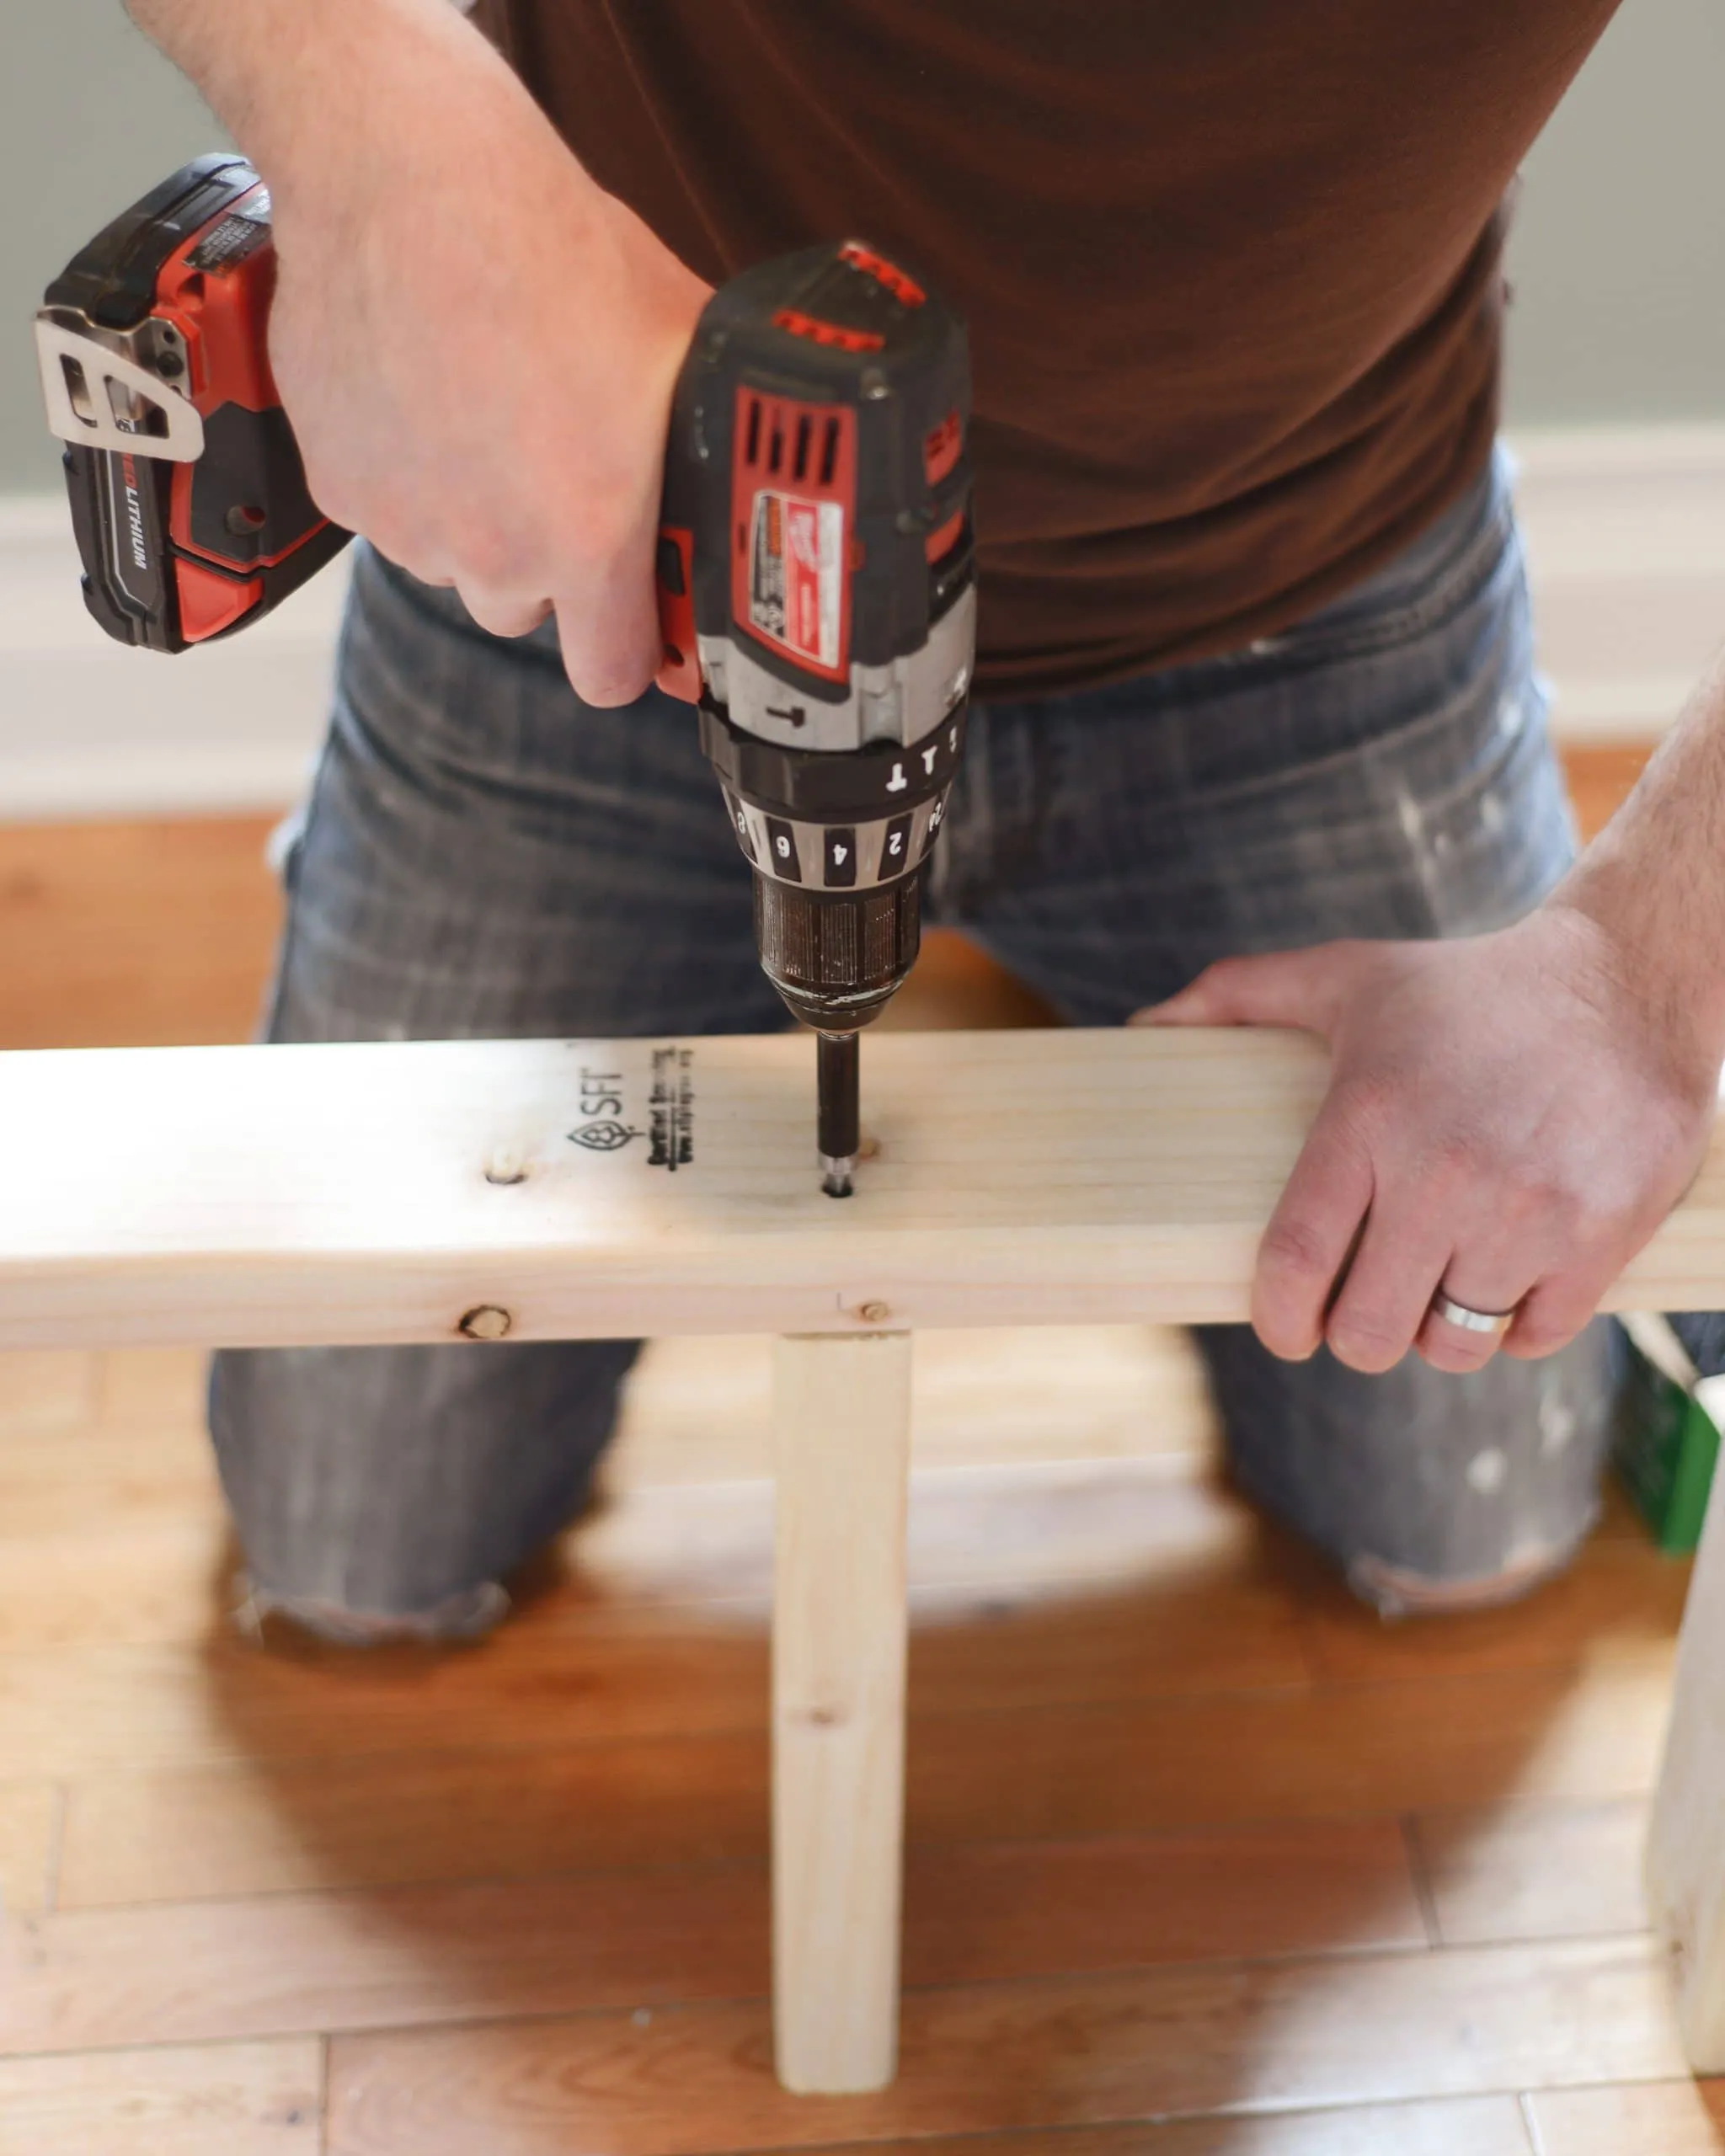 creating the ladder system for our floating shelves | head to Yellow Brick Home for the step-by-step floating shelf tutorial!
Remember: Measure twice, cut once! Accuracy is key for a professional-looking finish.
3. Secure Supports to the Wall
With your support system ready, it’s time to mount it to the wall.
- Align and Attach: Carefully align the support system with the stud markings you made earlier.
- Secure with Screws: Use 4″ wood screws to firmly attach the support to each stud.
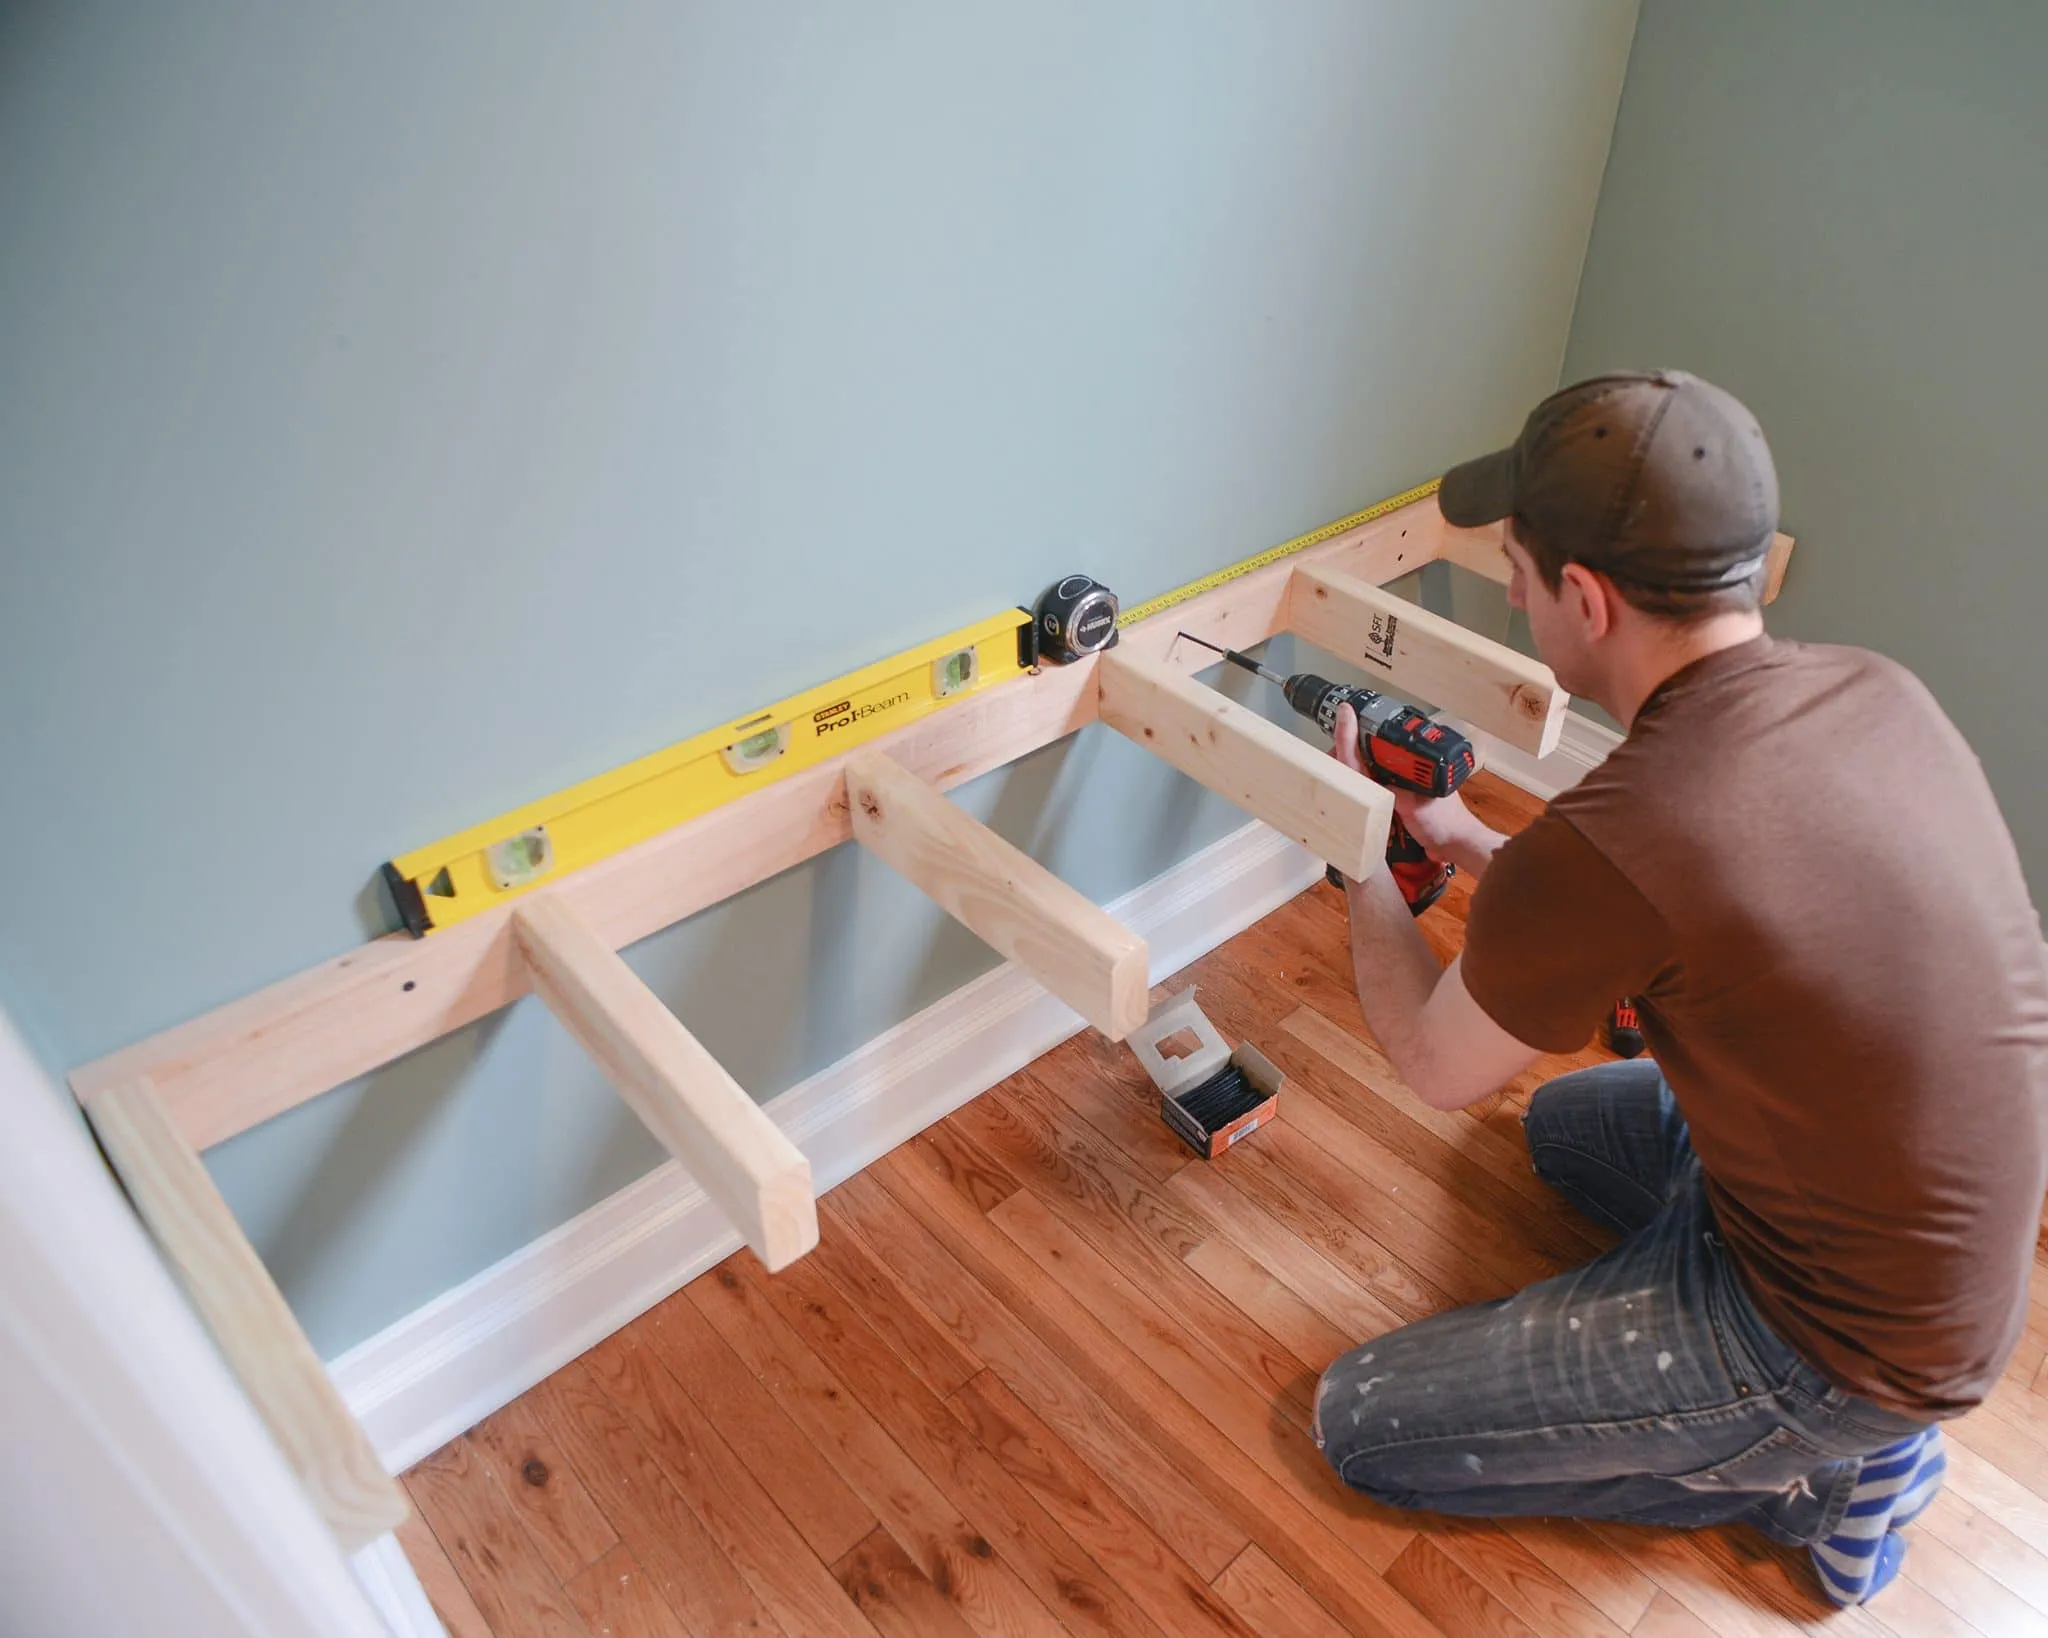 installing the ladder system to the wall | head to Yellow Brick Home for the step-by-step floating shelf tutorial!
Expert Insight: “Using a level at this stage is non-negotiable,” says veteran craftsman John Anderson. “Even the slightest misalignment can compromise the stability of your shelves.”
4. Apply a Touch of Paint
To minimize the visibility of any gaps between the supports and the wall, apply a thin coat of your wall color paint to the exposed 2×4 surfaces. This step ensures a polished look.
 installing the ladder system to the wall | head to Yellow Brick Home for the step-by-step floating shelf tutorial!
5. Add and Finish the Plywood
Now for the satisfying part – adding the shelf surfaces!
- Cut Plywood to Size: Have your plywood sheets cut to the desired depth at your local hardware store (or use your circular saw) to fit snugly over the support system.
- Sand and Stain: Lightly sand the edges of the plywood for a smooth finish. Apply your chosen wood stain, following the manufacturer’s instructions.
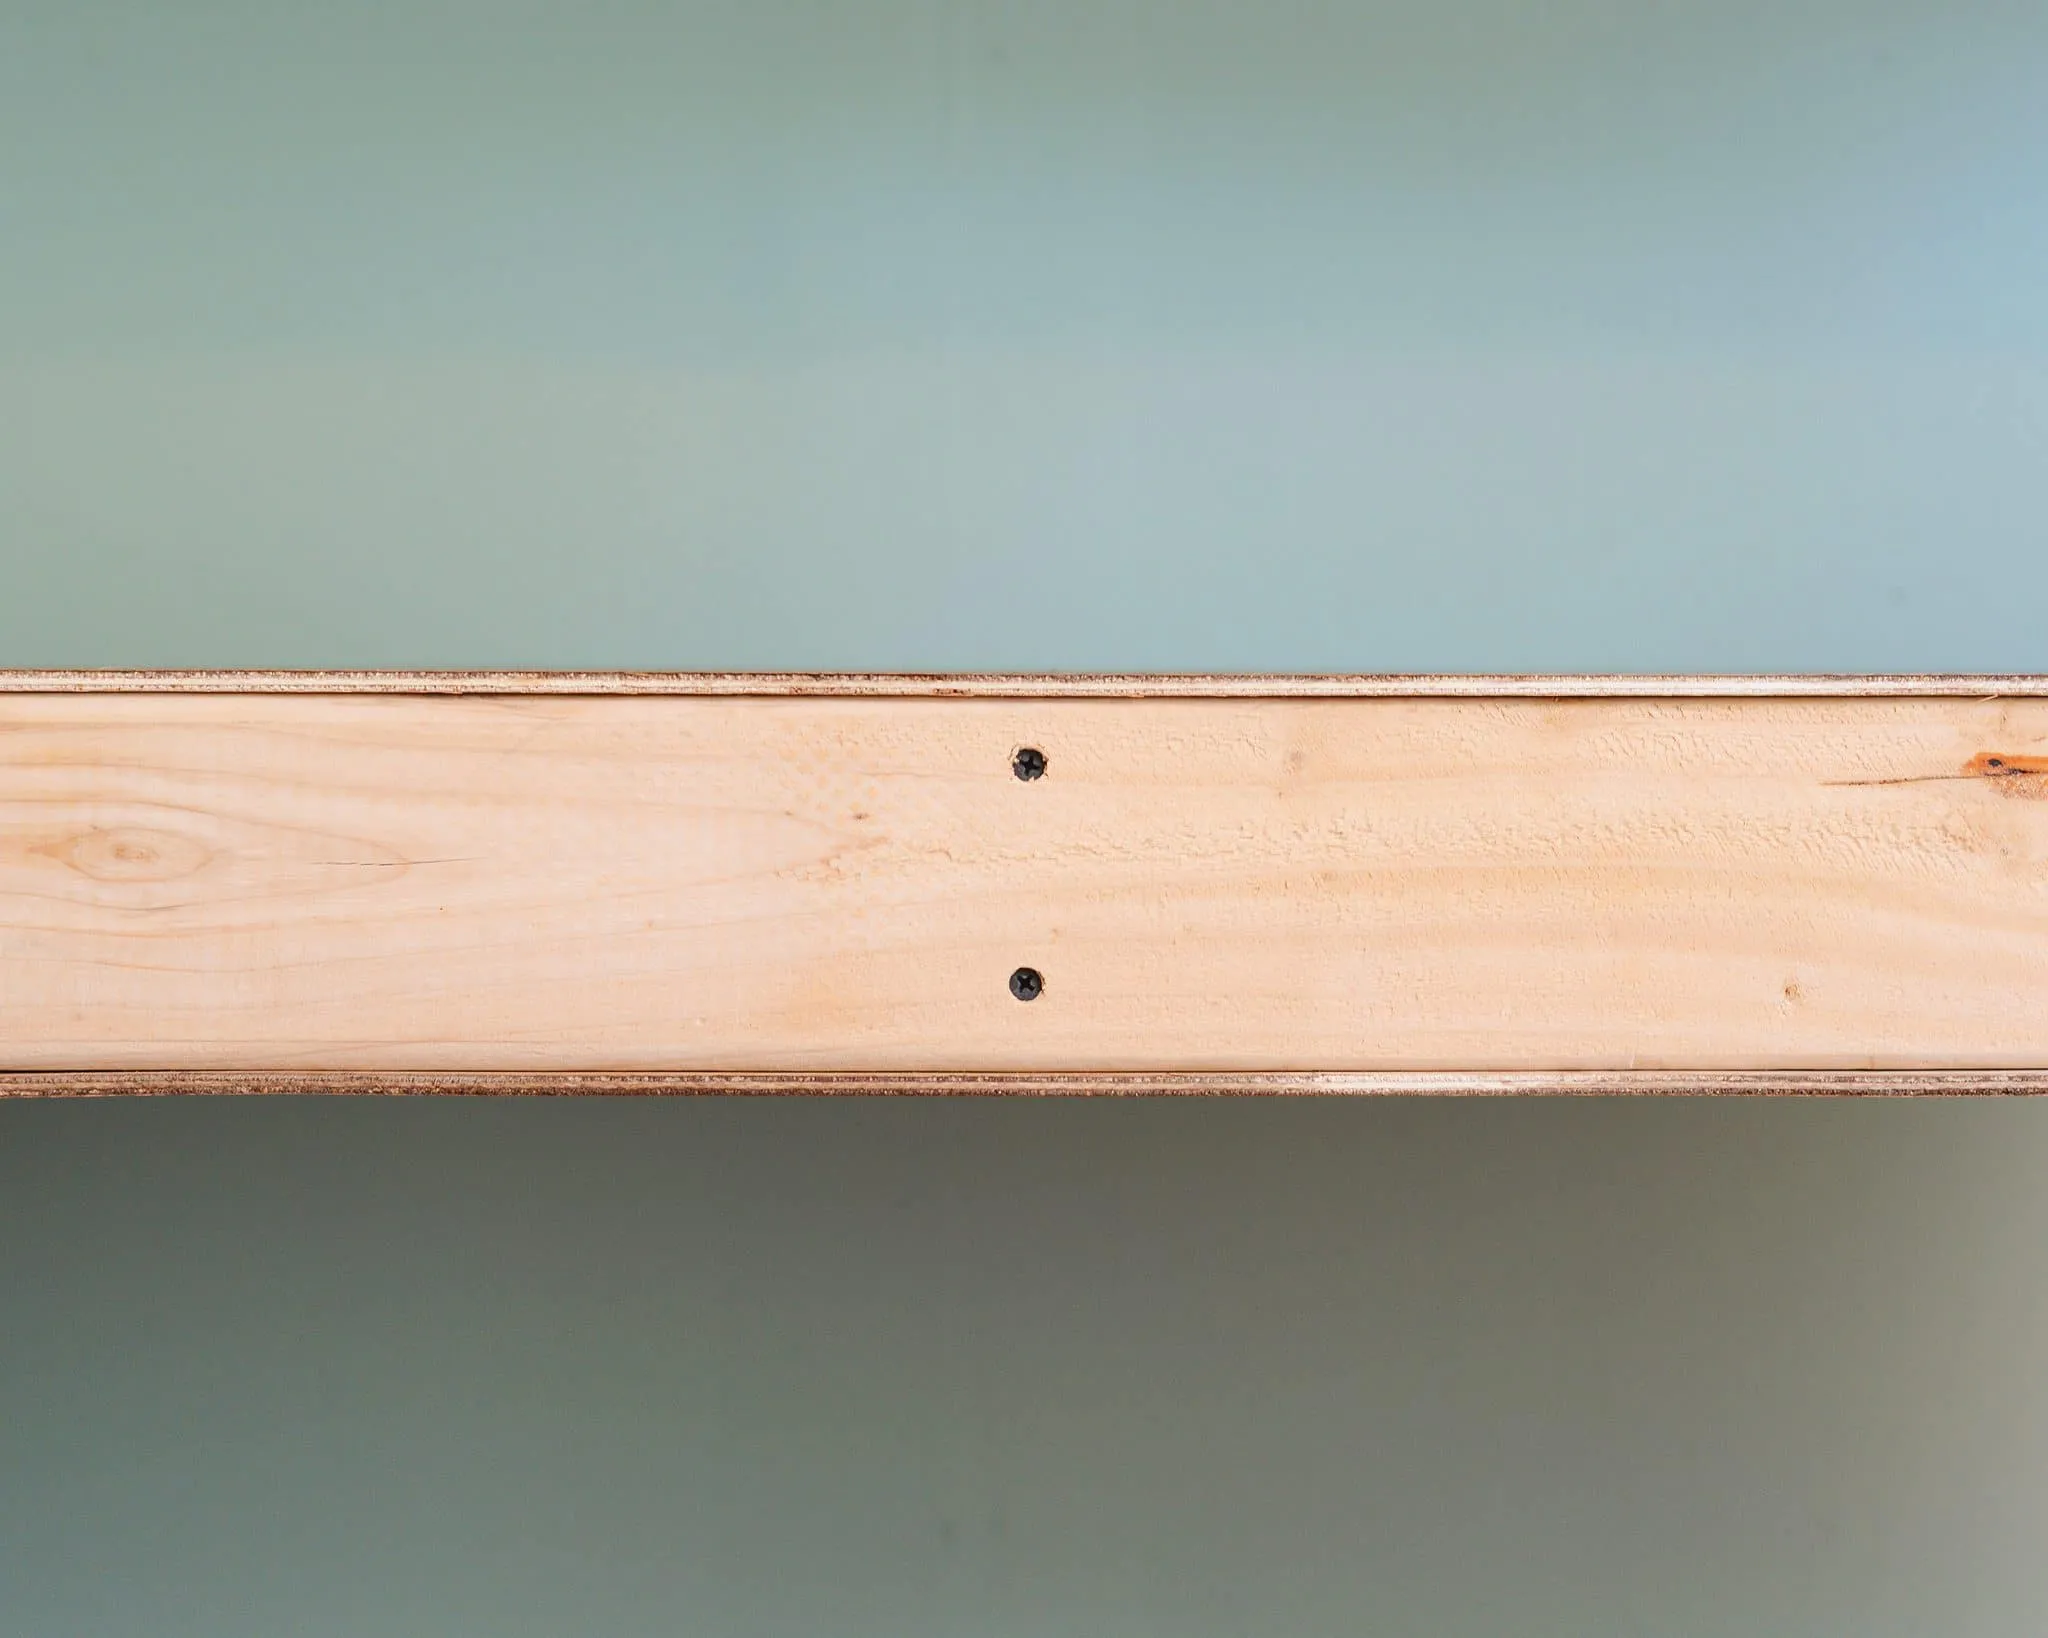 Add Plywood Sheets to Top and Bottom of Supports + Stain
Tip: Opting for a durable stain, as we did in our workshop, ensures longevity.
- Attach Plywood: Once the stain is dry, position the plywood sheets on top of the support structure. Use your nail gun to secure them in place.
6. Craft the Front Face
To elevate the look of your shelves, add a finished front face:
- Prepare the Aspen Planks: Rip down your aspen planks to the desired height (4 inches in our case) using a table saw. Stain the planks to match your shelves.
- Attach the Front: Align the stained planks with the front edge of the plywood and secure them using a nail gun.
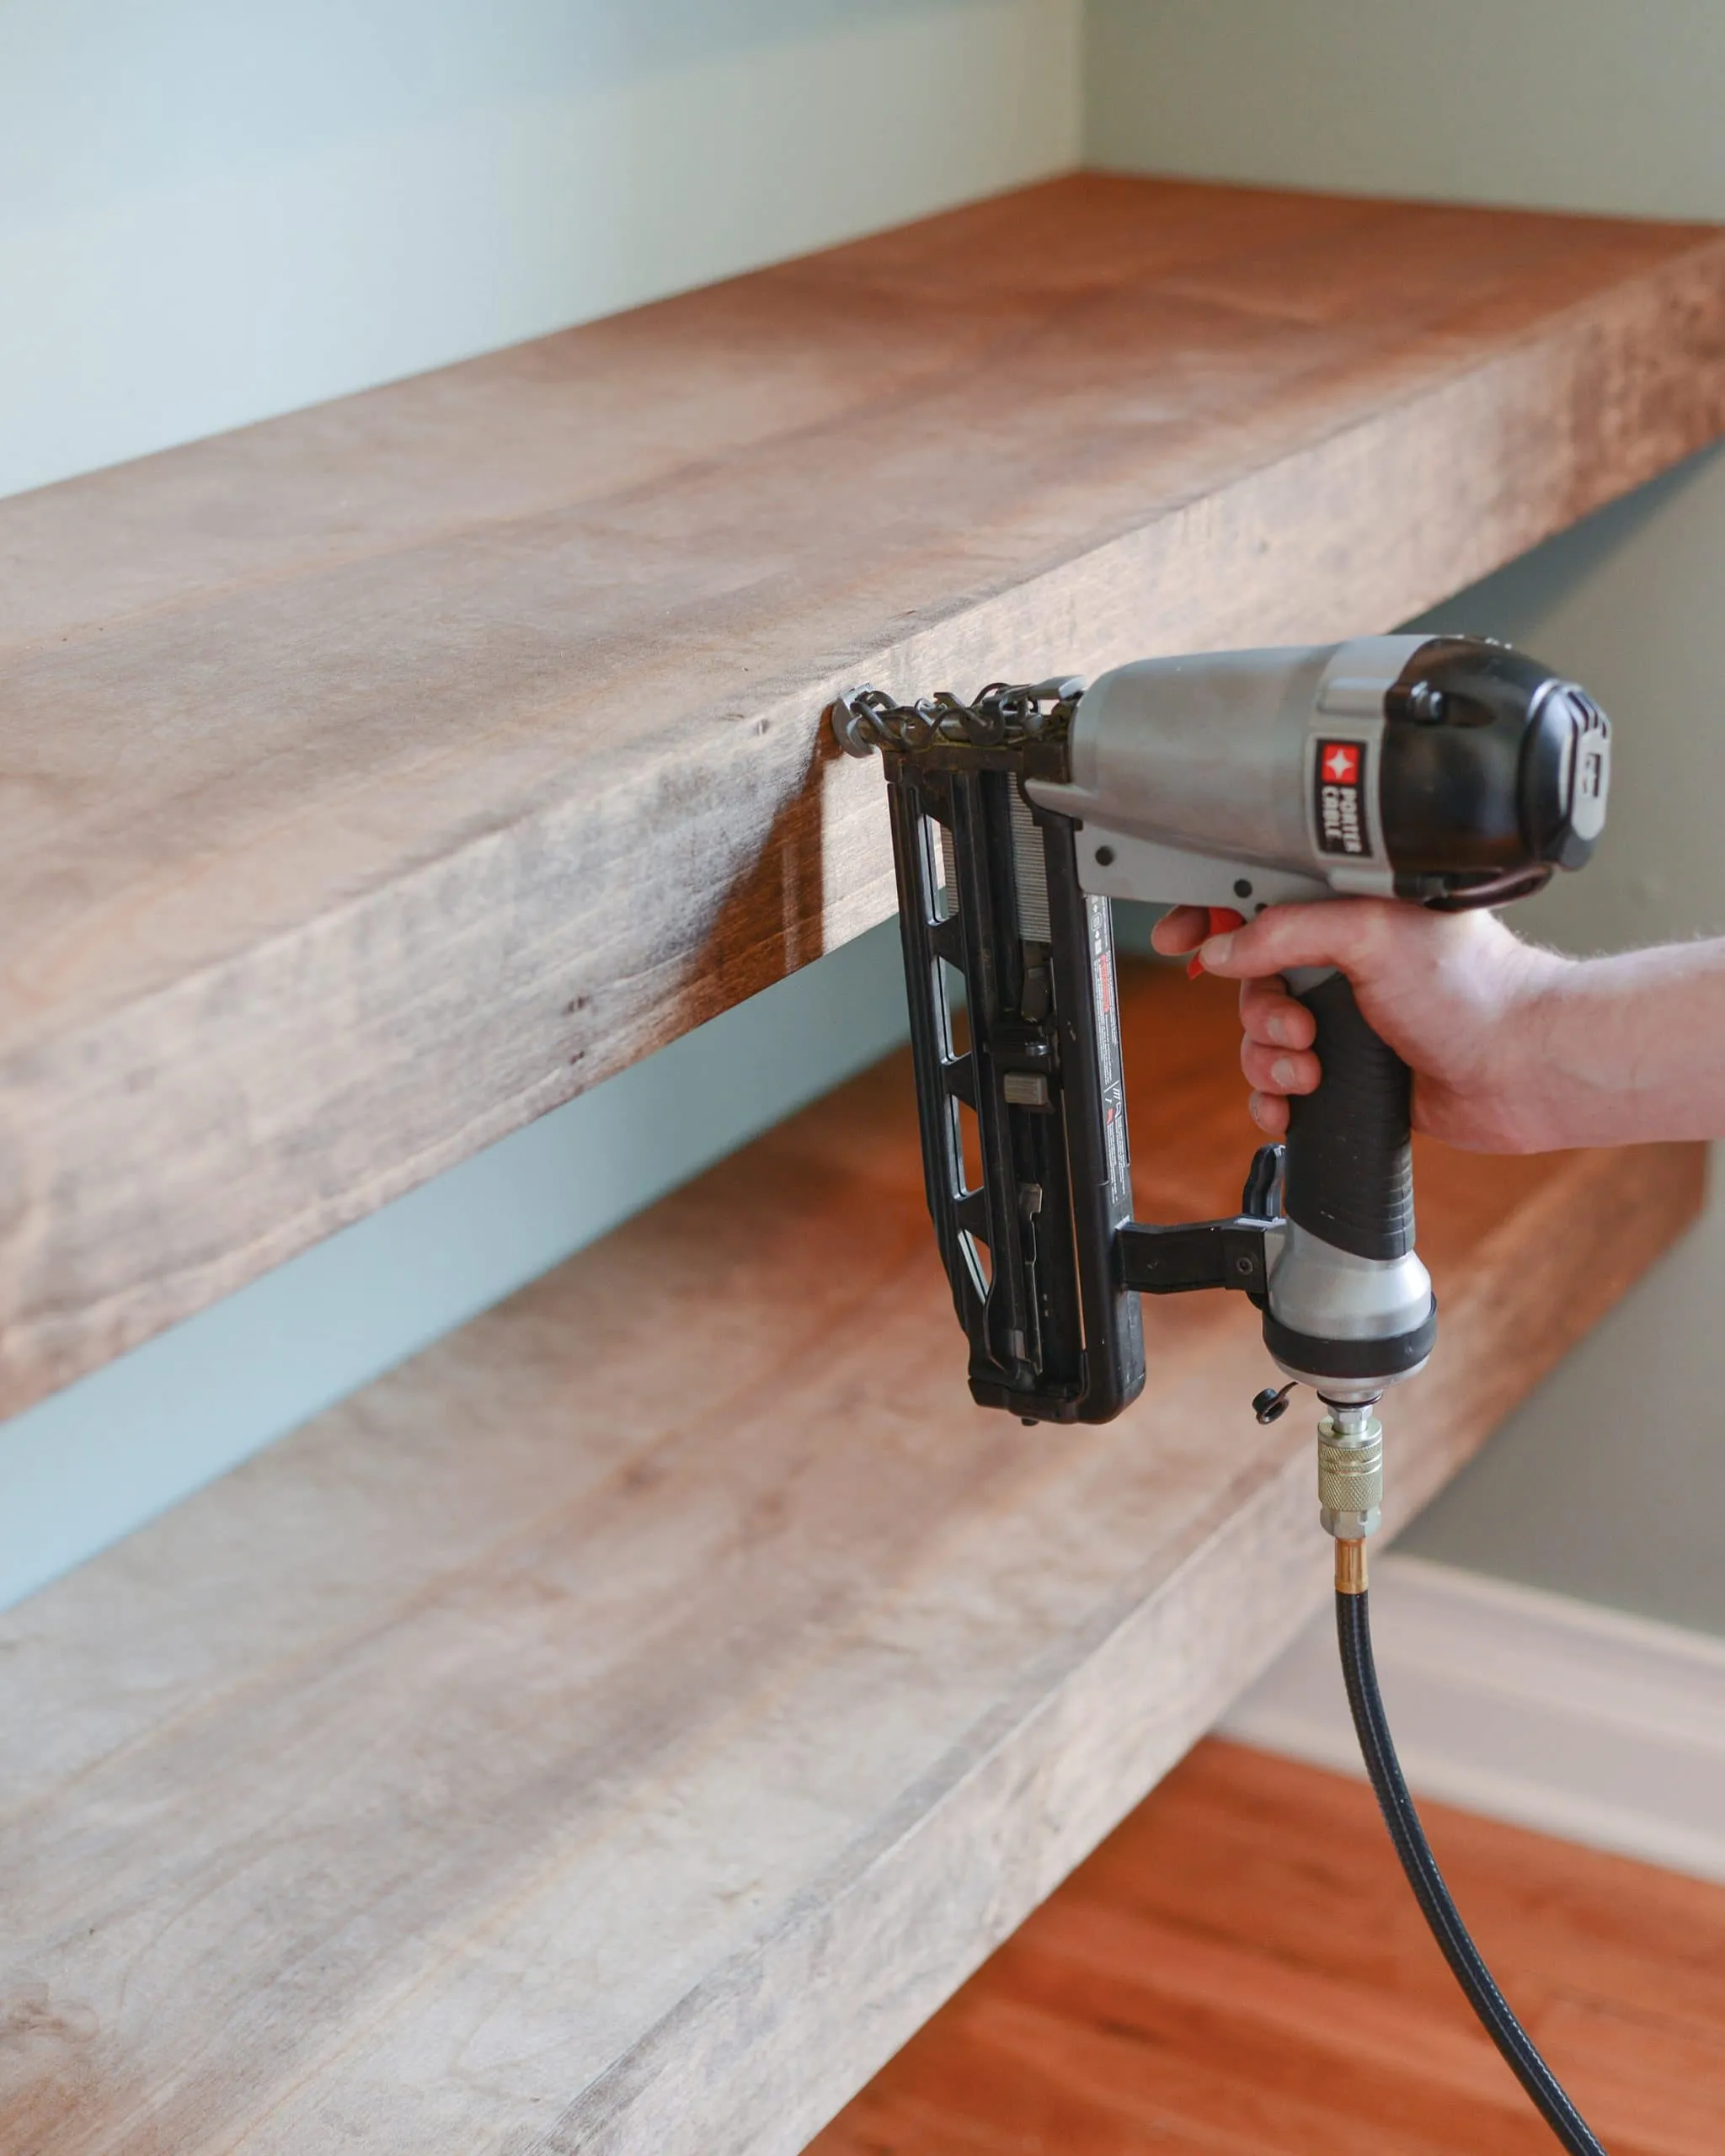 Installing the front face to our thick and chunky floating shelves | head to Yellow Brick Home for the step-by-step floating shelf tutorial!
7. Admire Your Work!
Step back and take in the beauty of your creation. You’ve just built sturdy, stylish DIY floating shelves that are sure to be the envy of all who enter your workspace!
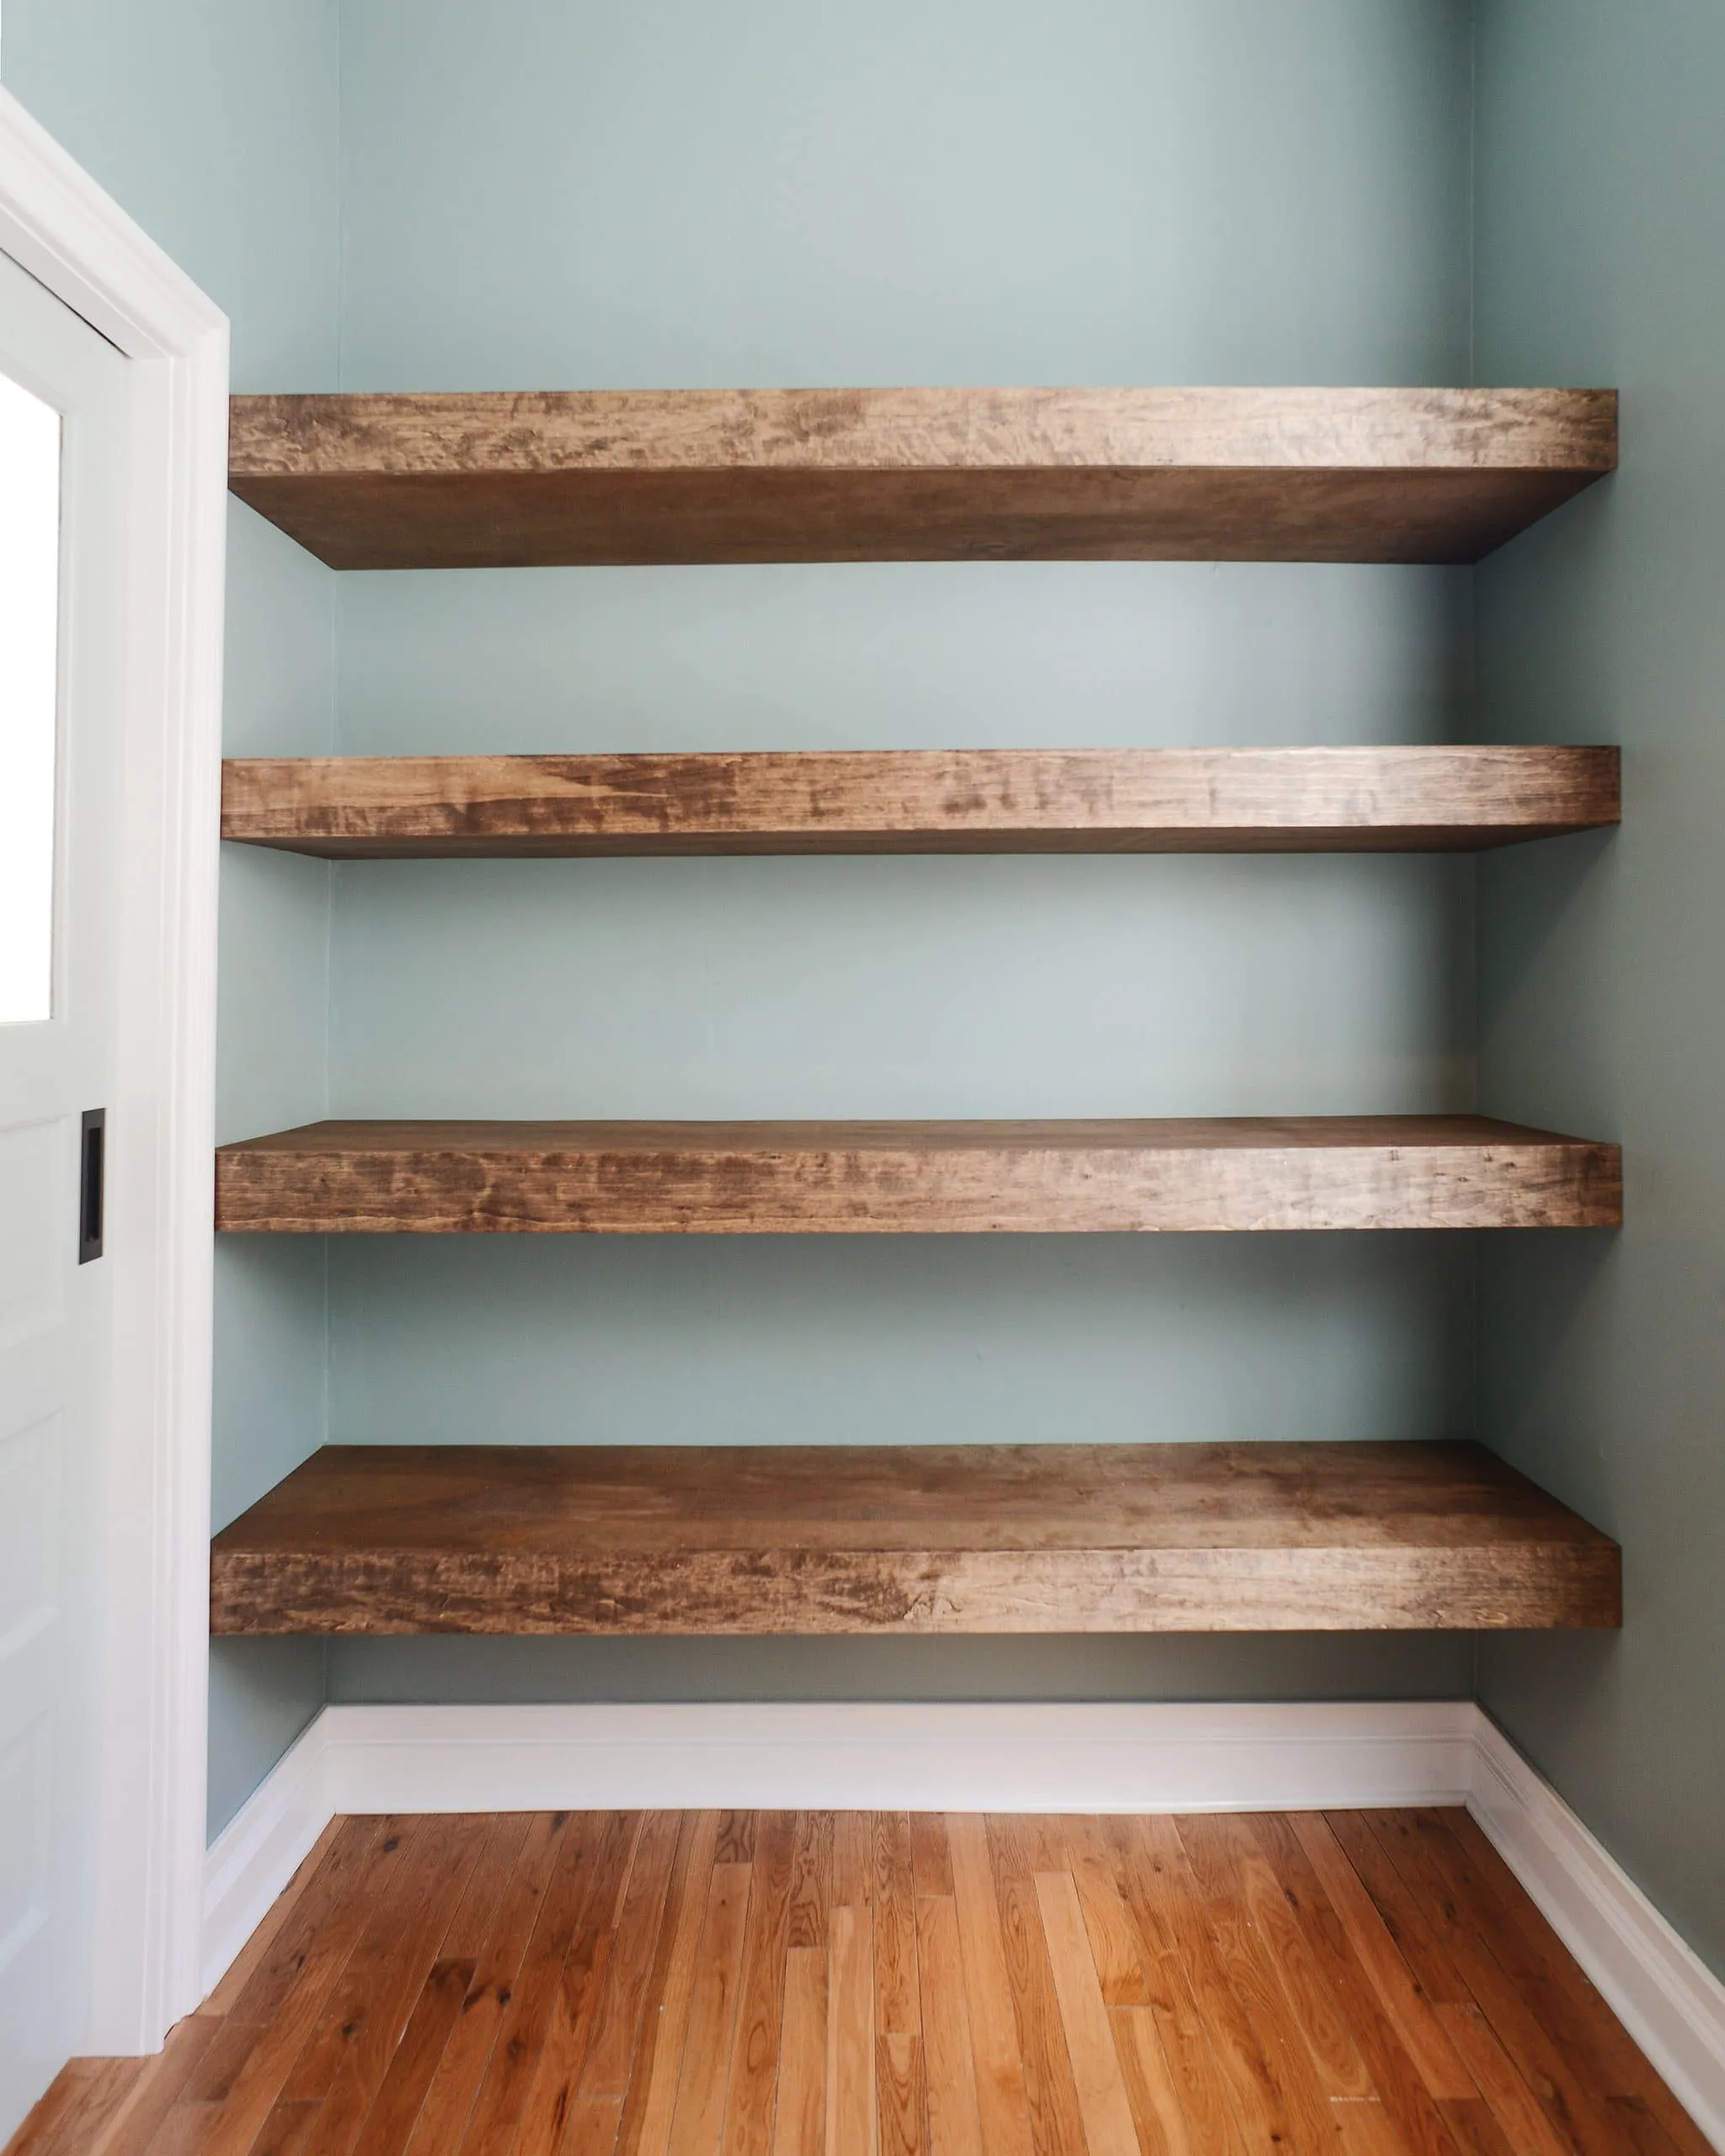 Our chunky floating shelves installed! | head to Yellow Brick Home for the step-by-step floating shelf tutorial!
Conclusion
These DIY floating shelves are a game-changer when it comes to organization and style. And the best part? You built them with your own two hands! Feel proud of your accomplishment, and don’t be afraid to experiment with different finishes, dimensions, and materials to create a look that’s uniquely you.
Now, go forth and create something amazing! And be sure to share your DIY floating shelf triumphs with us in the comments below.
Looking for more handcrafted inspiration? Explore the unique selection of handmade gifts and DIY project ideas on Robert Kline Art!
