Blog
Build Your Own Stunning Floating Entertainment Center: A Step-by-Step DIY Guide

Hey there, fellow DIY enthusiasts! Robert Kline here, and I’m thrilled to share a project that’s close to my heart: building a sleek and stylish floating entertainment center. Remember that breathtaking floating sideboard from our Scandinavian-inspired living room remodel? It’s back by popular demand, and this time, we’re diving deep into the how-to!
Why Choose a Floating TV Stand?
Before we grab our tools, let’s talk about why floating entertainment centers are so popular. Here are a few reasons why I’m smitten:
- Ample Visual Space: Saying goodbye to bulky TV stands opens up your living room, creating an airy and spacious feel.
- Hidden Clutter: Wires, gaming consoles, and all those entertainment essentials stay tucked away, leaving your space looking neat and organized.
- Customization King: Floating shelves can be mounted anywhere, at any height, making them incredibly versatile.
- Style Chameleon: From rustic chic to modern minimalist, you can tailor your floating TV stand to match your unique aesthetic.
- Statement Piece: This isn’t just storage; it’s a design element that adds personality and flair to your space.
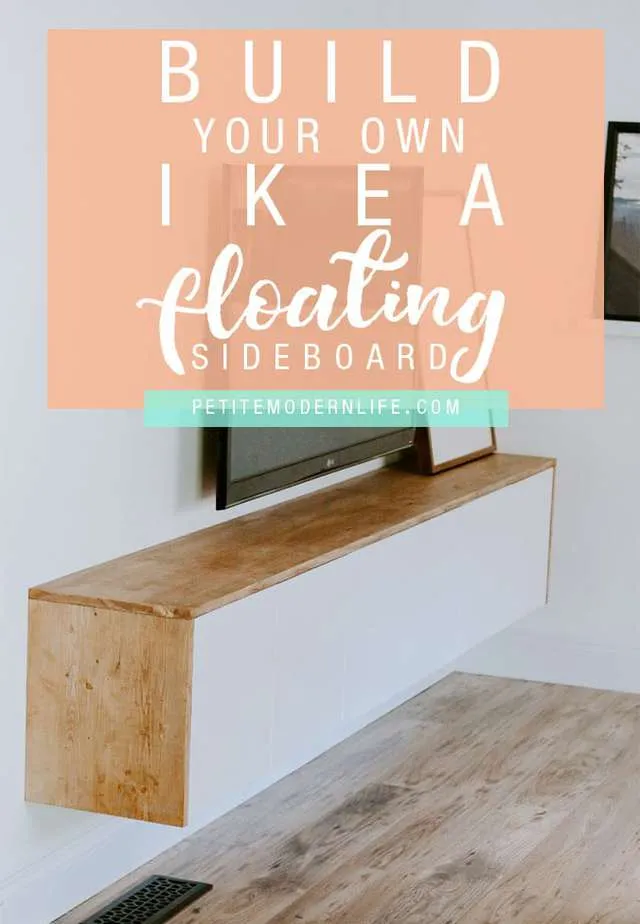
 Modern floating entertainment center
Gathering Your DIY Supplies:
Ready to roll up your sleeves? Here’s what you’ll need to build your own floating entertainment center:
- Ikea Sektion Cabinets: 3 double wall-mounted cabinet frames. Remember to measure your TV and other electronics to determine the right size.
- Ikea Cabinet Doors: 6 doors in your preferred style and finish.
- Sektion Suspension Rails: 2 rails for secure wall mounting.
- Wood Top Piece: Choose a countertop from Ikea or source a beautiful piece of wood from your local hardware store.
- Stain and Finish: Dark walnut stain always adds a touch of sophistication!
- Recessed Wall Cable Management Boxes: These are essential for a clean and organized look.
- TV Mount: Choose a sturdy and reliable mount that fits your TV size and weight.
- Additional Tools: Screwdriver, drill, level, nail gun, measuring tape, pencil, safety glasses.
Building Your Ikea Floating Sideboard: Step-by-Step

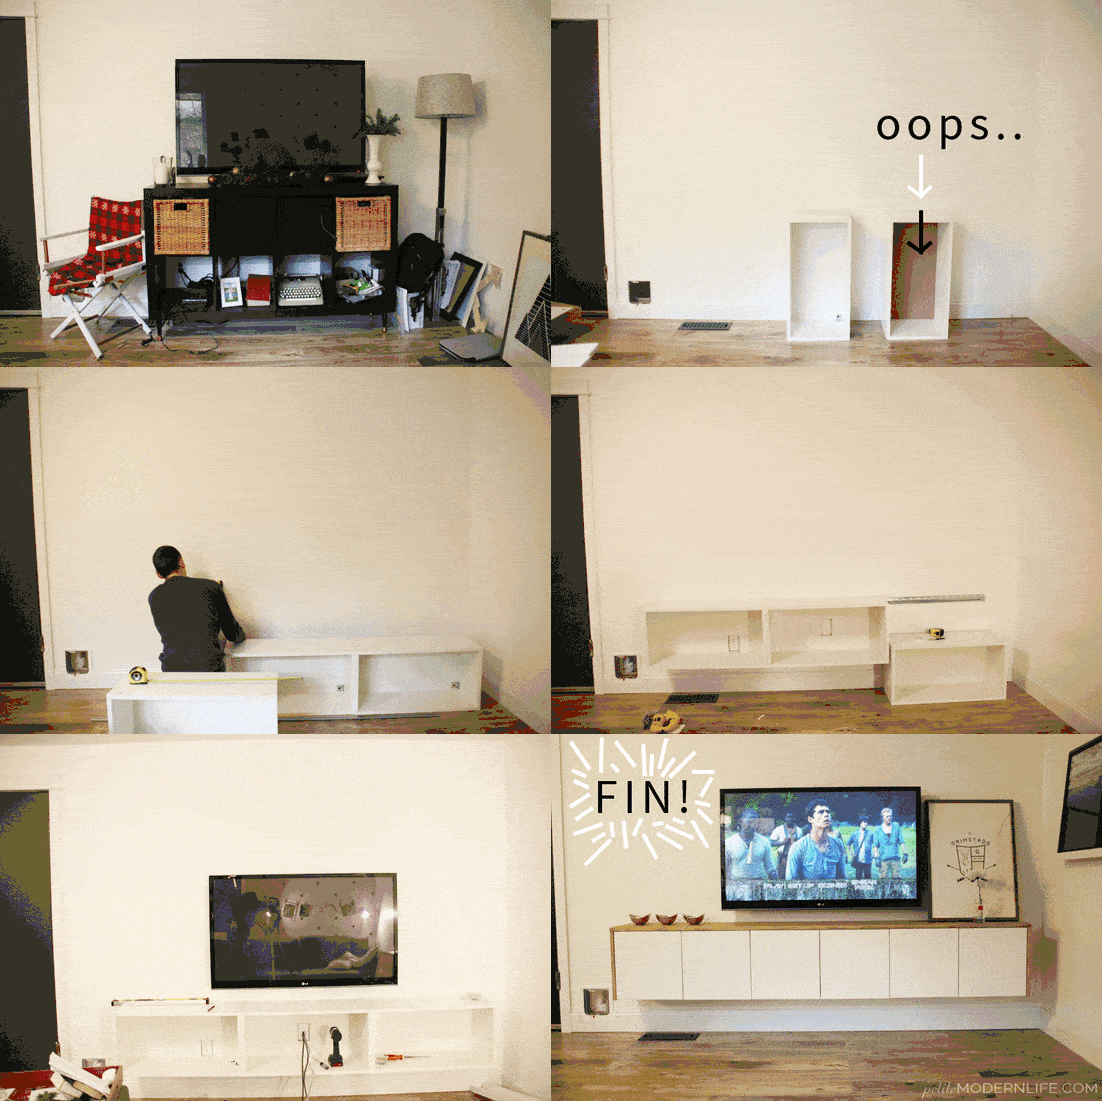
- Assemble Your Cabinets: Begin by assembling your Ikea Sektion cabinets according to the instructions provided.
- Plan Your TV Placement: Decide on the optimal height and position for your TV, ensuring a comfortable viewing experience.
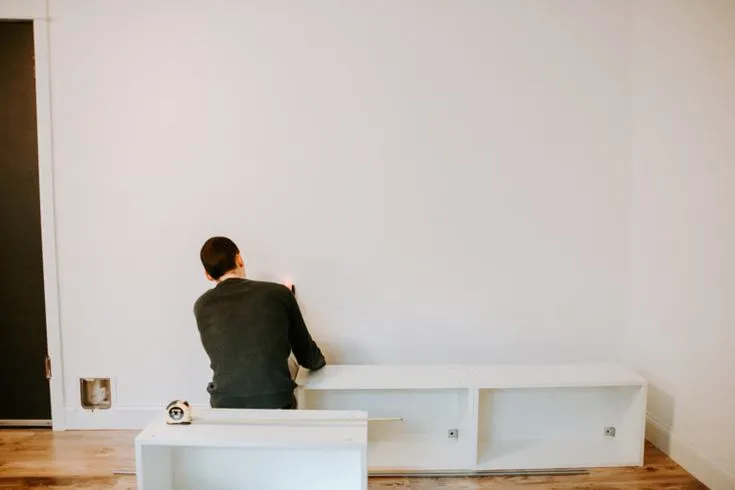
- Mount the Suspension Rails: Locate and mark your wall studs. Securely attach the suspension rails, ensuring they are level.
- Hang Your Cabinets: Carefully lift and hang the cabinets onto the suspension rails, double-checking for levelness as you go.
- Install Your TV Mount: Attach your TV mount to the wall, taking note of where your cables will need to run.
- Cable Management is Key: Cut holes for your recessed wall cable management boxes and feed your cables through for a clean and organized look.
- Connect Your Components: Connect your DVD player, gaming console, or sound system to your TV, threading cables through the cable management system.
- Add the Finishing Touch: Attach your chosen cabinet doors.
- Top It Off: Use a nail gun to securely attach your pre-stained wood top to the cabinets, creating a seamless and polished look.
 Finished floating entertainment center
 Finished floating entertainment center
Customizing Your Floating TV Stand: Make It Your Own!
Remember, this is your chance to unleash your creativity and design a floating sideboard that reflects your unique style. Here are a few ideas to get you started:
- Paint Your Cabinets: Transform your sideboard with a fresh coat of paint. Choose a bold color for a statement piece or a soft neutral for a timeless look.
- Unique Cabinet Doors: Explore Ikea’s vast selection of cabinet doors or get crafty and create your own! Chicken wire for rustic chic? Yes, please!
- Play with Stain and Color: Dark walnut stain isn’t your only option! Experiment with different wood stains or even paint your wood top to match your decor.
- Decorate with Intention: Embrace minimalism and curate a stylish display on top of your sideboard. A few carefully chosen items will enhance your decor without creating clutter.
Beyond the Living Room: Versatile Uses for Your Floating Sideboard
Don’t limit your creativity to the living room! This DIY floating sideboard is incredibly versatile and can be adapted for various purposes:
- Wet Bar Elegance: Create a chic and functional wet bar in your dining room.
- Bedroom Vanity: Add a touch of glamour to your bedroom with a floating vanity.
- Entryway Organization: Keep your entryway tidy and organized with a stylish floating shelf.
- Playroom Storage: Create a fun and functional storage solution for your child’s playroom.
- Laundry Room Functionality: Maximize space and organization in your laundry room.
Embrace the DIY Spirit
Building your own floating entertainment center is a rewarding and achievable project that will transform your living space. Remember to personalize your creation, let your creativity shine, and enjoy the process!
Ready to explore more inspiring DIY projects and crafting adventures? Head over to Robert Kline Art for a treasure trove of creative inspiration! Don’t hesitate to share your own floating sideboard creations and connect with fellow DIYers in the comments below!
