Blog
DIY Desk Organizer: Recycle and Craft a Unique Masterpiece
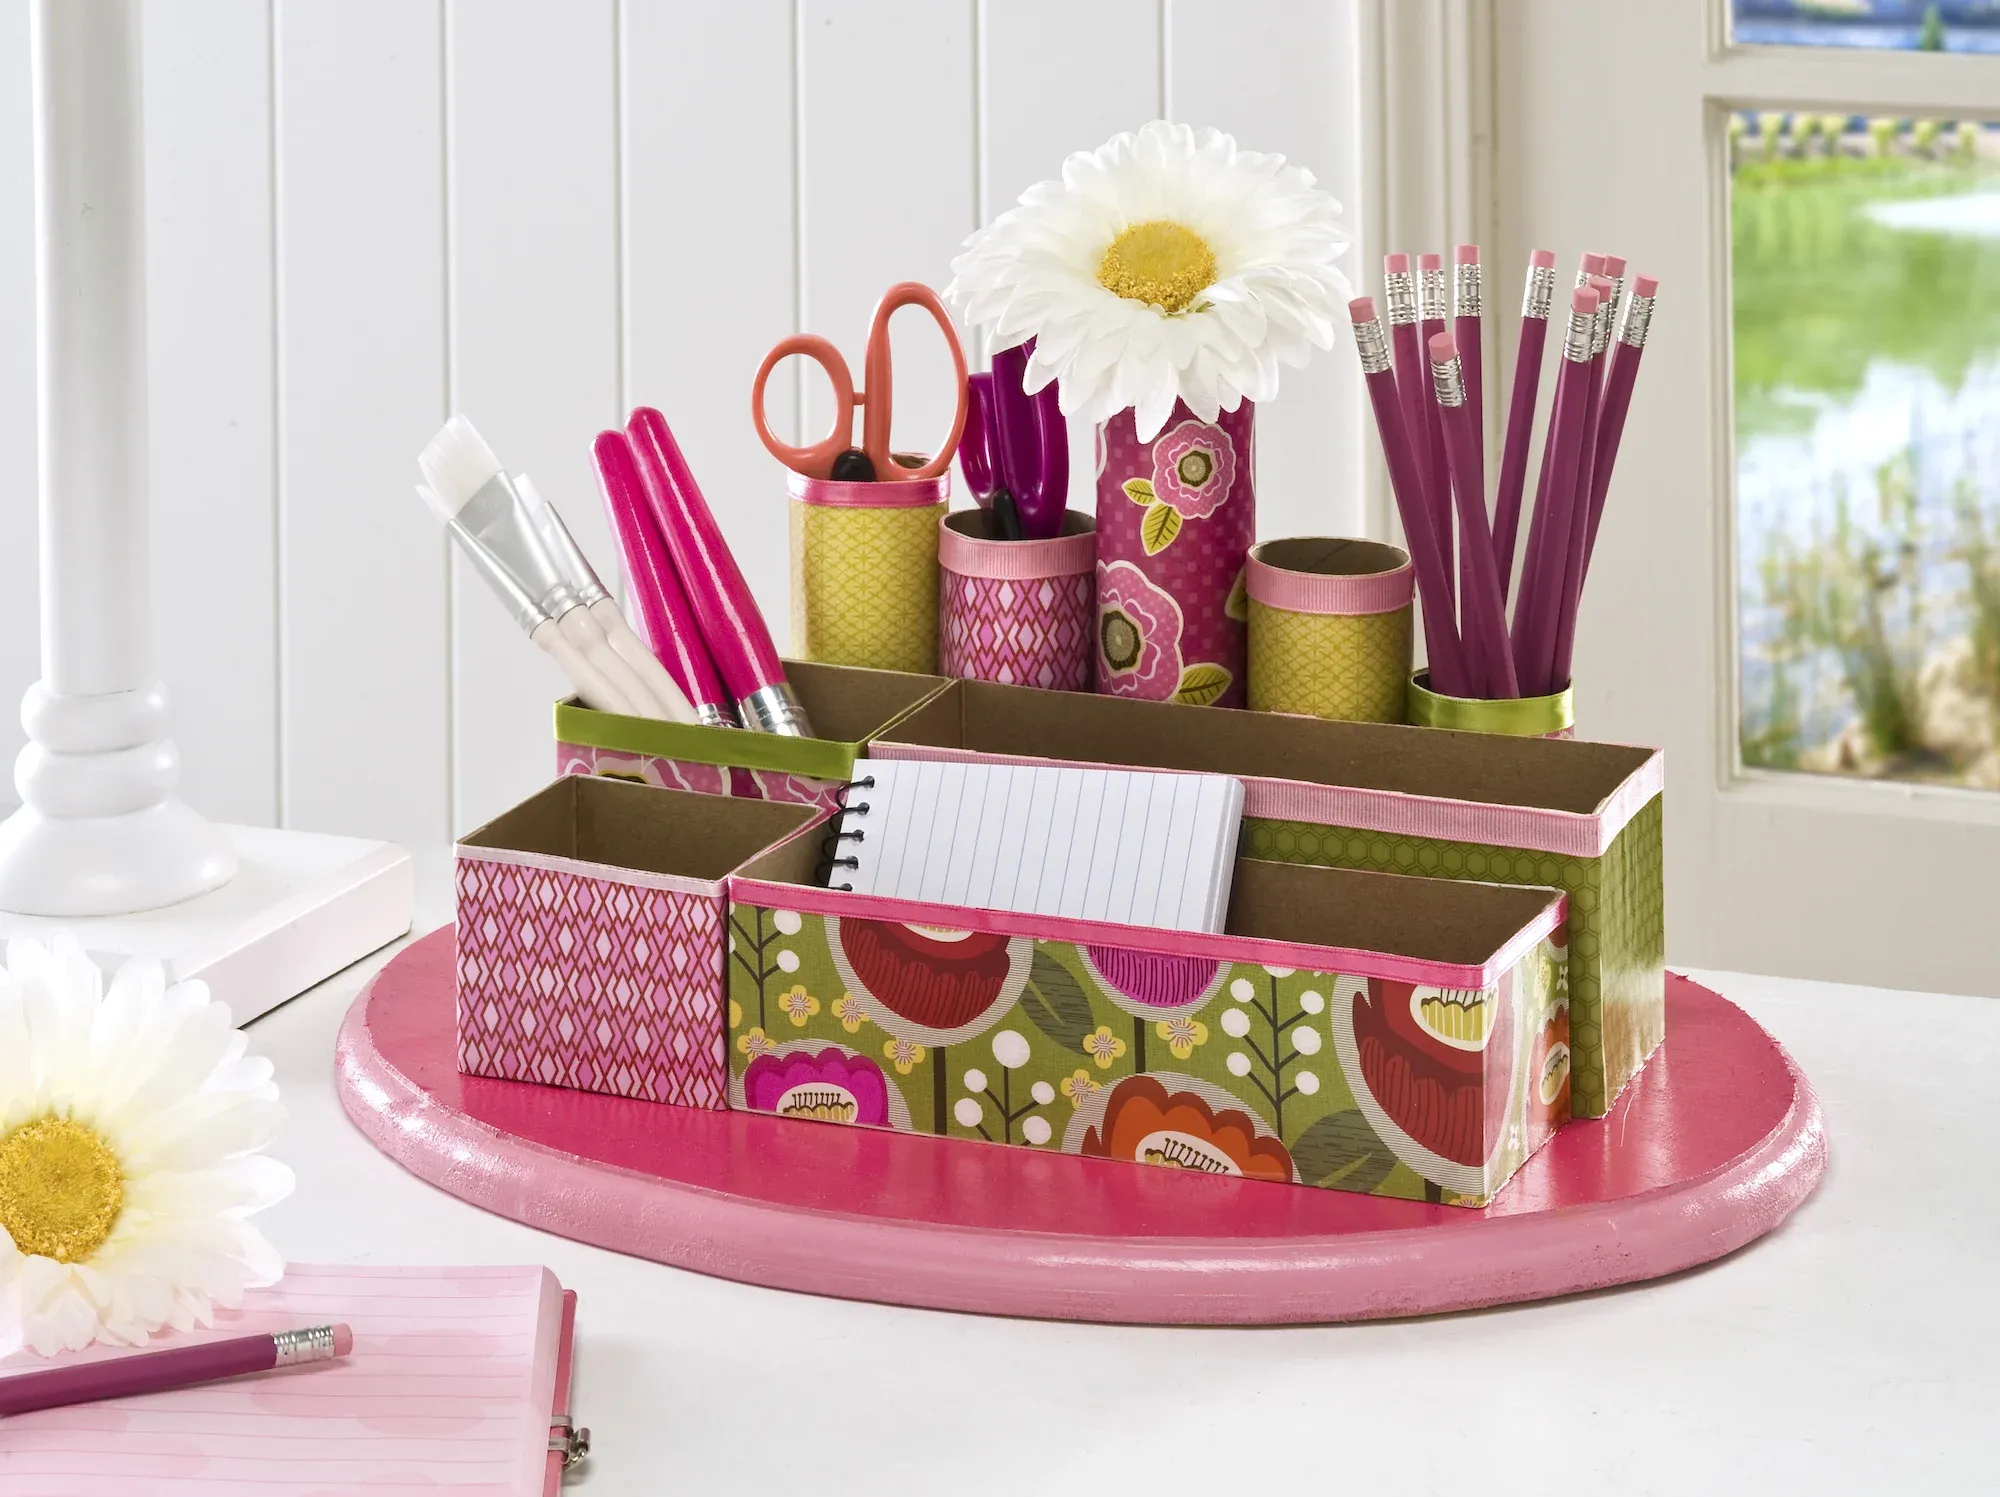
Feeling overwhelmed by clutter on your creative workspace? Let’s dive into a fun and budget-friendly DIY project that will not only tidy up your desk but also unleash your inner artist. We’re going to transform those empty cereal boxes and cardboard tubes into a stylish and practical desk organizer using the magic of decoupage. Get ready to be amazed at how simple household items can be upcycled into something truly special!
Why You’ll Love This DIY Desk Organizer
This project is perfect for craft enthusiasts of all levels, from seasoned crafters to enthusiastic beginners. Here’s why you’ll love adding this to your crafting repertoire:
- Budget-Friendly: Say goodbye to expensive store-bought organizers! This project utilizes materials you likely already have at home, making it incredibly easy on the wallet.
- Customization: Unleash your creativity and personalize your organizer with your favorite colors, patterns, and embellishments.
- Eco-Conscious Crafting: By repurposing cereal boxes and cardboard tubes, you’re giving these materials a new lease on life and reducing waste.
Ready to get started? Let’s gather our supplies!
Gather Your Supplies
- Upcycled Treasures: Cereal boxes and toilet paper/paper towel rolls
- The Foundation: A sturdy wood plaque (size and shape of your choice)
- Decoupage Delight: Mod Podge (Satin, Gloss, Matte, or Hard Coat – your preference!)
- Color Pop: Acrylic paint in your favorite hues (white is optional but recommended)
- Pattern Play: Scrapbook paper (choose designs that inspire you)
- Finishing Touches: Ribbon in coordinating colors
- Crafting Essentials: Scissors, craft knife, craft glue, paintbrush, pen or pencil, ruler, tape
Step-by-Step Guide to Crafting Your Organizer
-
Plan Your Compartments: Arrange your boxes and rolls on the wood plaque to design your ideal layout. Consider different heights and sizes for visual interest.
 DIY desk organizer
- Pro Tip: Start with a rough sketch of your design to visualize your organizer before assembling.
-
Build Your Bins:
- Cut and shape the cereal boxes into compartments, securing them with tape. Don’t worry, the tape will be hidden later!
- Trim the cardboard tubes to varying heights for added dimension.
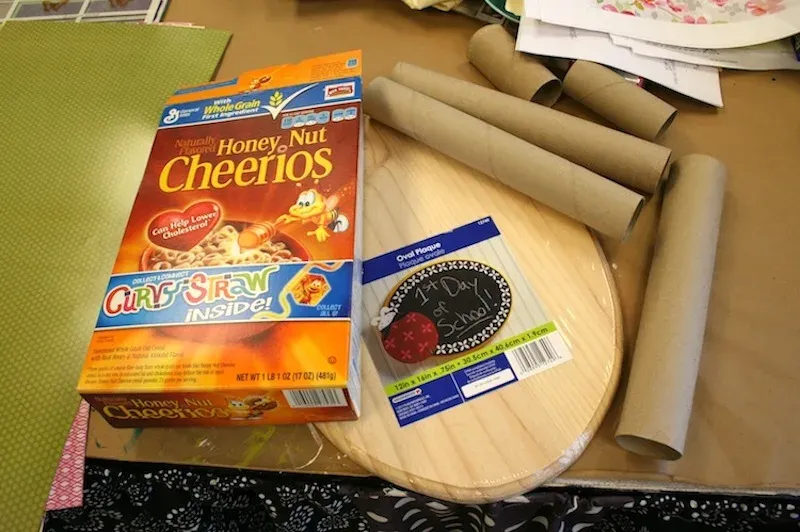 Wood plaque, cereal box, and paper towel and toilet paper rolls
 - Expert Insight: “Varying the height of your compartments not only adds visual appeal but also enhances functionality, allowing you to store items of different sizes.” – Emily Carter, DIY Design Guru
-
Prep Your Plaque:
- Paint your wood plaque in a color that complements your chosen paper. Allow it to dry completely.
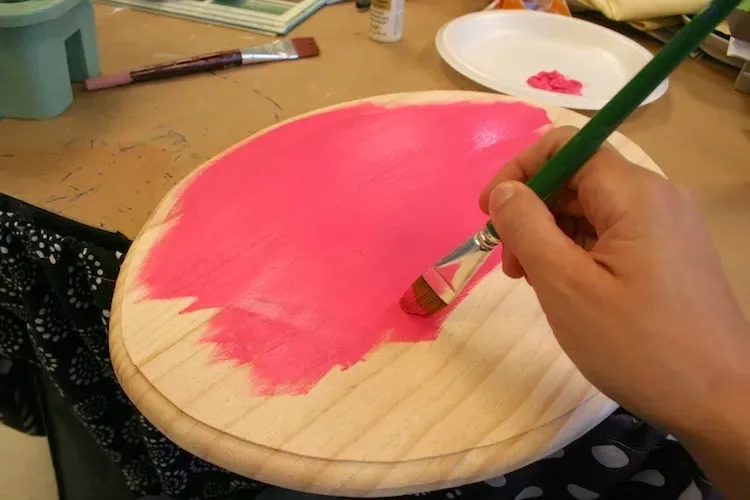 Painting a plaque with pink acrylic craft paint
- Paint your wood plaque in a color that complements your chosen paper. Allow it to dry completely.
-
Paper Precision:
- Trace each compartment onto your scrapbook paper.
- Carefully cut out the traced shapes using a craft knife or scissors.
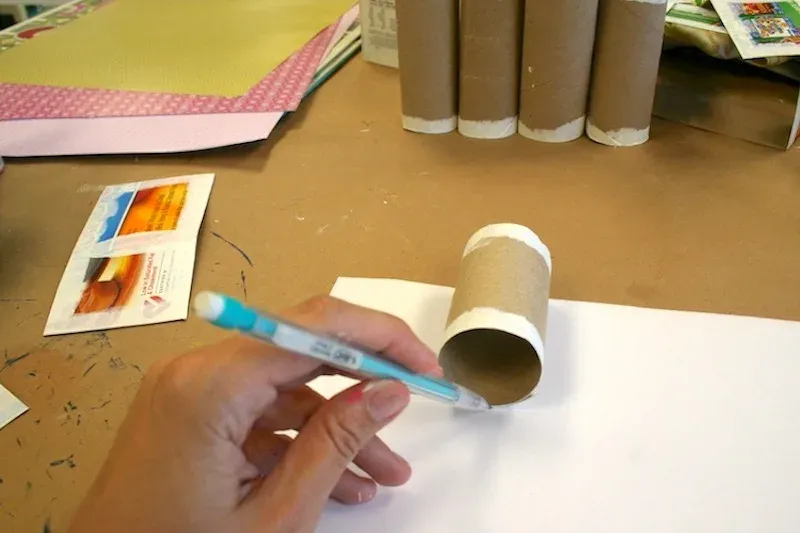 Tracing toilet paper rolls on paper
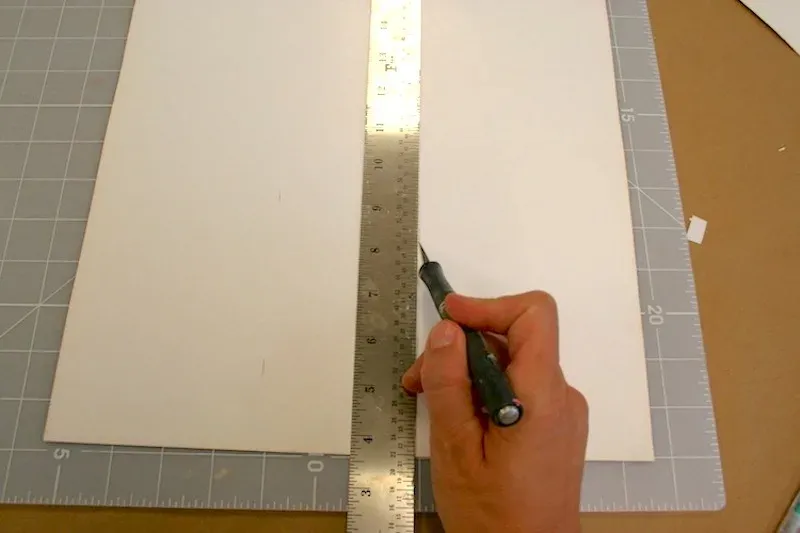 Measuring and cutting paper with an X-Acto knife
-
Decoupage Time:
- Apply a thin layer of Mod Podge to the back of each paper cutout.
- Carefully adhere the paper to the corresponding compartment, smoothing out any air bubbles.
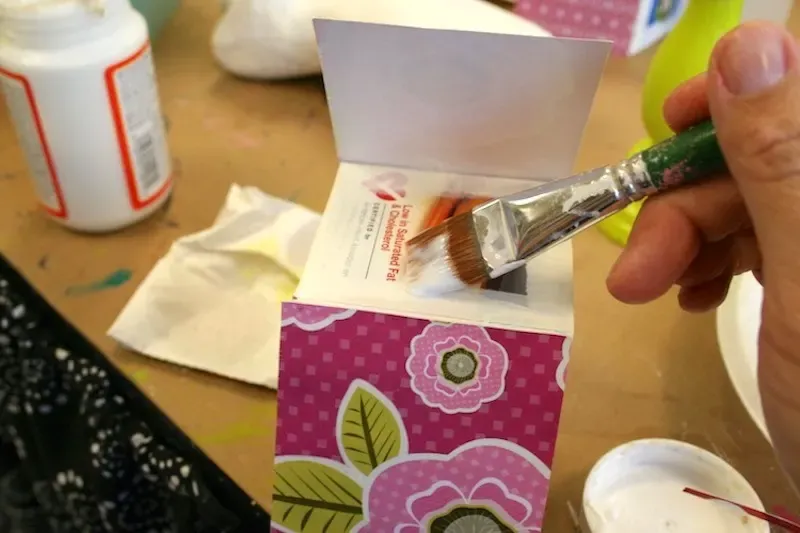 Painting Mod Podge on a cereal box to fold down the paper
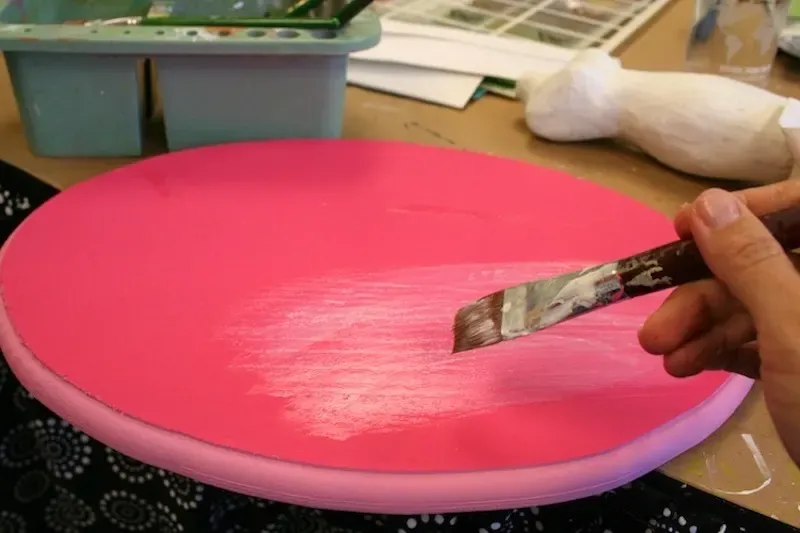 Adding Mod Podge to a painted wood plaque
 - Allow each piece to dry before moving on to the next.
-
Finishing Touches:
- Apply a final coat of Mod Podge over the entire organizer, including the plaque, to seal and protect your masterpiece.
- Once dry, add a touch of elegance by gluing ribbon trim to the top edges of each compartment.
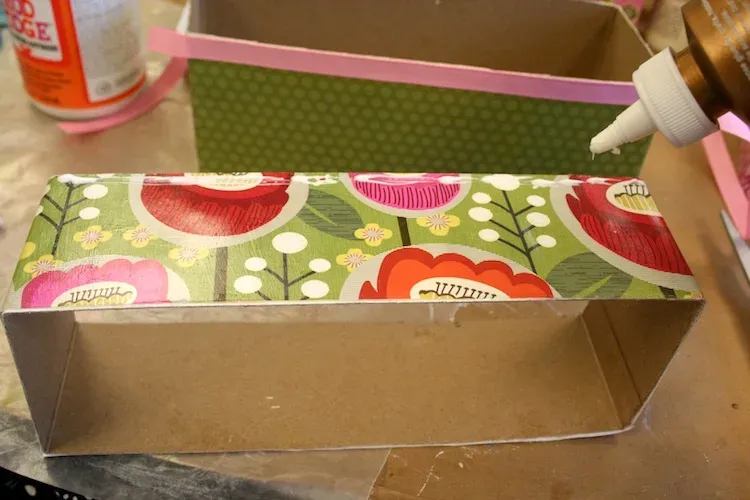 Adding ribbon trim to craft organizer compartments
-
Assemble and Admire:
- Using craft glue, carefully attach each compartment to the plaque in your desired arrangement.
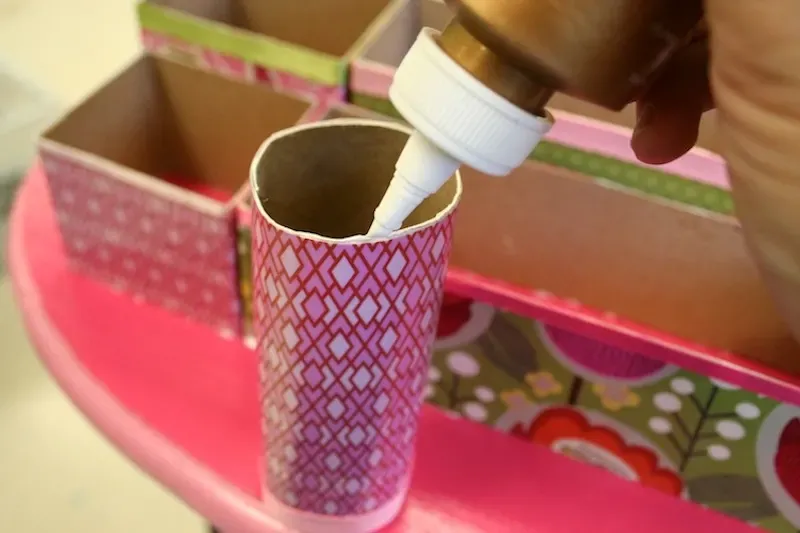 Add glue to the edges of the toilet paper rolls
 - Allow the glue to dry completely (about 24 hours) before putting your new organizer to use.
- Using craft glue, carefully attach each compartment to the plaque in your desired arrangement.
Congratulations!
You’ve successfully transformed ordinary materials into an extraordinary DIY desk organizer. This unique piece is not only a testament to your creativity but also a practical addition to your workspace. Feel the satisfaction of a clutter-free desk and the joy of crafting something truly special with your own two hands!
Share Your Masterpiece!
We’d love to see your creative spins on this DIY desk organizer. Share photos of your finished project with us! And don’t forget to explore Robert Kline Art for more inspiring craft ideas and unique handmade gifts. Let’s keep those creative sparks flying!
