Blog
Building a DIY Birdhouse: A Simple Guide to Welcome Feathered Friends
As an art and craft enthusiast, I find immense joy in creating things with my own two hands. There’s something incredibly satisfying about taking raw materials and transforming them into something beautiful and functional. Today, I’m excited to share a project close to my heart – building a simple DIY birdhouse.
This project is not just about crafting; it’s about connecting with nature and contributing to the well-being of our feathered friends. Years ago, my father, an avid gardener, introduced me to the plight of declining bluebird populations. Their need for safe nesting habitats sparked a passion in me to create welcoming spaces for these beautiful creatures.
Why Build a Birdhouse?
Providing birdhouses offers birds a safe haven to raise their young, especially as natural nesting sites become scarcer. It’s a rewarding experience to witness a family of birds flourish in your own backyard.
Gathering Your Tools and Materials
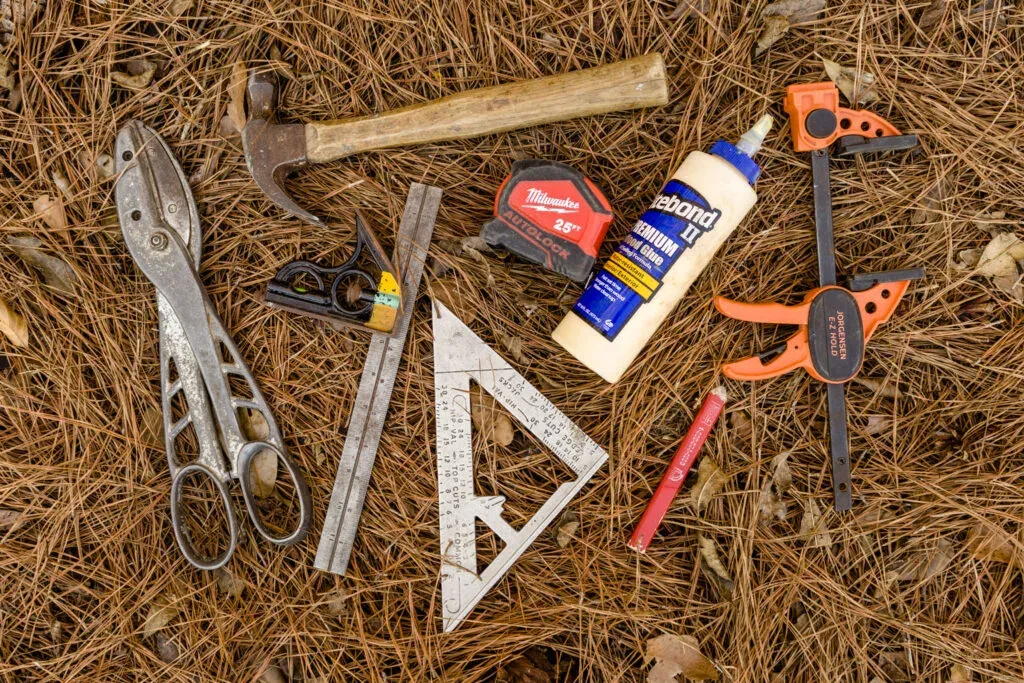
Before we begin, let’s gather everything we need. Don’t worry; this project utilizes common tools and readily available materials:
Tools:
- Saw
- Hammer
- Drill
- Measuring tape
- 1 ½ inch drill bit
- Drill bits
- Clamp
- Tin snips
- Speed Square
- Pencil
Materials:
- 1x6x8 pine, cedar, or cypress (avoid pressure-treated wood)
- Nails or screws
- Exterior glue
- Template printout
- Graphite paper
- Pipe flange
- Galvanized pipe
 Tools for building DIY birdhouses
Pro-Tip: Using a pre-made template simplifies the cutting process. However, feel free to design your own birdhouse based on your preferences.
Building Your Birdhouse: A Step-by-Step Guide
1. Making the Cuts
- Front & Back: Cut two 1 x 6 x 8-inch boards.
- Sides: Cut two 1 x 6 x 4 ¾-inch boards.
- Bottom: Cut one 1 x 6 x 4-inch board.
- Roof (Right Side): Cut one 1 x 6 x 9-inch board.
- Roof (Left Side): Cut one 1 x 4 ¾ x 9-inch board.
2. Tracing and Cutting the Pieces
-
Download and print the birdhouse template.
-
Using carbon transfer paper, trace the template onto the front board.
-
If not using a template, mark the center top of the front and back boards. Cut at a 45-degree angle from the center mark on both sides to form the roof peak.
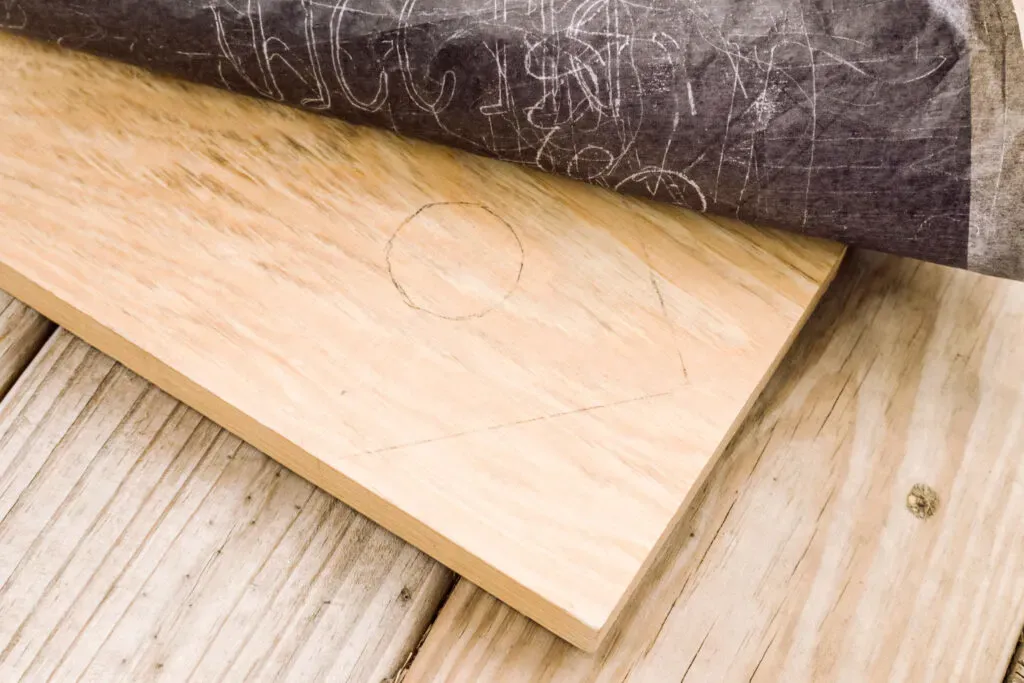 Checking my transfer on the wood
 -
Cut the bottom and roofline, using your graphite marks as a guide.
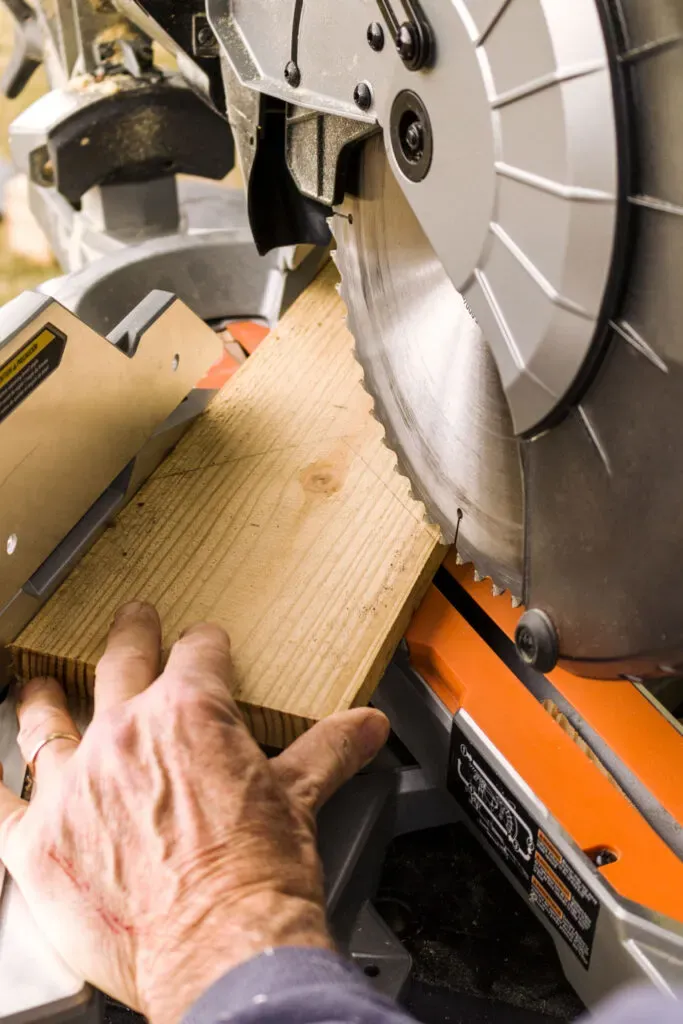 Cutting along the roof line
 -
Trace the cutout front onto the back board and cut it out.
-
Measure the wall height on the front board and cut both side boards to the correct height.
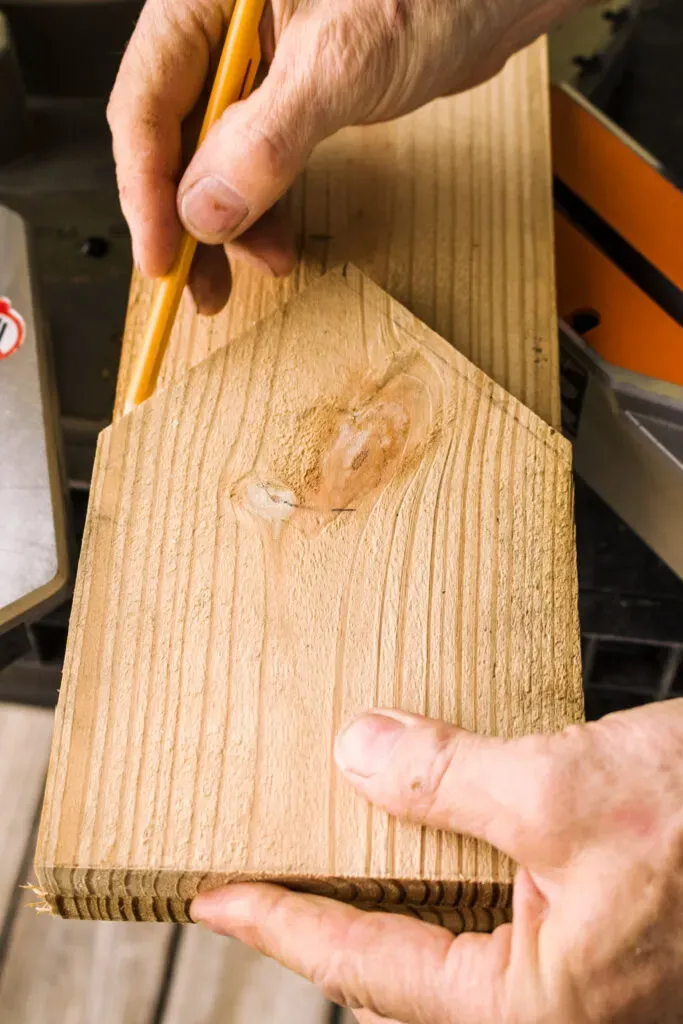 Tracing the front of the DIY birdhouse
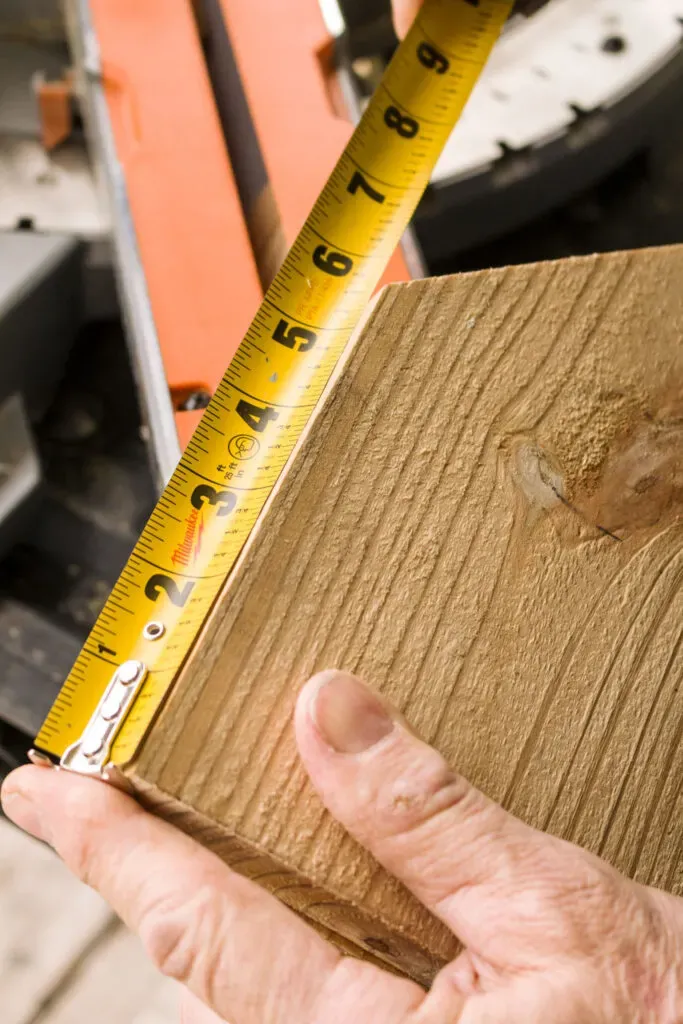 Measuring the wall height
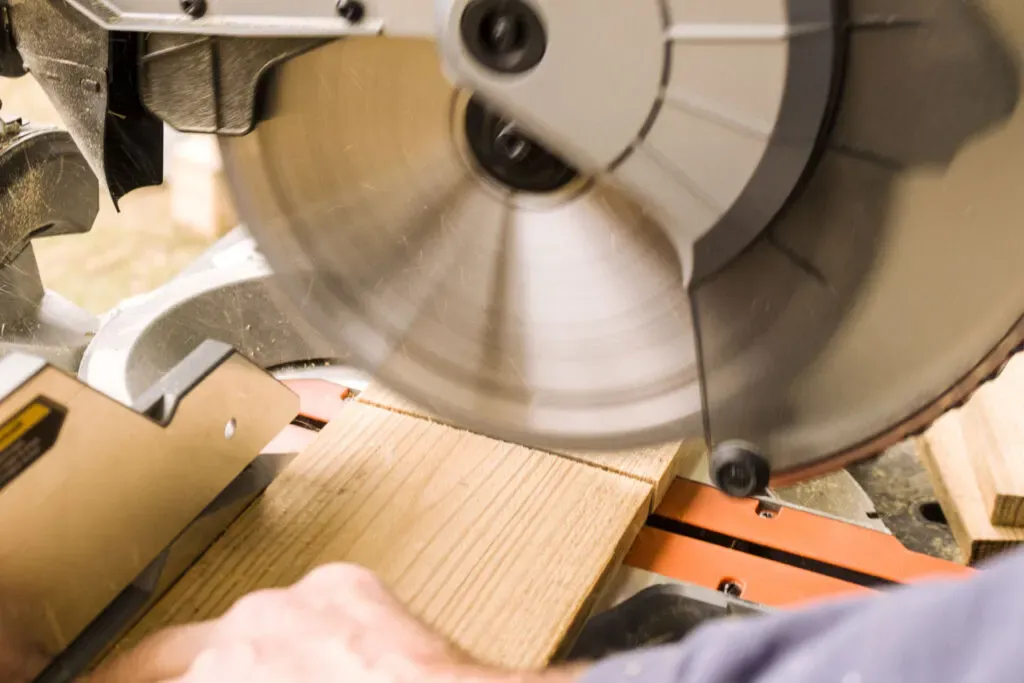 Cutting the side of the DIY birdhouse
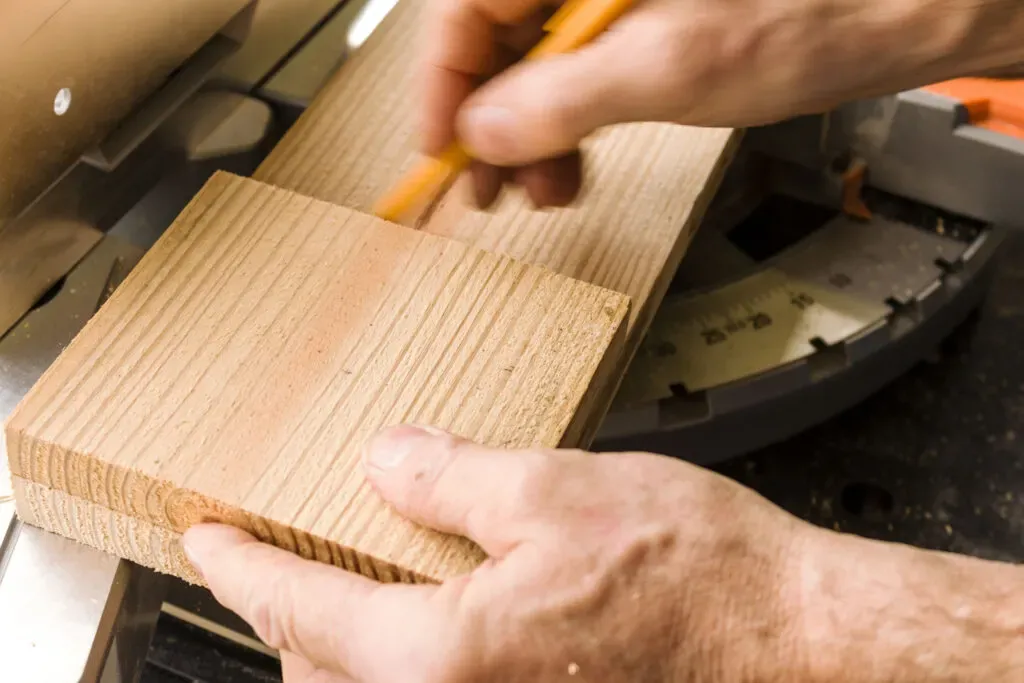 Tracing the second side of the DIY birdhouse
 -
Drill the entrance hole on the front board using a 1 ½ inch drill bit.
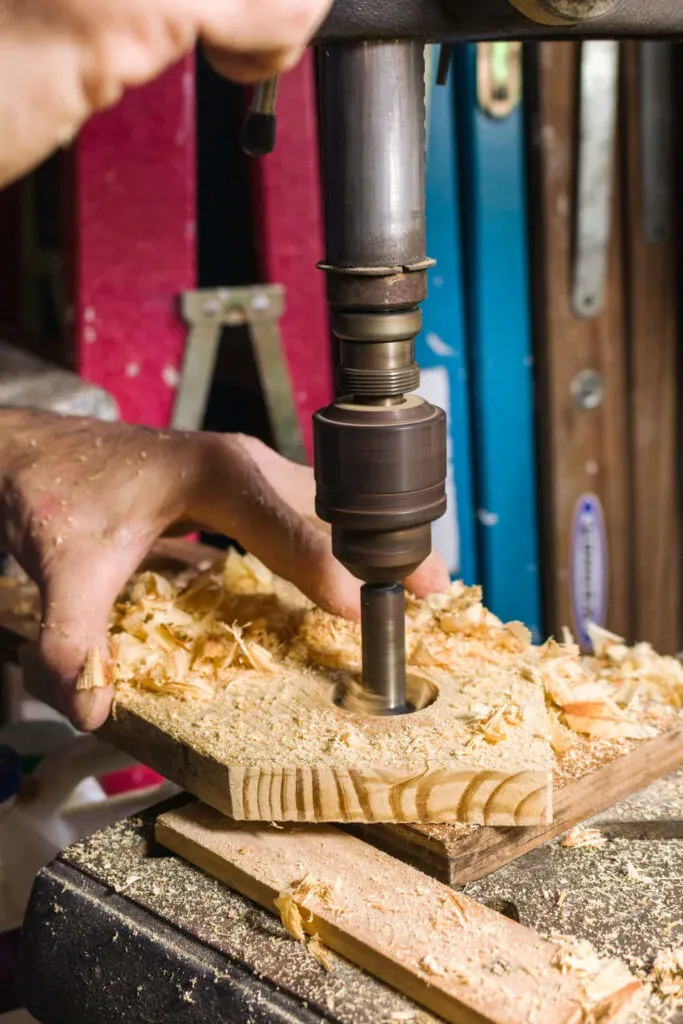 Drilling the DIY house opening
3. Assembling the Birdhouse
-
Pre-drill screw holes in the front and back pieces for easier assembly.
-
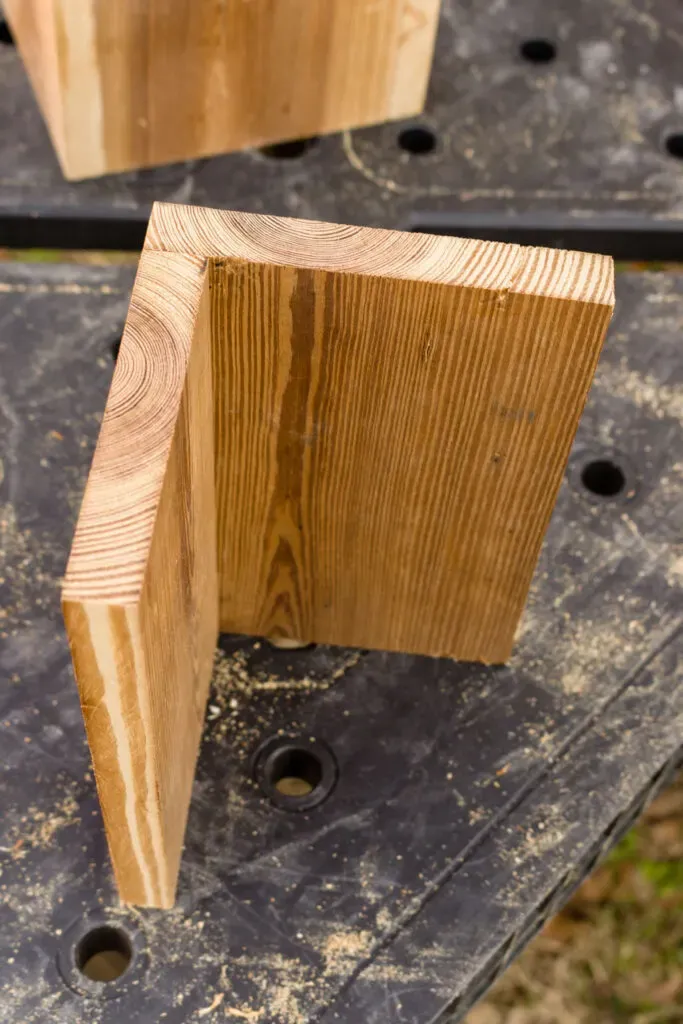
Clamp a side piece to the front, aligning it with the bottom and outside edge. Screw or nail it in place. Repeat for the other side.
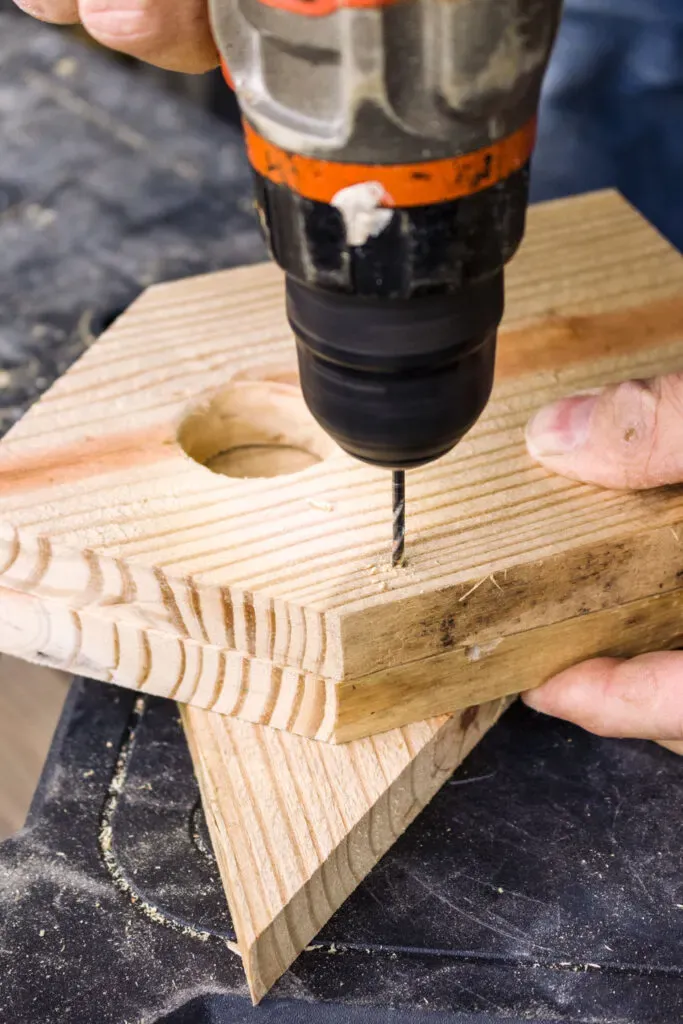 Pre Drilling screw holes
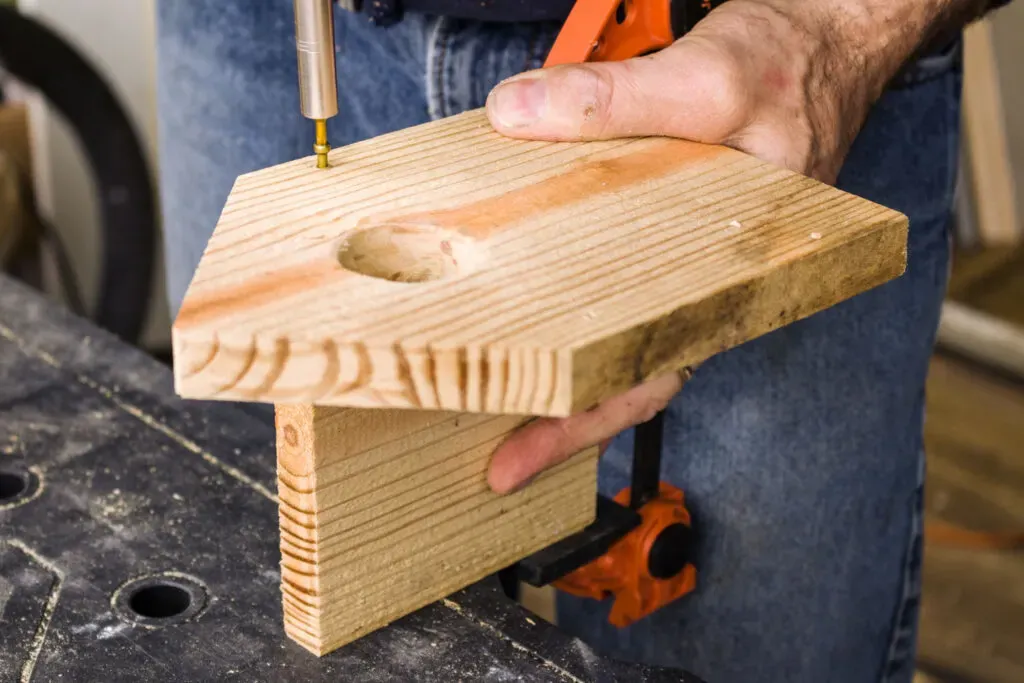 Clamp side to front
 -
For a cleanout door, leave the bottom screws out on one side.
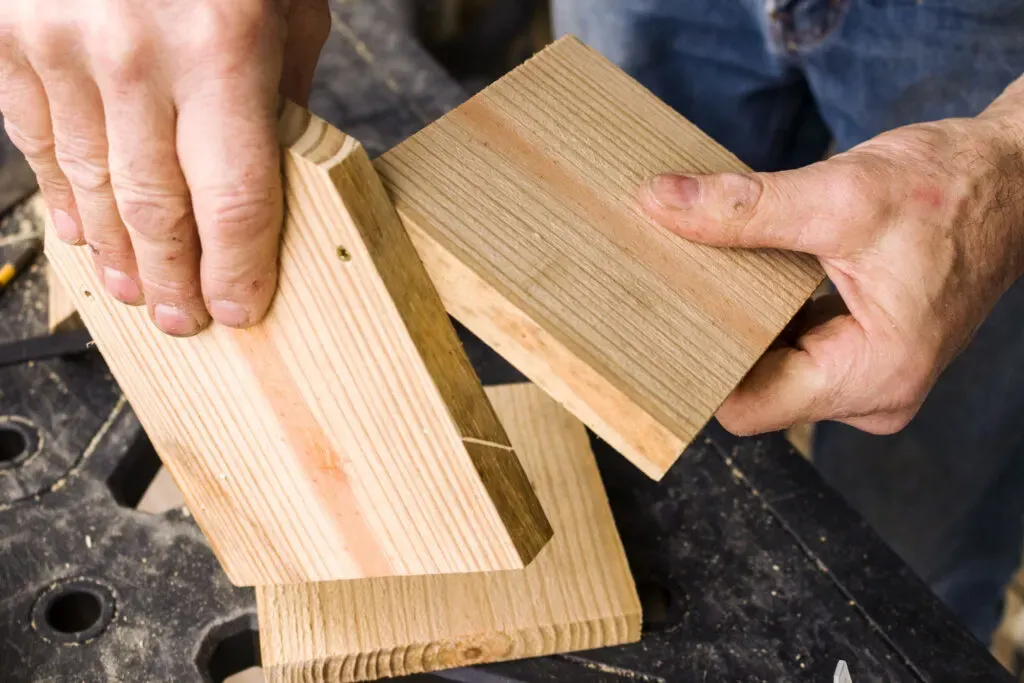 Testing the cleanout side hinge screws
 -
Attach the back piece with screws or nails.
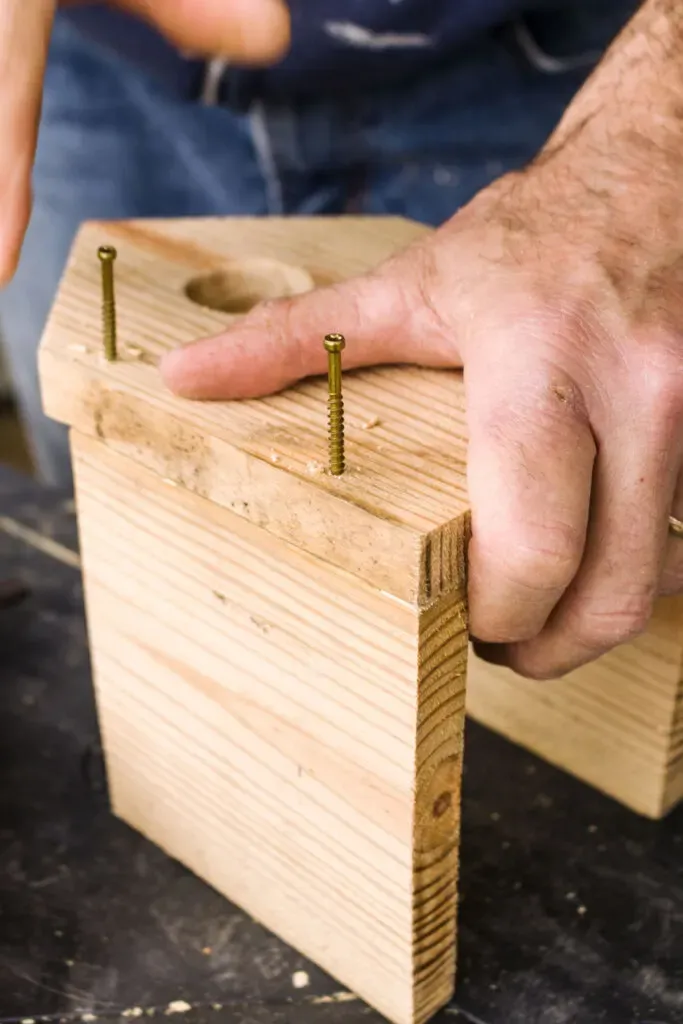 Attach sides to front then back of house
 -
Insert the bottom piece and secure it with glue and fasteners.
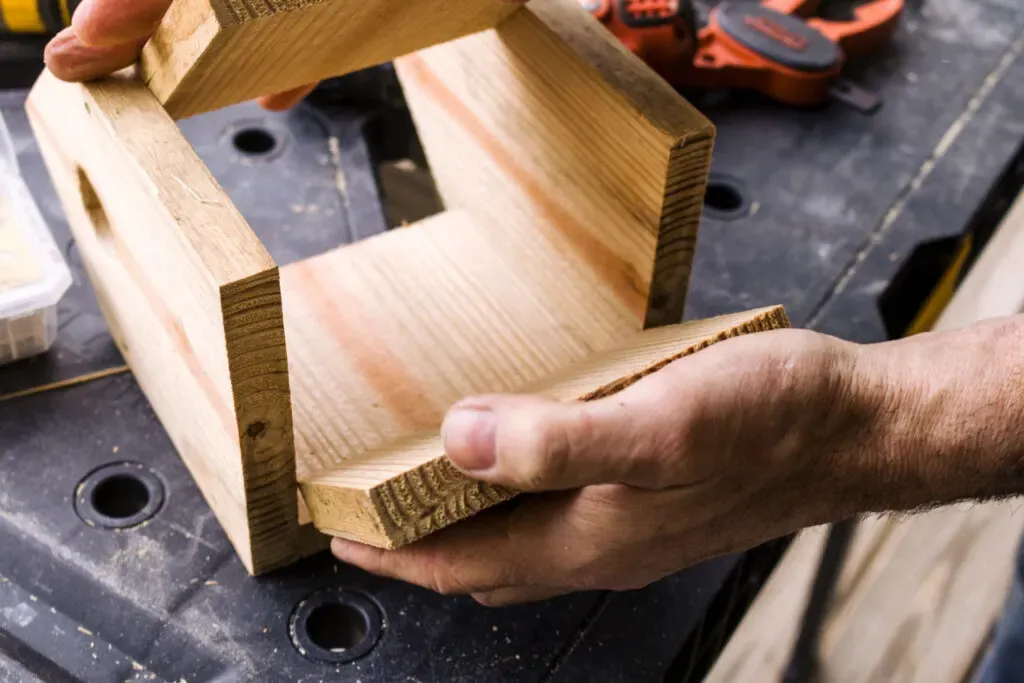 Installing the bottom
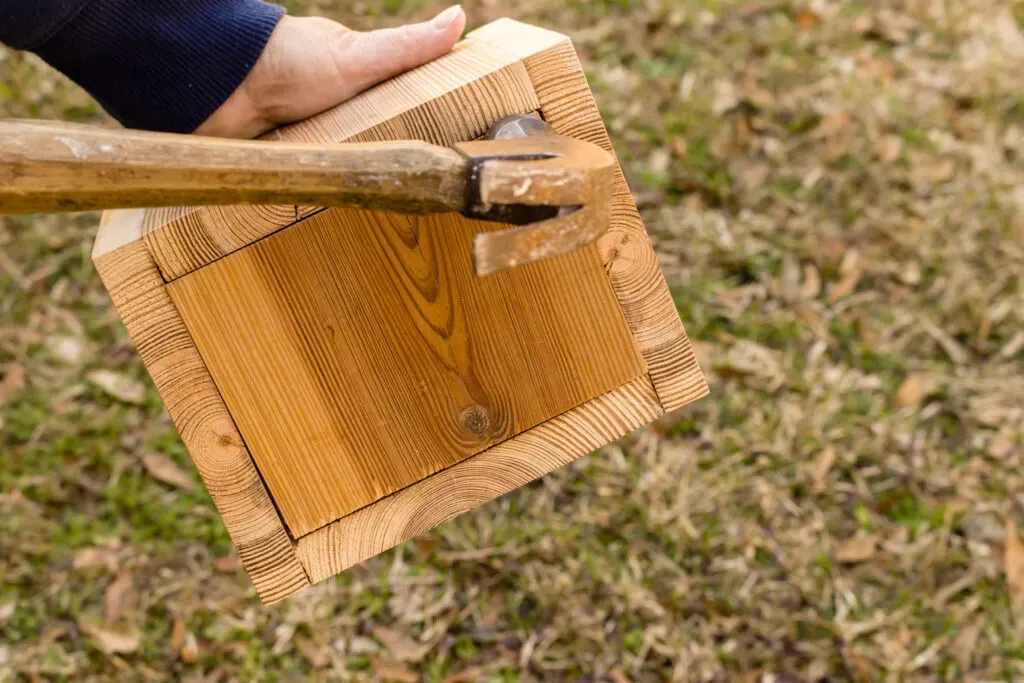 Tapping the bottom into place
 -
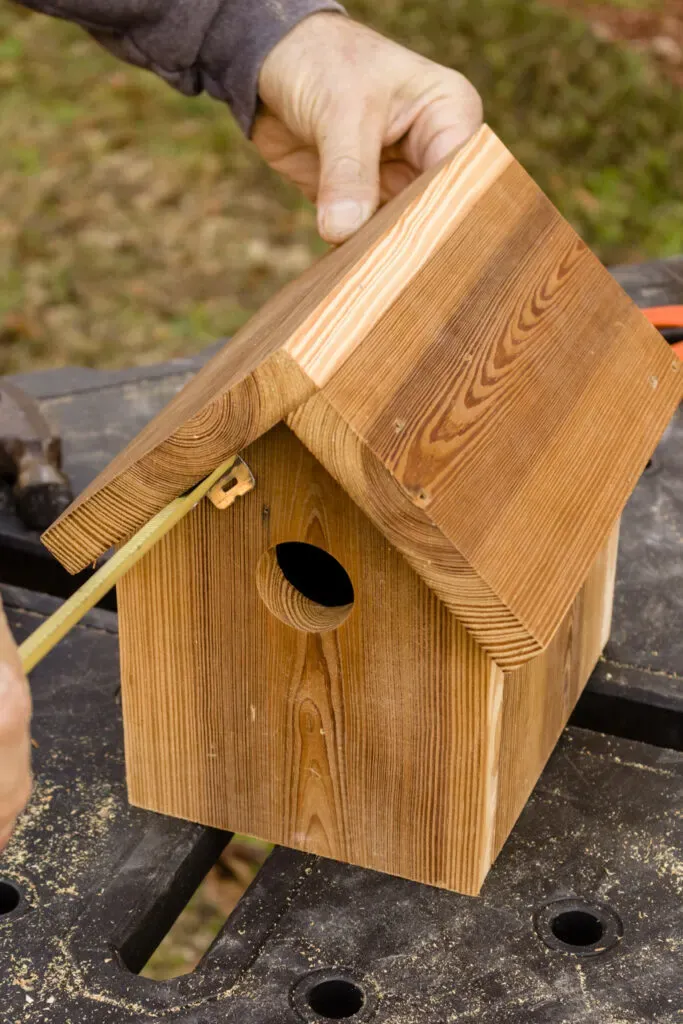
Attach the narrower roof board first, aligning it with the peak, using glue and fasteners. Then, attach the other roof board.
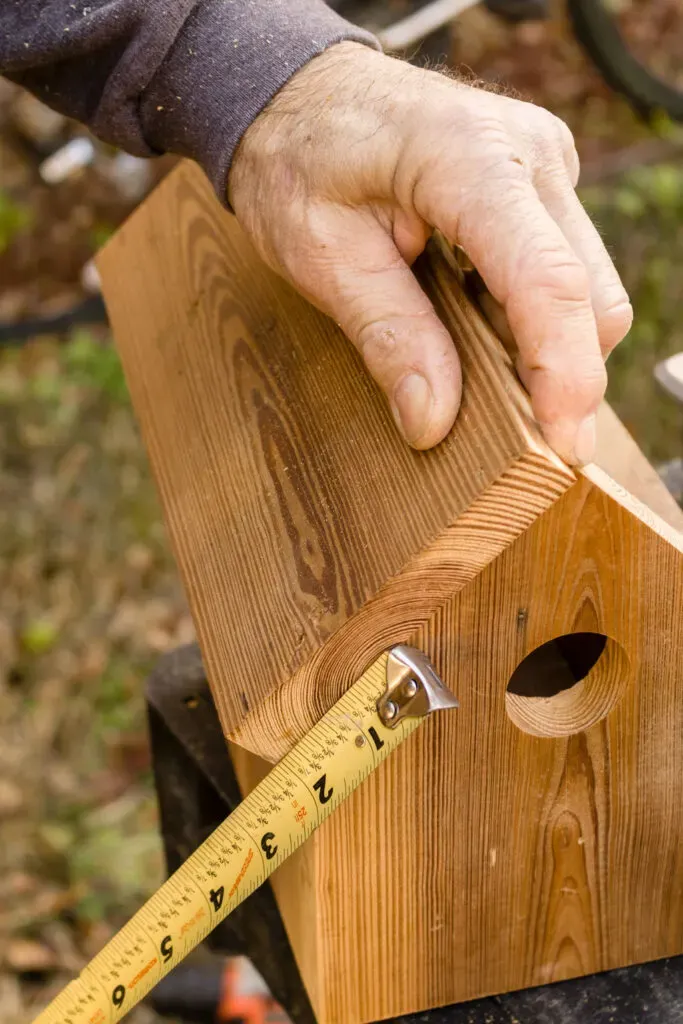 Checking the roof placement
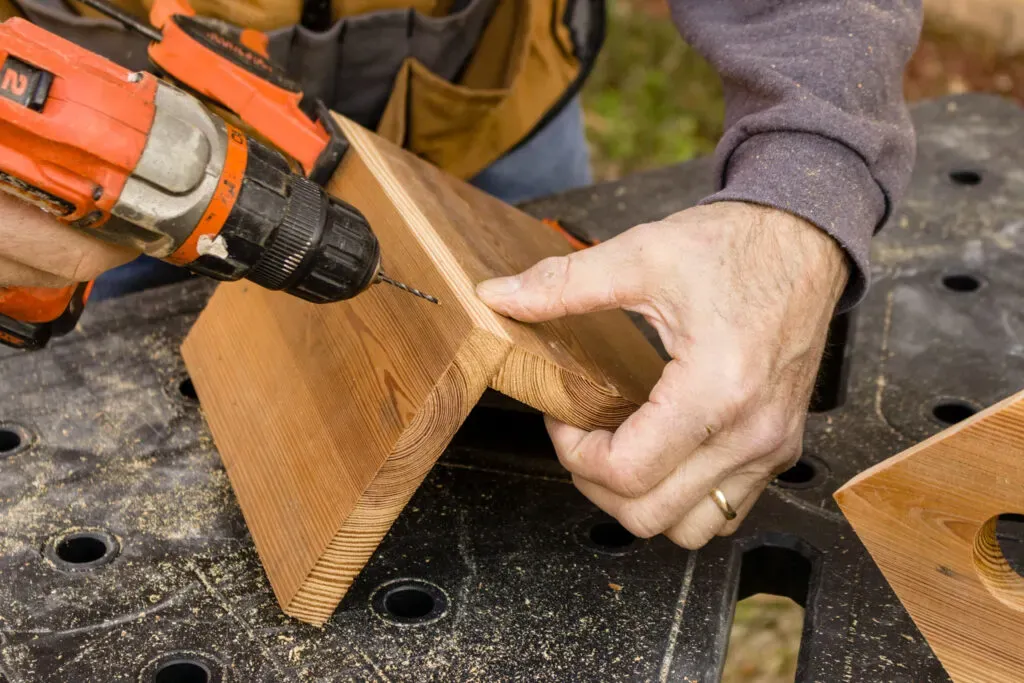 Drilling pilot holes
 Finished roof
 -
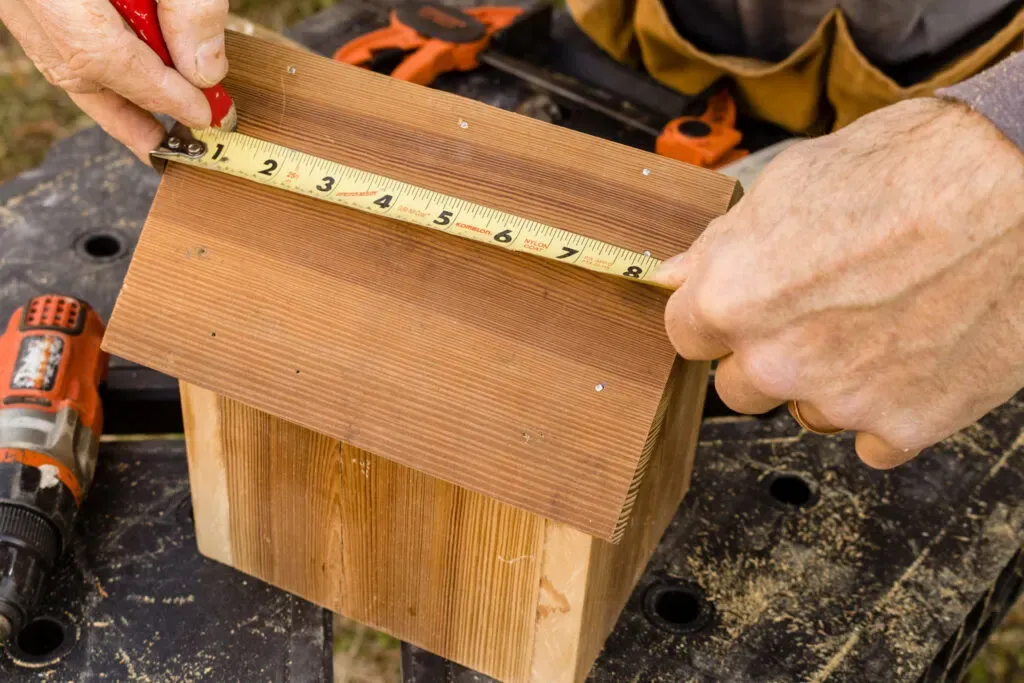
Determine the roof overhang and mark it on the walls.
 Measuring the overhang
 Marking the wall area
 -
Pre-drill holes in the roof and attach a hook for hanging or a pipe flange for mounting on a pole.
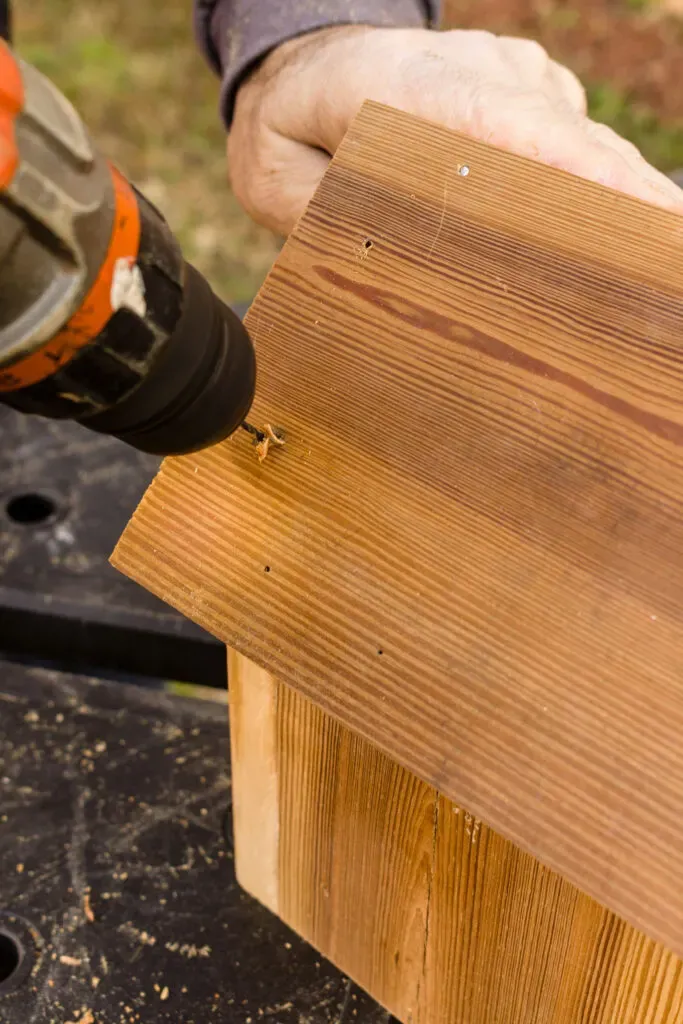 Drilling pilot holes in the roof
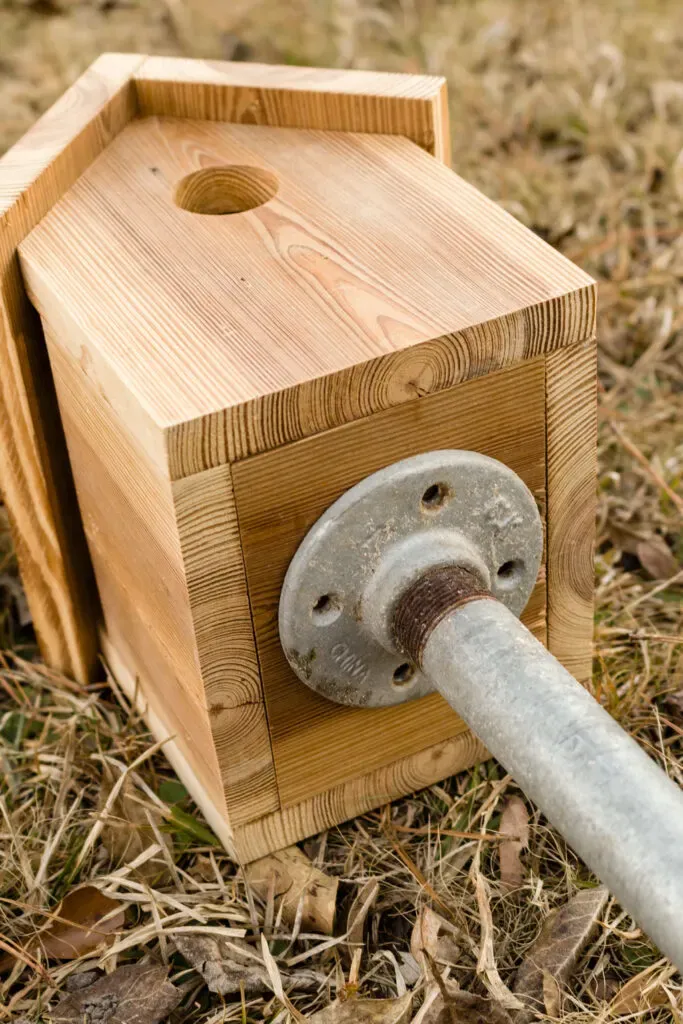 Install a pipe flange
Creative Roof Options
Consider these unique roof variations:
-
Tin Roofing: Upcycle old, rusty tin sheets for a rustic look.
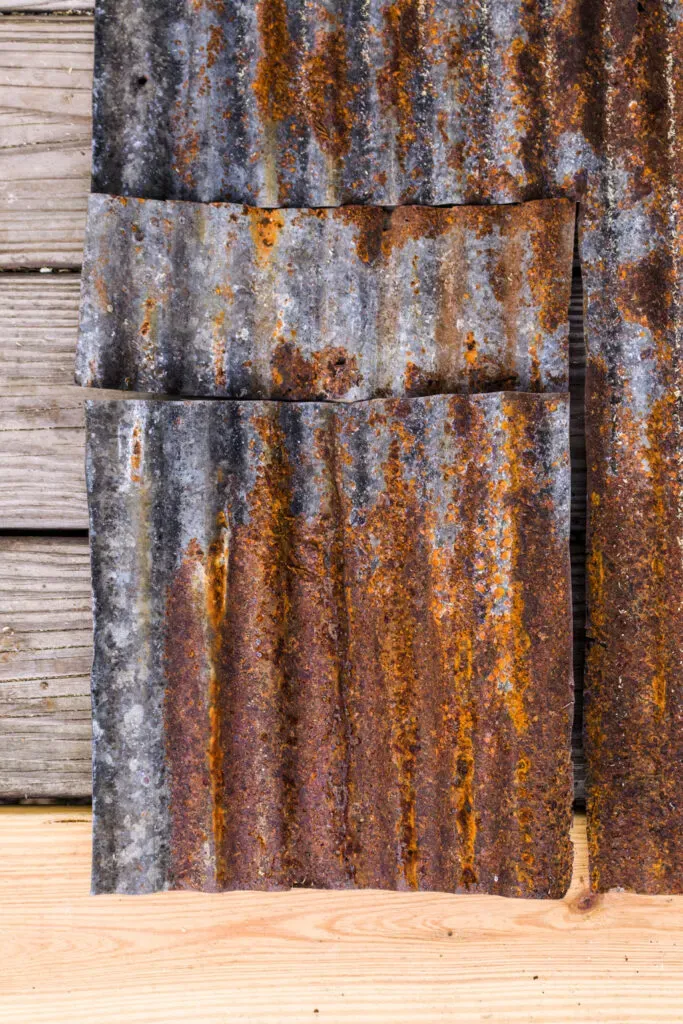 Vintage tin roofing
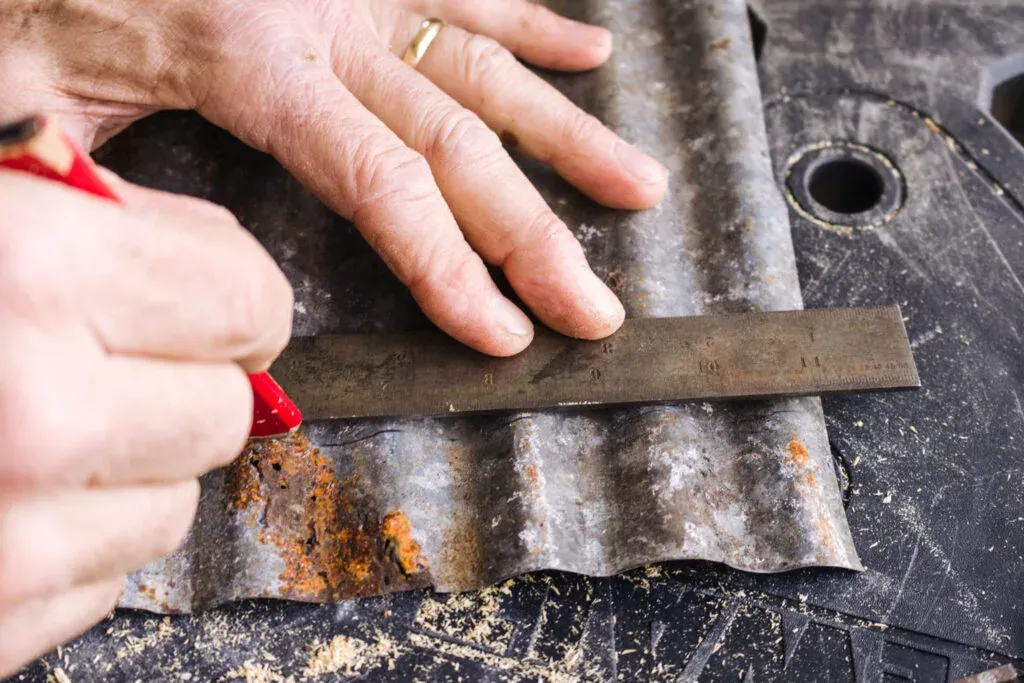 Mark cutting line with a pencil
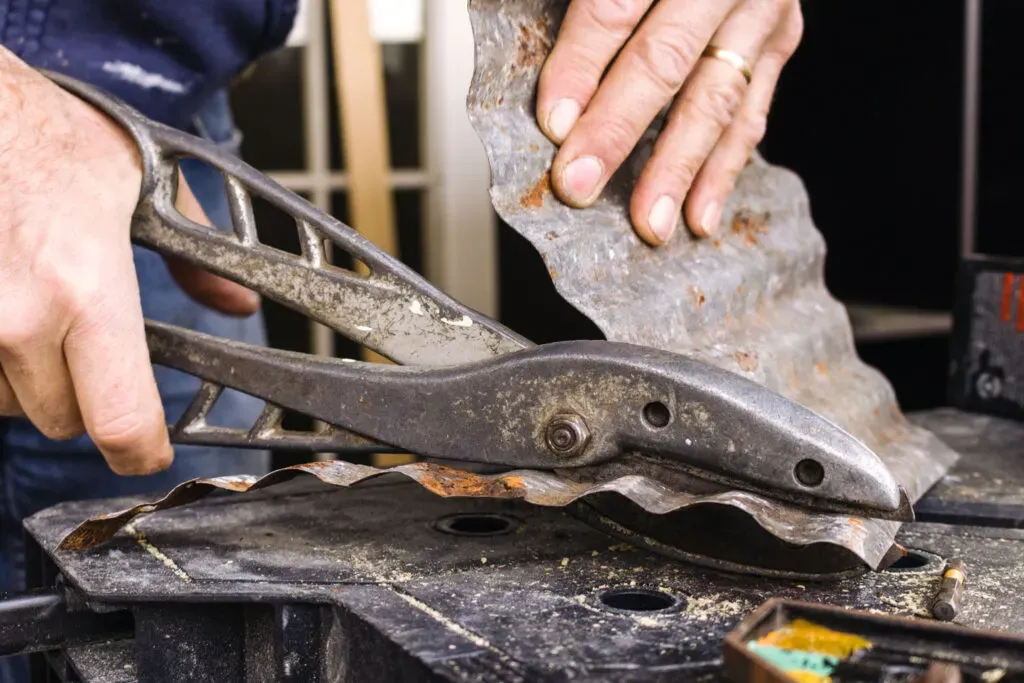 Cut out tin roof with tin snips
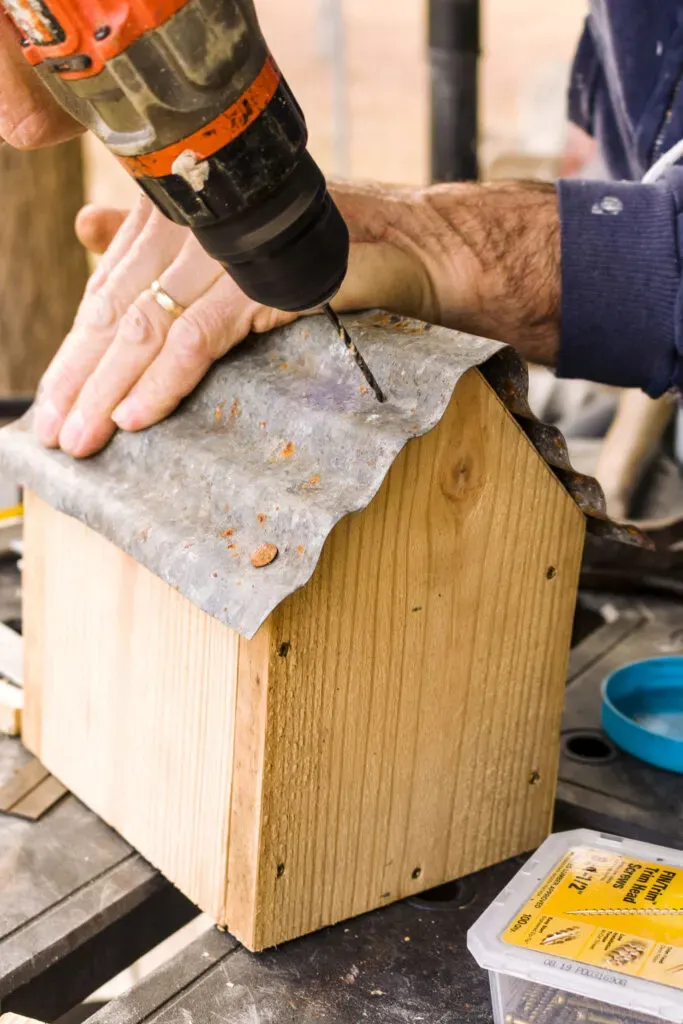 Pre drill holes for tin roof
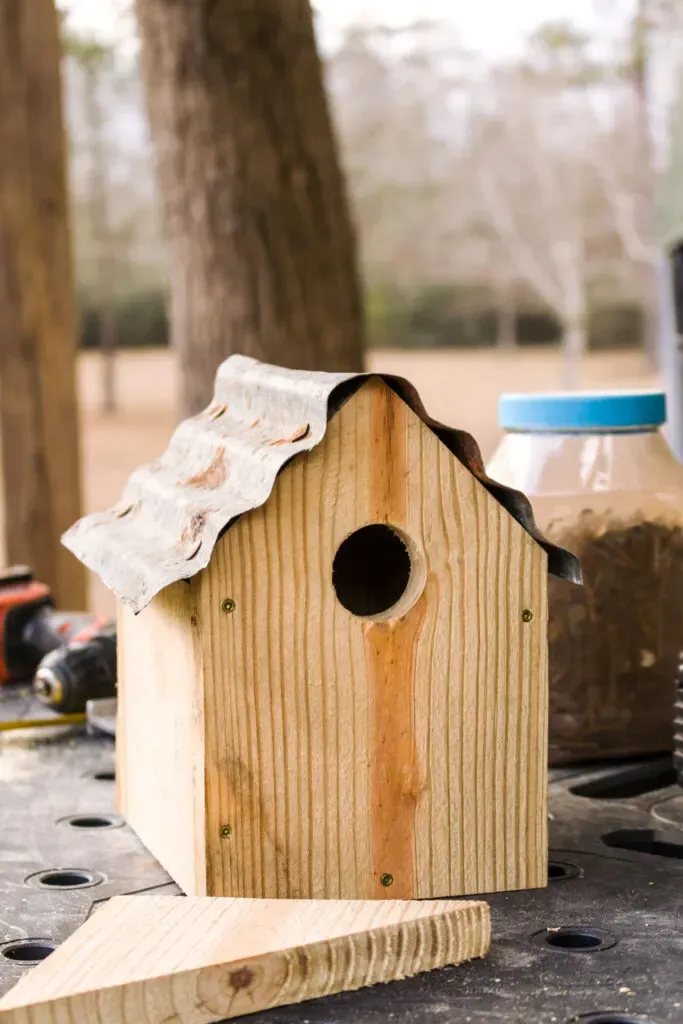 DIY birdhouse ready to install flange
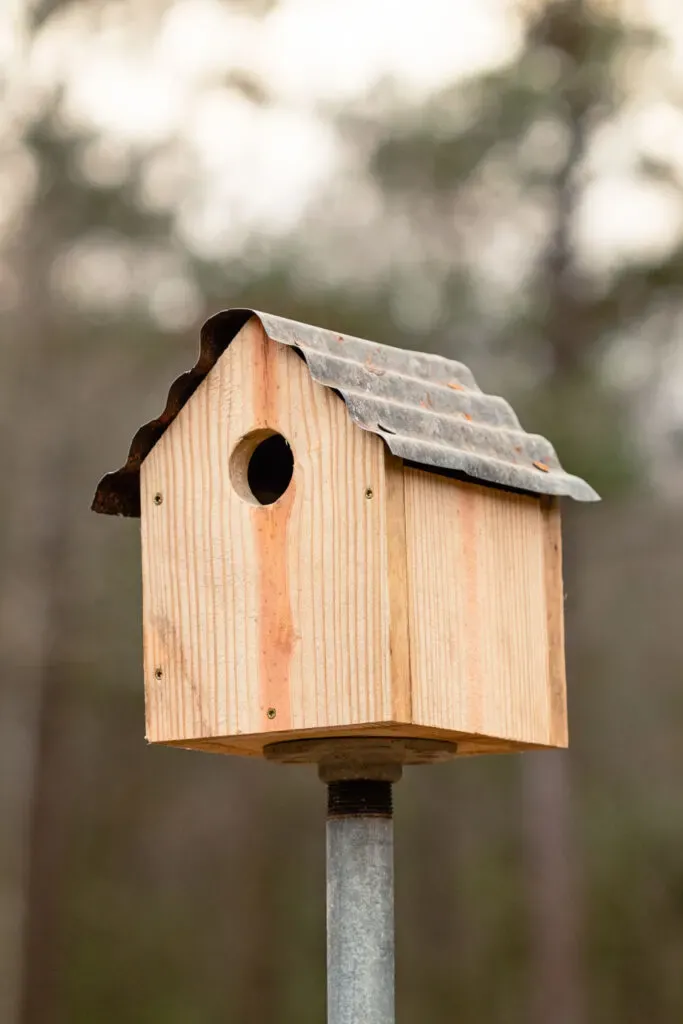 Rustic DIY birdhouse ready for the birds
 -
License Plates: Repurpose old license plates for a touch of vintage charm.
-
Wooden Shakes: Create a classic look with cedar shakes.
Attracting Birds to Your New Birdhouse
Besides a safe haven, birds are drawn to habitats offering food, water, and shelter. Consider these additions:
-
Bird Feeders: Provide a variety of seeds to attract different bird species.
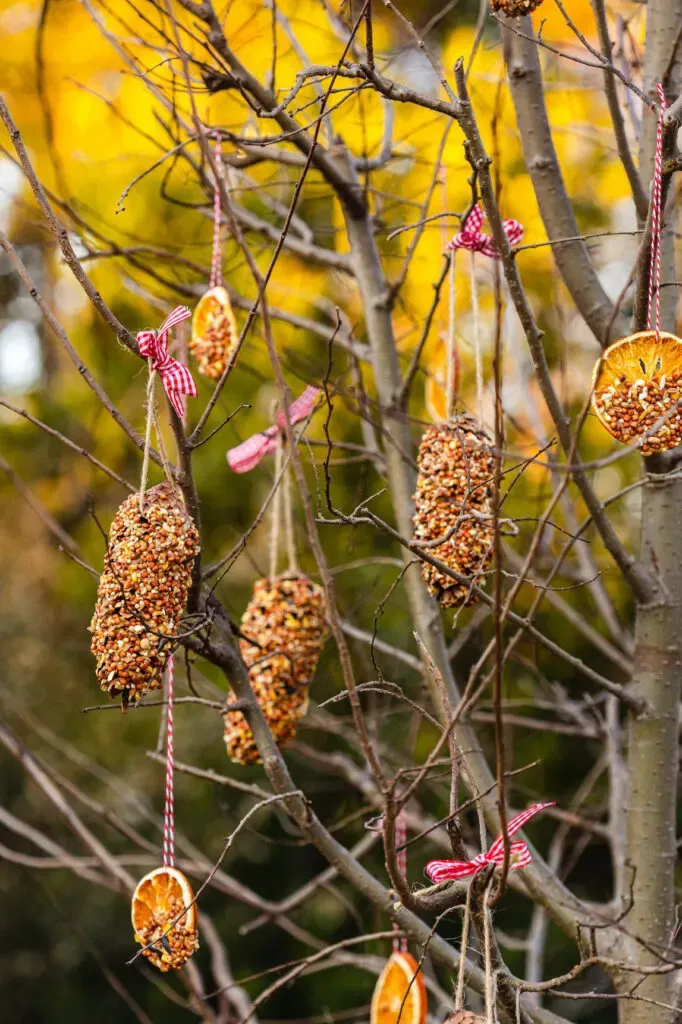 Pine cone bird feeders with red and white checked ribbon bows hanging in a tree
 -
Bird Bath: Offer a source of fresh water for drinking and bathing.
-
Native Plants: Landscape your yard with plants that provide natural food sources and shelter.
Conclusion
Building a DIY birdhouse is a simple yet profoundly rewarding project. It allows us to reconnect with nature, contribute to the well-being of birds, and add a touch of handmade charm to our surroundings. I encourage you to give it a try and experience the joy of seeing birds make your creation their home. Don’t forget to share your creations with us on Robert Kline Art. We love to see your crafty endeavors!
