Blog
Building a Portable Folding Workbench with Integrated Tool Storage
As a craftsman, my workshop is my sanctuary. It’s a space where creativity flows and projects come to life. But what about those times when you need to take your skills on the road? Maybe you’re working on a project at a friend’s house, or perhaps you need a dedicated workspace for a craft fair. Whatever the reason, a portable workbench is an invaluable asset for any maker on the move.
That’s why I decided to build my own portable folding workbench, inspired by the functionality of an MFT-style workstation but with the added benefit of integrated tool storage. And to make it even better, this workbench is designed to fit comfortably in the backseat of my car. Intrigued? Let’s dive into the details!
Planning and Design
Before I even picked up a saw, I spent some time sketching out my ideal portable workbench. I wanted something sturdy, compact when folded, and with ample storage for my essential tools. My vision was to incorporate:
- MFT-Style Grid: A grid of 20mm dog holes for maximum clamping versatility.
- Folding Design: Easy to collapse and transport.
- Integrated Storage: Dedicated compartments for tools and accessories.
Materials and Tools
Here’s a rundown of what I used to build this workbench. Feel free to adjust based on your own needs and preferences:
Materials:
- One sheet of ¾” (18mm) plywood
- Scraps of ¼” (6mm) plywood
- Wood glue
- Pocket hole screws
- Brad nails
- Threaded inserts
- Star knobs
- Rare earth magnets
- Snap straps
- Drawer pulls
- Side carry handle
- Foam insert for tool organization (Kaizen foam or similar)
- Test tube foam rack (for bench dog storage)
- Fastcap Track Rack
- TSO Rail Square
- TSO Bench Dogs
- Leather Handles
Tools:
- Track saw or circular saw
- Table saw
- Miter saw
- Drill
- Countersink drill bit
- UJK Parf Guide System
- Clamps
- Sander
- Planer (optional, but recommended for smooth leg construction)
- Band saw (for cutting foam)
Building the Workbench
Breaking Down the Plywood
 Cutting Plywood
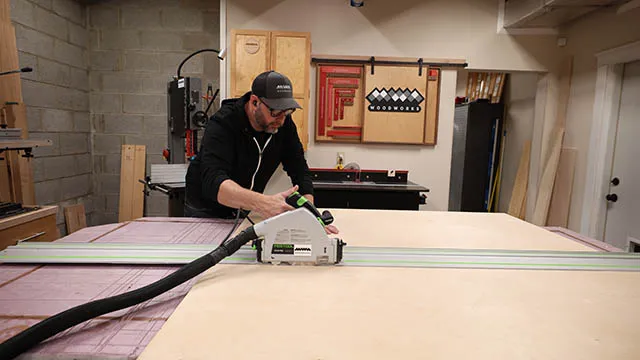
I started by breaking down the plywood sheet into manageable pieces using my track saw. A sheet of pink foam insulation underneath provides a stable and forgiving cutting surface.
Cutting to Final Dimensions
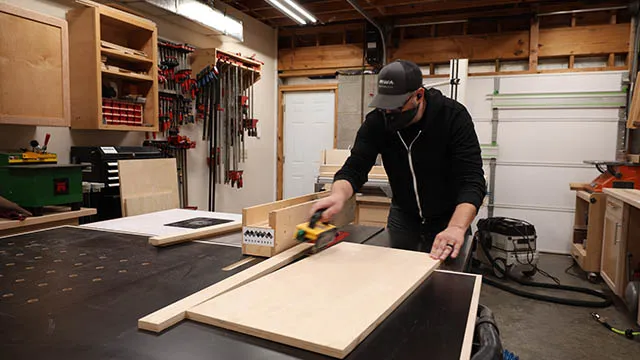 Cutting Parts to Final Dimensions
Once the pieces were a manageable size, I used my table saw to cut them to their final dimensions.
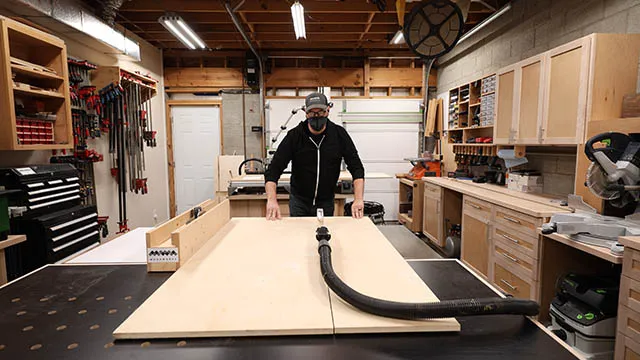 Cutting Workbench Parts
I cut the smaller components using a miter saw.
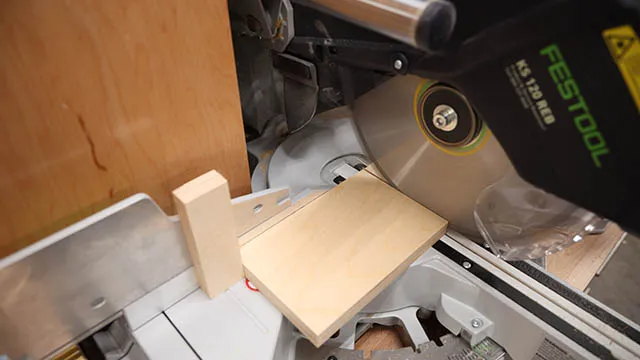 Cutting Small Parts
Creating the MFT-Style Top
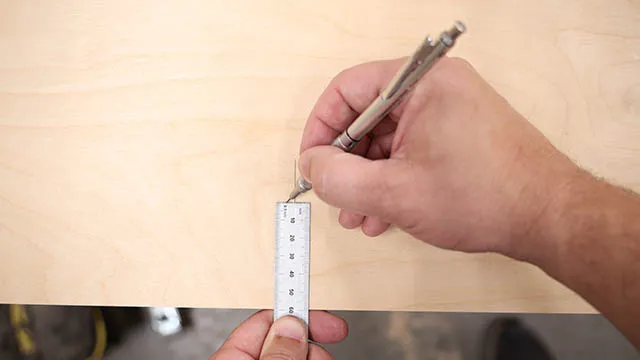 Locating Dog Hole
The heart of this workbench is the MFT-style top with its grid of 20mm dog holes. Achieving precise spacing is crucial, and that’s where the UJK Parf Guide System comes in.
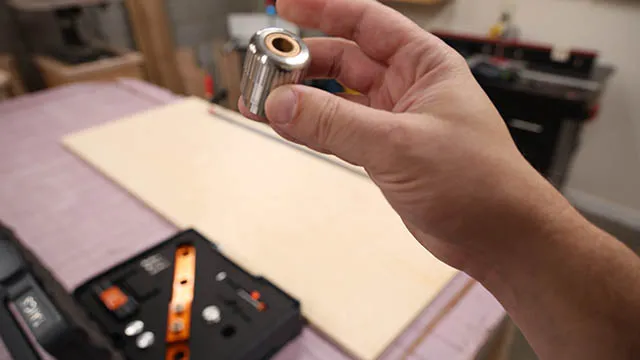 UJK Parf Guide Drill Guide
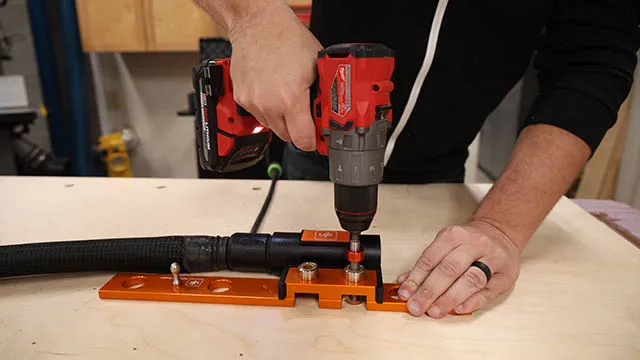
The UJK Parf Guide System includes a specialized drill guide bushing and drill bit. I started by carefully marking and drilling the first and last holes of my desired grid on the workbench top.
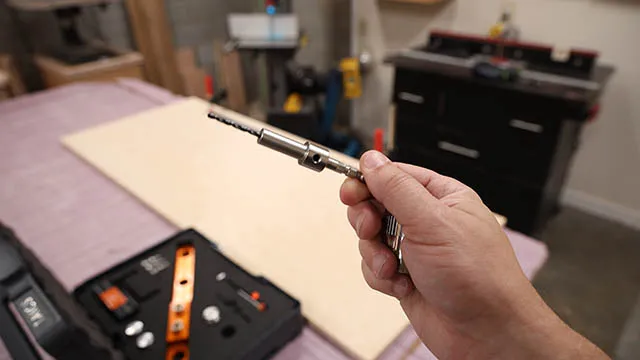 UJK Parf Guide Drill Bit
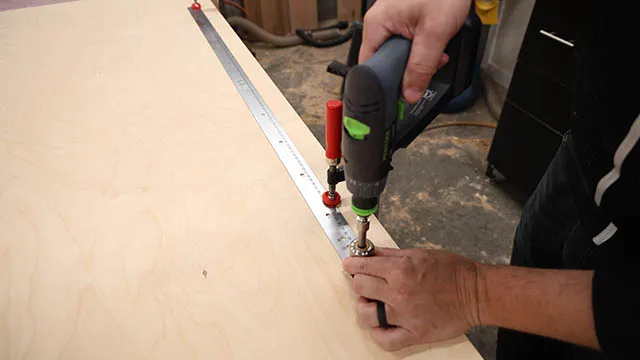 UJK Parf Guide Parf Stick
The Parf Guide System comes with a story stick that has pre-drilled holes every 96mm, aligning perfectly with the MFT standard.
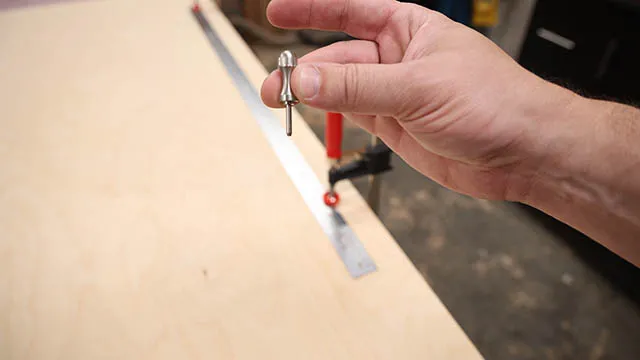 UJK Parf Guide Parf Pin
The story stick gets clamped to the workbench top, ensuring it is perfectly parallel with the edge. The system utilizes pins to secure the ruler in place, especially helpful when repositioning clamps for drilling.
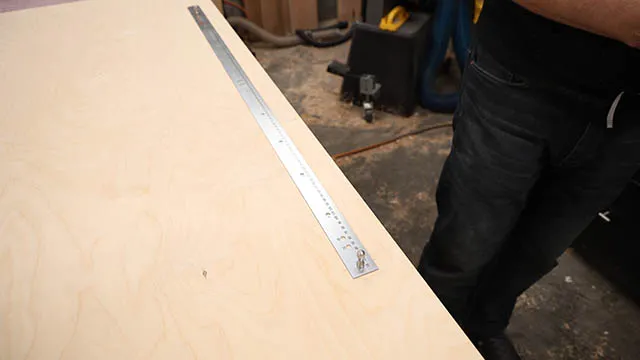 UJK Parf Guide Drilling First Line
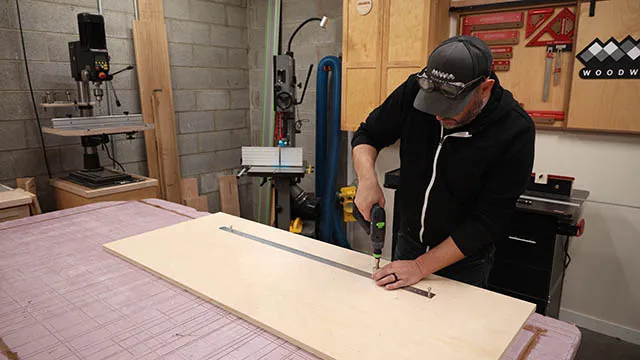
Using the provided guides, I drilled a series of precisely spaced holes along the workbench top.
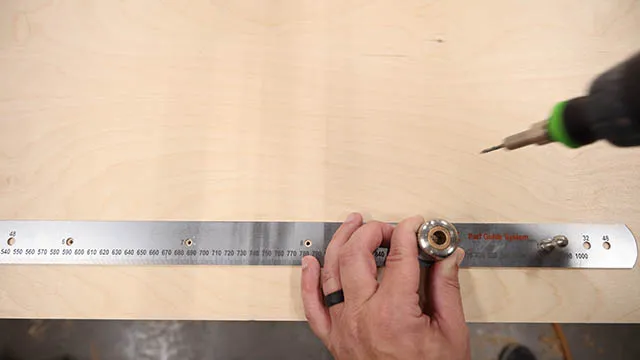 UJK Parf Guide Perfect Location
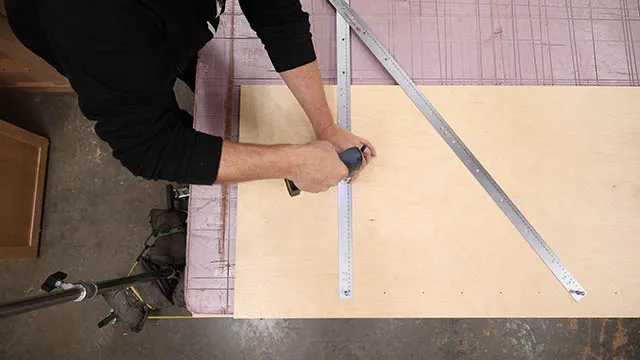
The system’s ingenious design incorporates the 3-4-5 rule (or in this case, the 6-8-10 rule) to ensure perfect right angles.
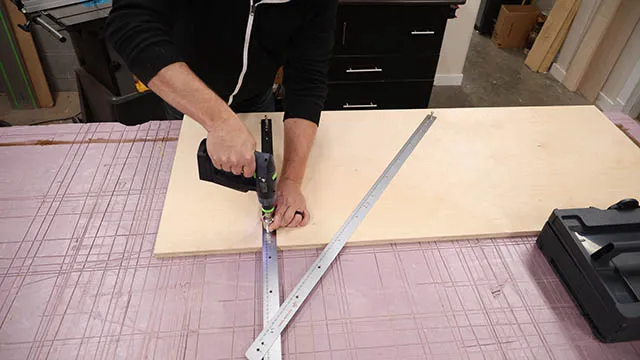 UJK Parf Guide Right Angle
 UJK Parf Guide Other Side
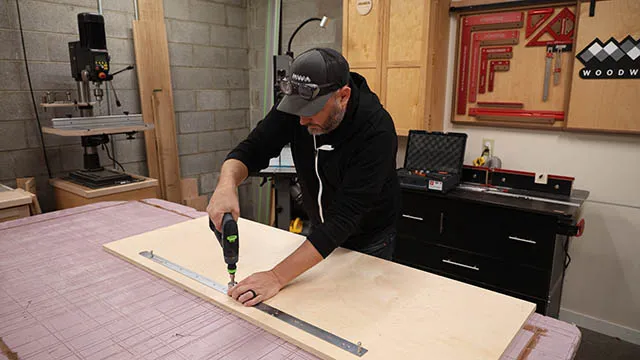
I repeated the process on the opposite side to create a perfectly aligned grid across the entire workbench top.
 UJK Parf Guide Drill out hole locations
Once the initial grid was established, I used a larger 20mm drill bit to expand the holes to their final size.
 UJK Parf Guide Finish Grid
The result is a professional-looking MFT-style top, perfect for clamping and work holding.
 UJK Parf Guide Parf Guide
“Using the UJK Parf Guide System took all the guesswork out of creating the MFT top. It’s a game-changer for accuracy and ease of use,” says veteran woodworker, John from Michigan.
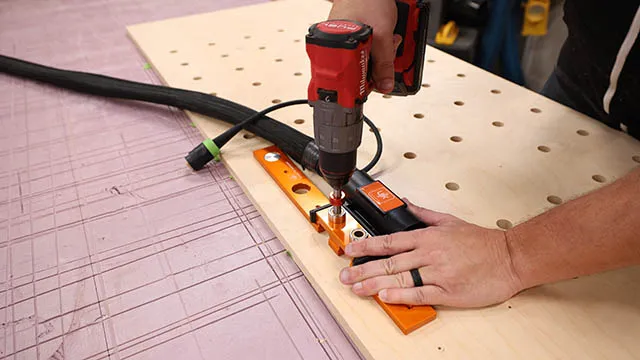 UJK Parf Guide Locator Dogs
With the dog holes in place, I can now easily use locator dogs and other accessories for secure work holding.
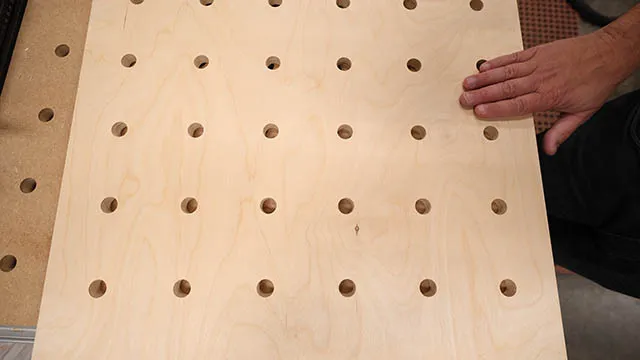 UJK Parf Guide Perfect MFT Top
Assembling the Workbench Frame
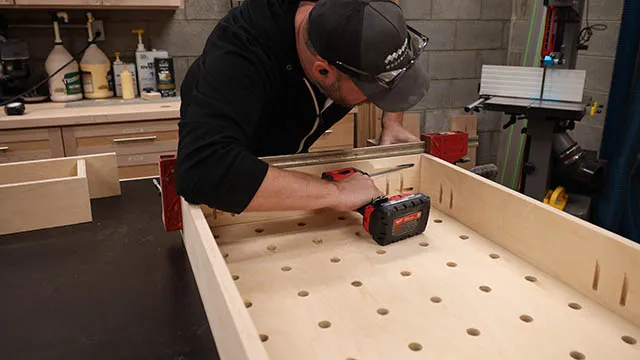 Workbench Apron Assembly
With the top complete, I moved on to assembling the workbench frame. I used pocket screws for a strong and relatively quick assembly.
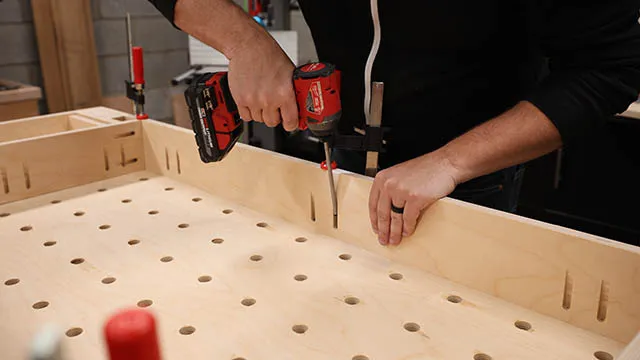 Workbench Apron Assembly Pocket Holes
I made sure to align the pocket holes on both sides of the bench to avoid hitting any screws while cutting.
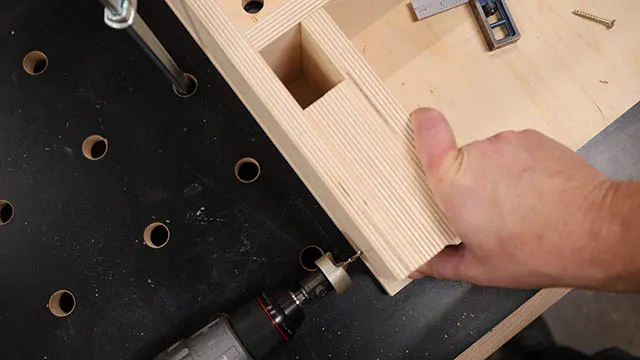 Workbench Apron Assembly Blocking
I added blocking to the frame for extra rigidity and to create pockets for the legs.
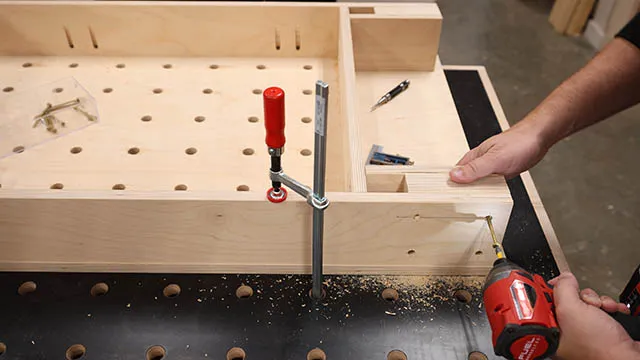 Workbench Apron Assembly Blocking 2
The blocking was attached with glue and screws for a rock-solid connection.
Crafting the Folding Legs
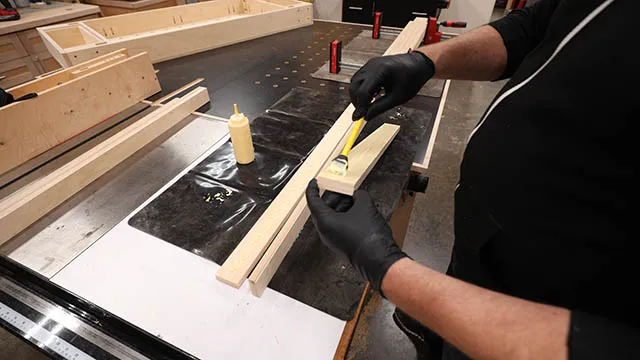 Workbench Apron Assembly Leg Assembly
To make the legs, I opted for a laminated plywood construction. I glued and clamped strips of plywood together, much like making a cutting board.
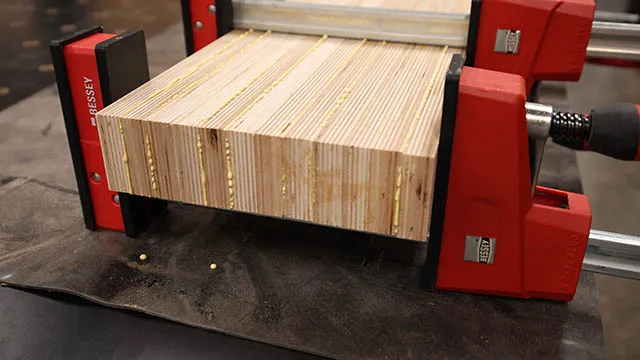 Workbench Apron Assembly Leg Glueup
Once the glue dried, I used my planer to create smooth and even legs.
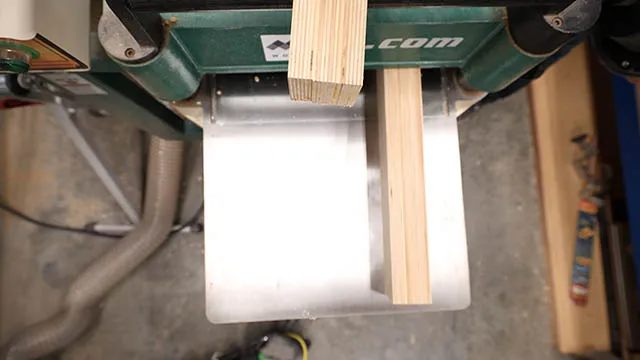 Workbench Apron Assembly Leg Trimming
A quick trim on the miter saw squared up the ends.
Integrating the Legs and Storage
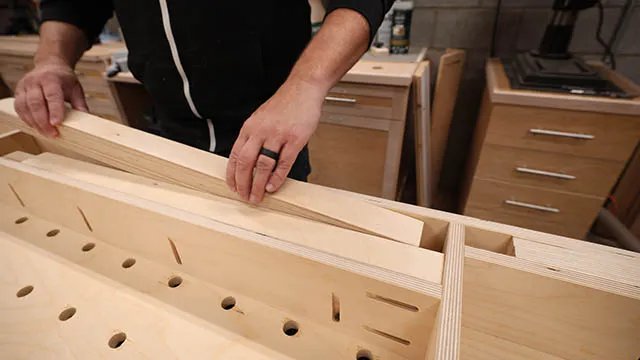 Workbench Apron Assembly Leg Storage
I created dedicated pockets on the underside of the workbench to securely store the legs when not in use.
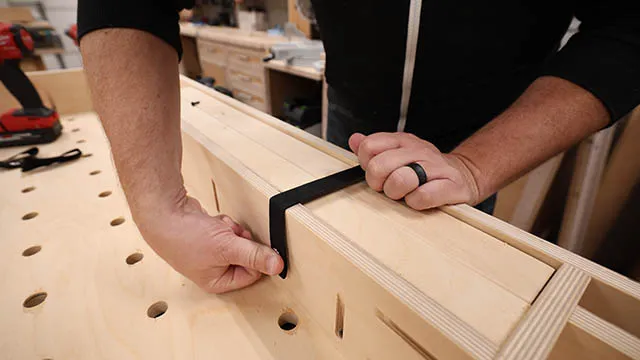 Workbench Apron Assembly Snap Strap
To secure the legs in place, I used simple snap straps.
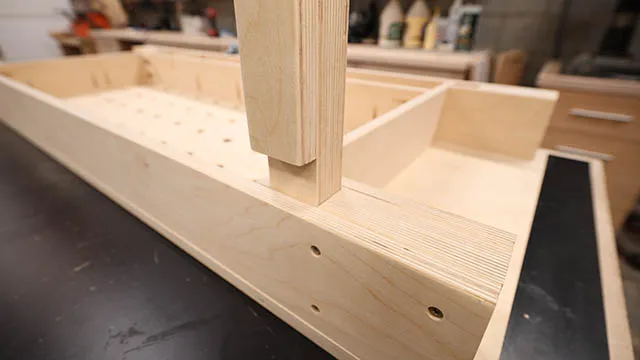 Workbench Apron Assembly Leg Attachment
To attach the legs to the frame, I drilled pilot holes through the apron and into the legs.
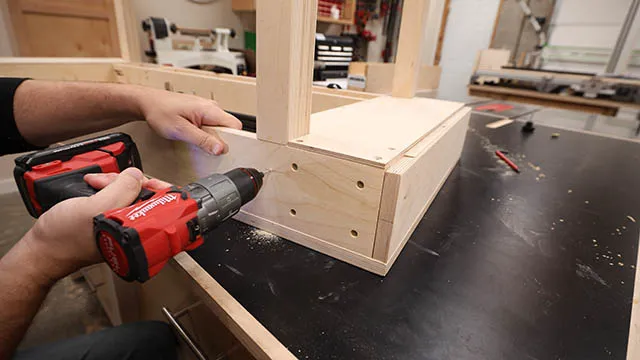 Workbench Apron Assembly Leg Attachment 1
Then, I installed threaded inserts into the legs, ensuring they sat flush or slightly below the surface.
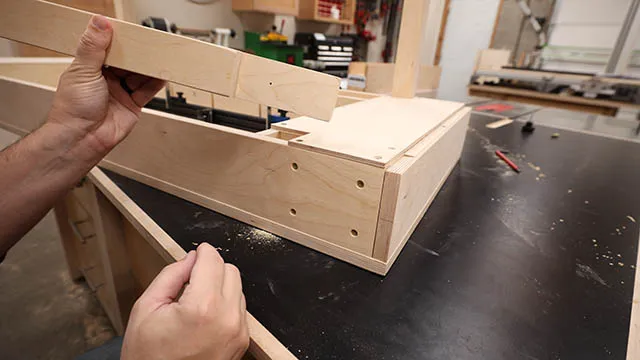 Workbench Apron Assembly Leg Attachment 2
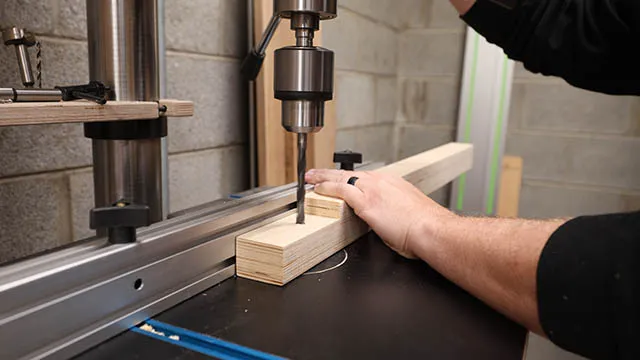 Workbench Apron Assembly Leg Attachment 4
I drilled larger holes in the apron, allowing me to easily attach the legs using star knobs.
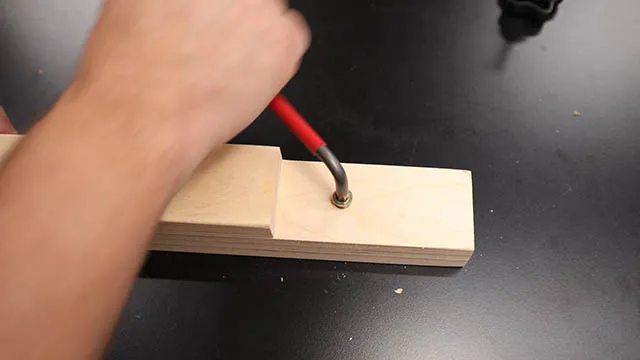 Workbench Apron Assembly Leg Attachment 5
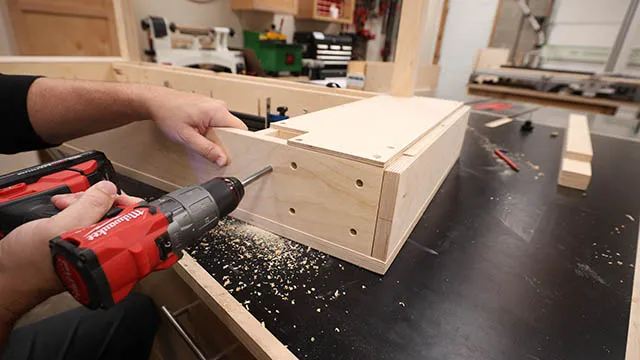 Workbench Apron Assembly Leg Attachment 3
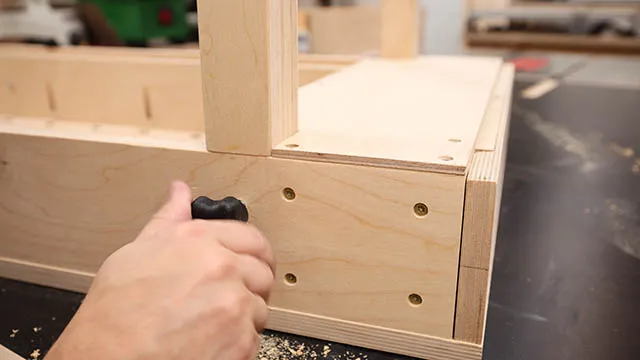 Workbench Apron Assembly Leg Attachment 6
This created a secure and easily detachable leg system for portability.
Adding the Drawers
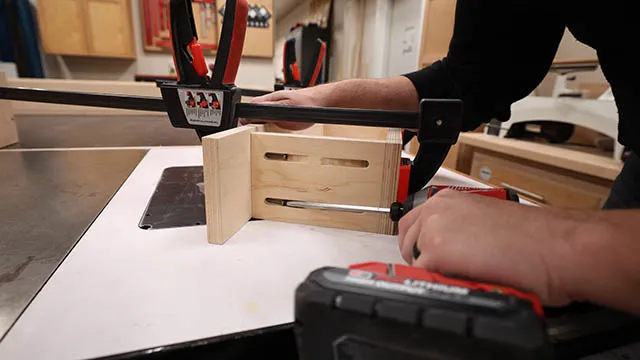 Workbench Apron Assembly Drawer Assembly
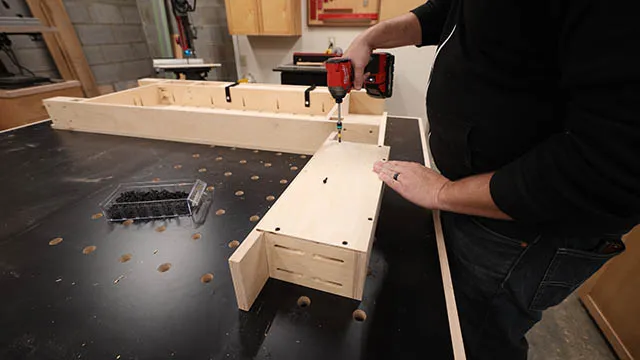
Next, it was time to build the drawers. I opted for a simple pocket screw construction for speed and efficiency.
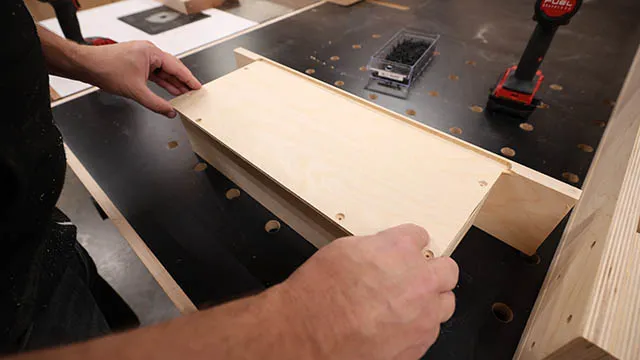 Workbench Apron Assembly Drawer Assembly 2
The drawer fronts were designed to be slightly wider, concealing the blocking at the ends of the workbench for a clean, finished look.
 Workbench Apron Assembly Drawer Assembly 3
For the drawer bottoms, I chose ¼” plywood to maximize storage space.
 Workbench Apron Assembly Drawer Assembly 4
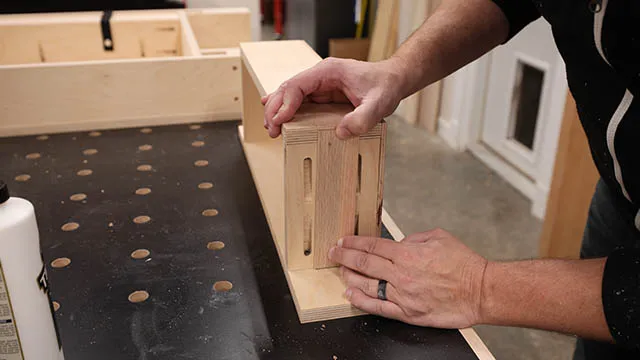
I cut small mortises into the drawer fronts for a clean, concealed screw attachment of the drawer bottoms.
 Workbench Apron Assembly Drawer Assembly 5
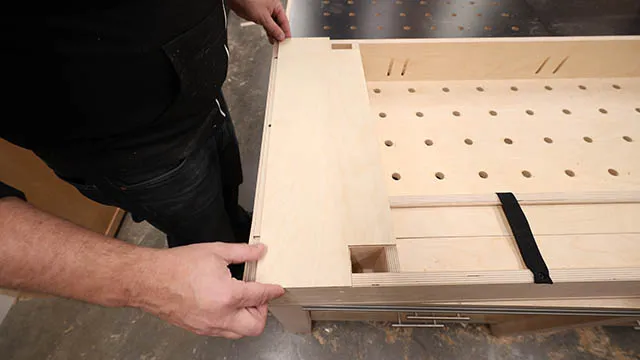
Instead of using drawer slides, I opted for simple hardwood rub strips for smooth operation.
 Workbench Apron Assembly Drawer Assembly Magnet
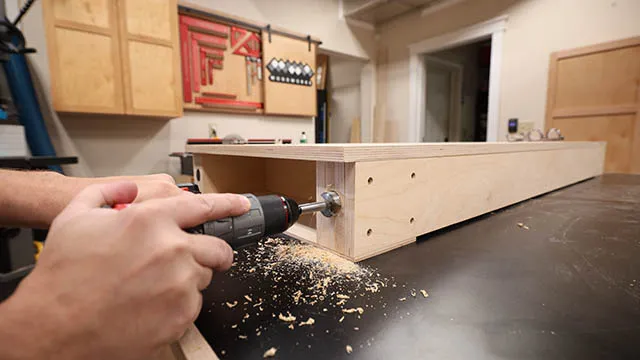
To keep the drawers securely in place during transport, I embedded magnets into the drawer fronts and corresponding magnets into the workbench blocking.
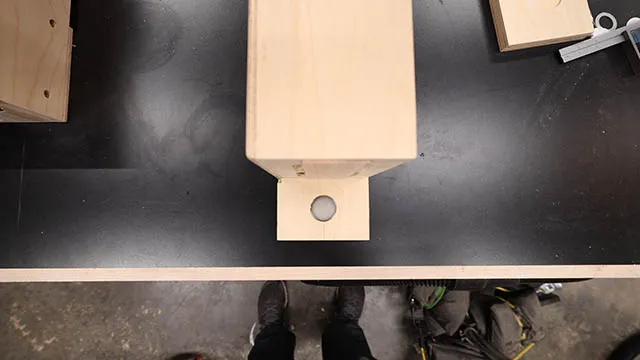 Workbench Apron Assembly Drawer Assembly Magnet 2
I finished the drawers with low-profile pulls for a sleek and functional look.
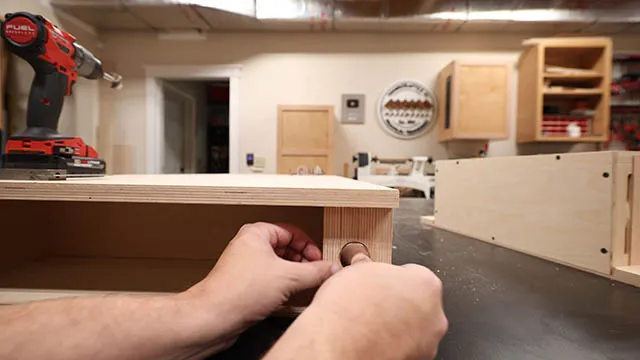 Workbench Apron Assembly Drawer Magnet
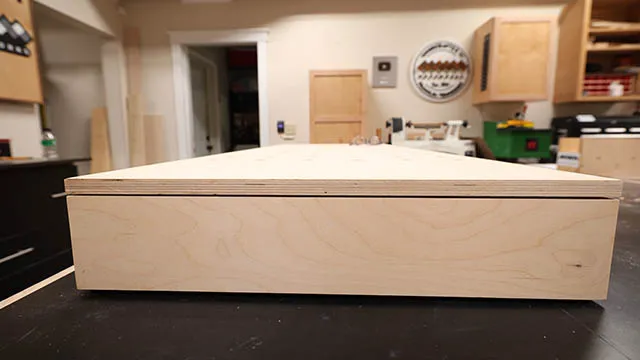 Workbench Apron Assembly Drawer
Maximizing Tool Storage
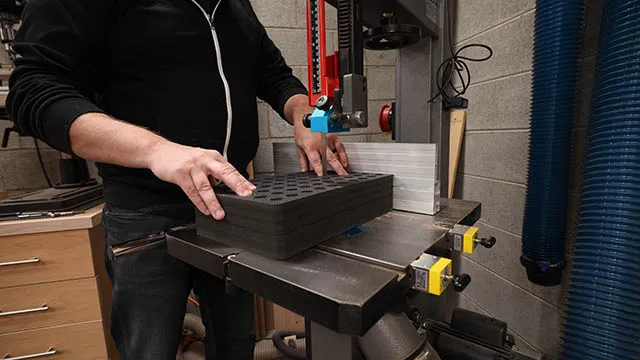 Workbench Apron Assembly Foam Insert
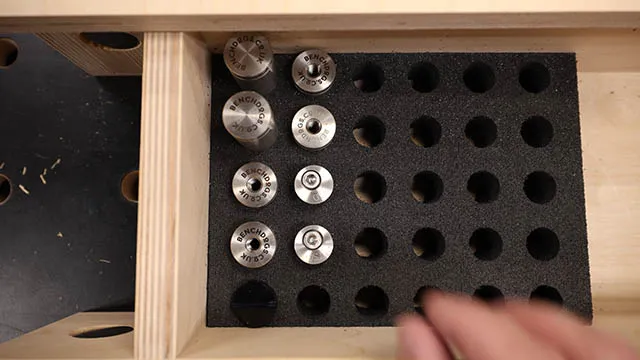
To organize my bench dogs, I found an ingenious solution – a foam block designed for storing test tubes.
 Dog Hole Storage
A few quick cuts on the band saw created a perfect-fitting and secure storage solution for my bench dogs.
 Workbench Track Storage
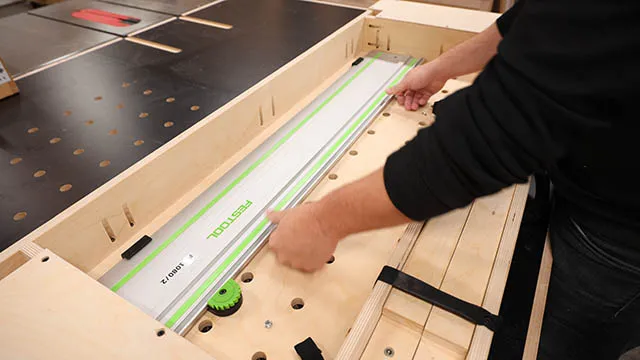
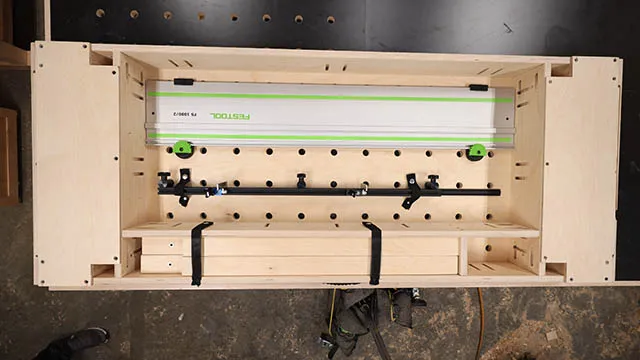
I maximized the space under the workbench by installing a Festool guide rail using Fastcap track racks. This provided a convenient storage spot for my guide rail.
 Workbench Fence Storage
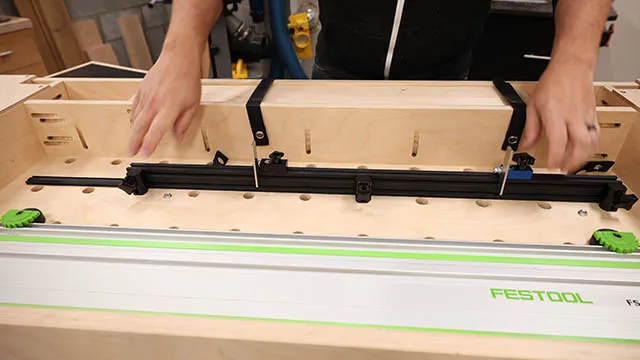
I added snap straps to secure my bench dog fence system for transport.
Final Touches
 Workbench Completed Assembly
I attached a comfortable side carry handle for easy transport.
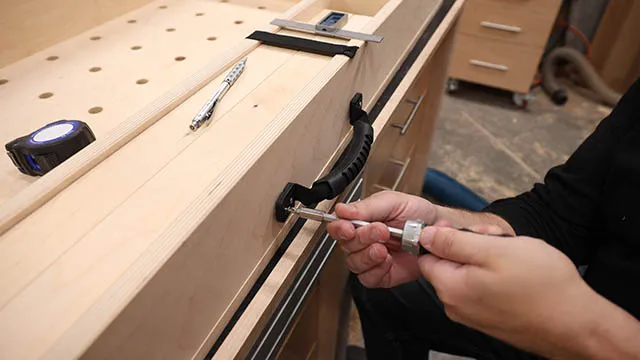 Workbench Apron Assembly Handle
To keep my tools organized and protected within the drawers, I used custom-cut Kaizen foam. This foam is perfect for creating a snug and secure fit for all my essential tools.
Conclusion
This portable folding workbench has been a game-changer for my workflow. It offers the functionality of a stationary workbench with the added benefit of portability. Plus, the integrated storage keeps my tools organized and readily available.
If you’re looking for a way to take your crafting on the go, I highly recommend building your own portable workbench. It’s a project that will pay dividends for years to come.
And remember, here at Robert Kline Art, we believe in the power of handmade. Explore our website for more DIY inspiration and discover unique handcrafted gifts for your loved ones.
