Blog
Building a Dream Outdoor Kitchen: A DIY Journey with a Built-in Grill
Hey everyone, Robert Kline here! For months I’ve been eager to share an exciting project that transformed my outdoor space: building a custom outdoor kitchen, complete with a built-in grill. It was a labor of love, filled with challenges and triumphs, and today, I’m thrilled to guide you through the process.
Designing the Heart of Your Outdoor Haven
Before diving into the construction, let’s talk about the blueprint. Just like any great art piece, a well-planned design is crucial. I started by sketching out the layout, meticulously noting down every measurement. Remember, precision is key!
Here are some key considerations for your design:
- Cabinet Cutouts: Plan the dimensions of your cabinets and their exact positions.
- Material Thickness: Factor in the thickness of materials like concrete board, lumber, and brick veneer. This ensures accurate space allocation.
- Fuel Lines: If you’re opting for a gas grill, think about the fuel line placement early on.
- Heat Barrier: Safety first! Designate a sufficient heat barrier around the grill to protect your home.
Laying the Foundation: Pressure Treated Lumber and Concrete Board
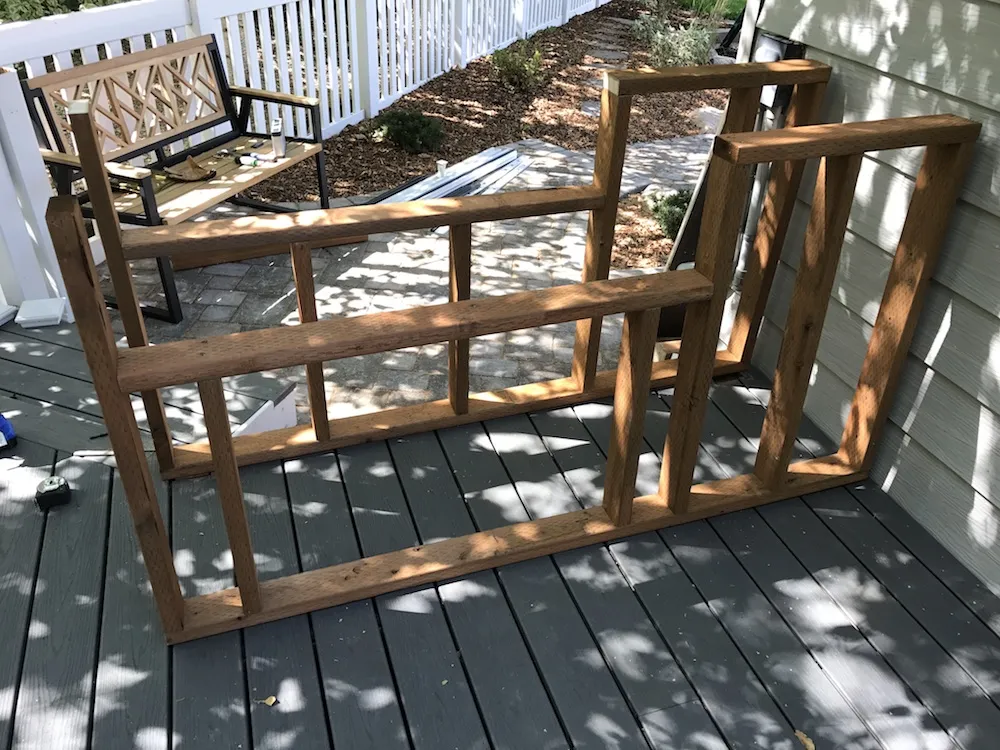
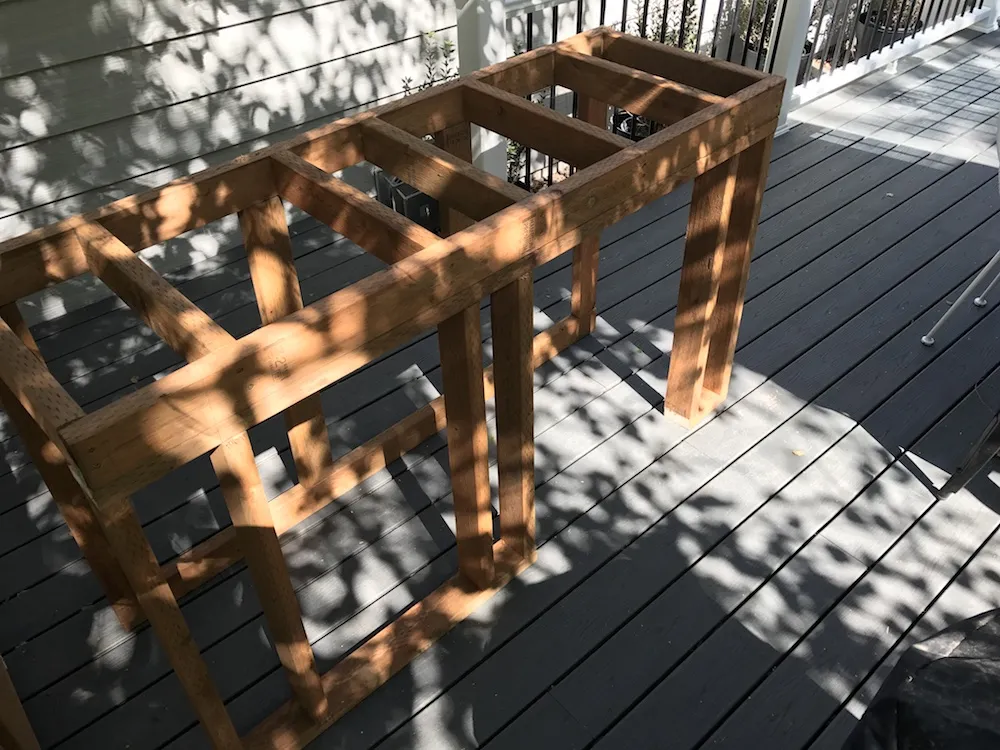
 Foundation of an outdoor kitchen being built with pressure treated lumber
Caption: The initial framework taking shape with pressure-treated lumber.
With a clear vision in mind, I began building the framework using pressure-treated lumber. This wood is a fantastic choice for outdoor projects due to its resistance to moisture and elements.
To ensure a polished finish, even on the unseen backside, I attached concrete board to the back of the frame. This step adds an extra layer of protection and durability.
Creating an Impenetrable Heat Shield
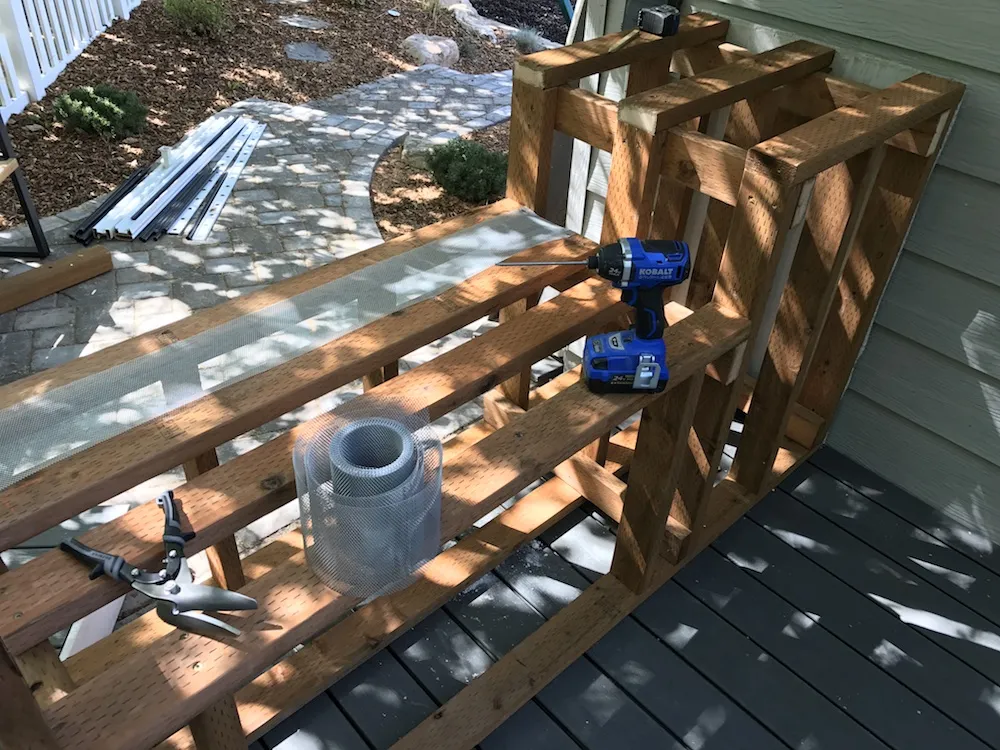 Metal framing for the outdoor kitchen's grill area
Caption: Constructing a robust heat barrier using metal framing around the grill section.
Next came the critical step of building a reliable heat barrier. I framed the area around the grill using metal 2x4s. Why metal? It provides superior heat resistance compared to wood, significantly reducing fire hazards.
For added safety and structural support, I added pressure-treated 2×4 supports beneath the metal framing, ensuring the structure could handle the grill’s weight.
Shielding the Structure: Concrete Board and Insulation
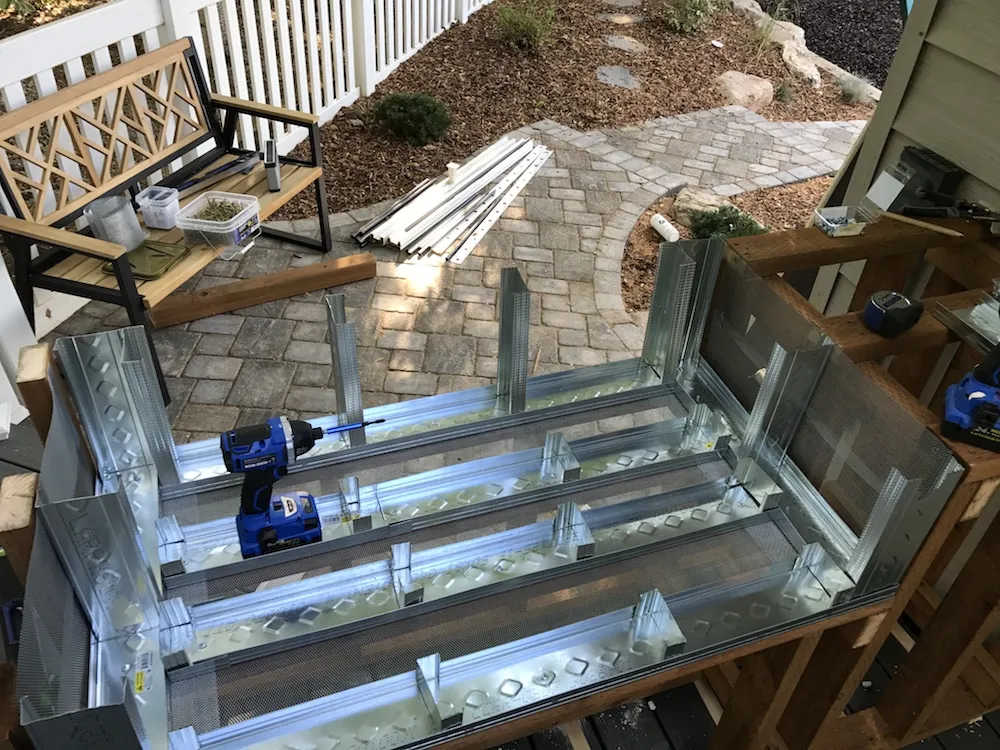 Adding fire retardant insulation to the outdoor kitchen
Caption: Ensuring safety by filling the framework with fire-retardant insulation.
To create a solid heat shield, I filled the gaps within the metal framing with fire-retardant insulation. This crucial step acts as a barrier, preventing heat transfer and protecting the wooden structure.
Once the insulation was in place, I covered the exterior surfaces with Durock cement board. Known for its fire resistance and ability to withstand various weather conditions, Durock offered a practical and robust solution.
Ventilation: The Key to a Safe and Efficient Grill Area
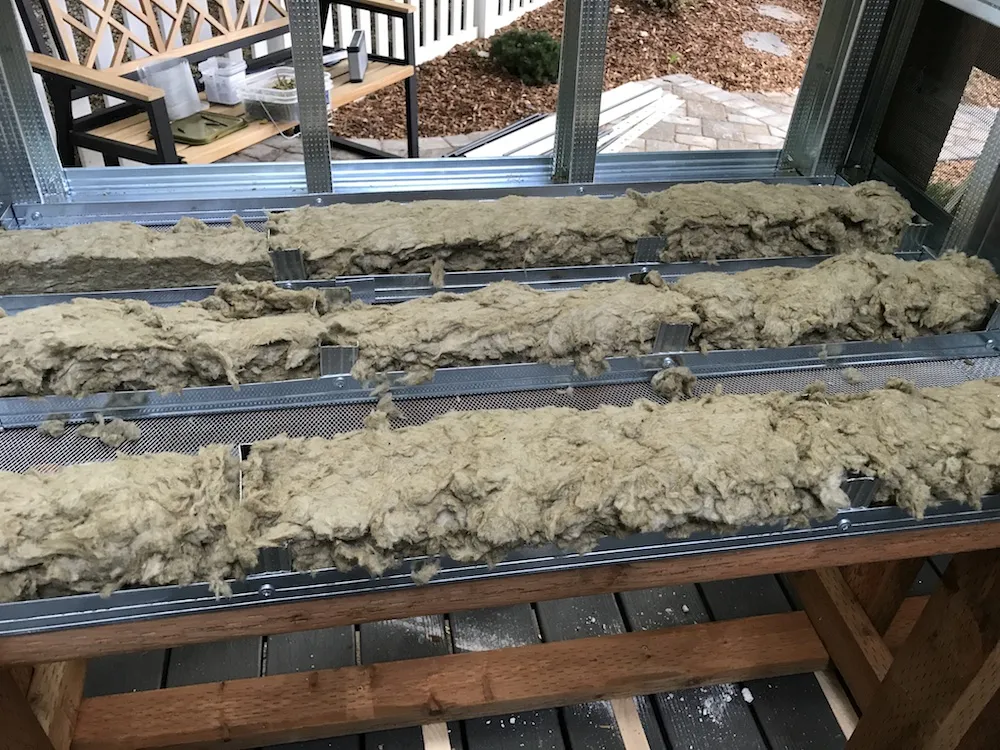 Installing vent covers on the outdoor kitchen
Caption: Putting in vent covers for optimal air circulation in the outdoor kitchen.
Proper ventilation is paramount for any grill area. My grill featured rear vents for intake and exhaust, ensuring efficient burning and safe fume dispersal. To accommodate these vents, I installed them on the backside of the structure, providing an unobstructed airflow path.
Adding Visual Appeal with Brick Veneer
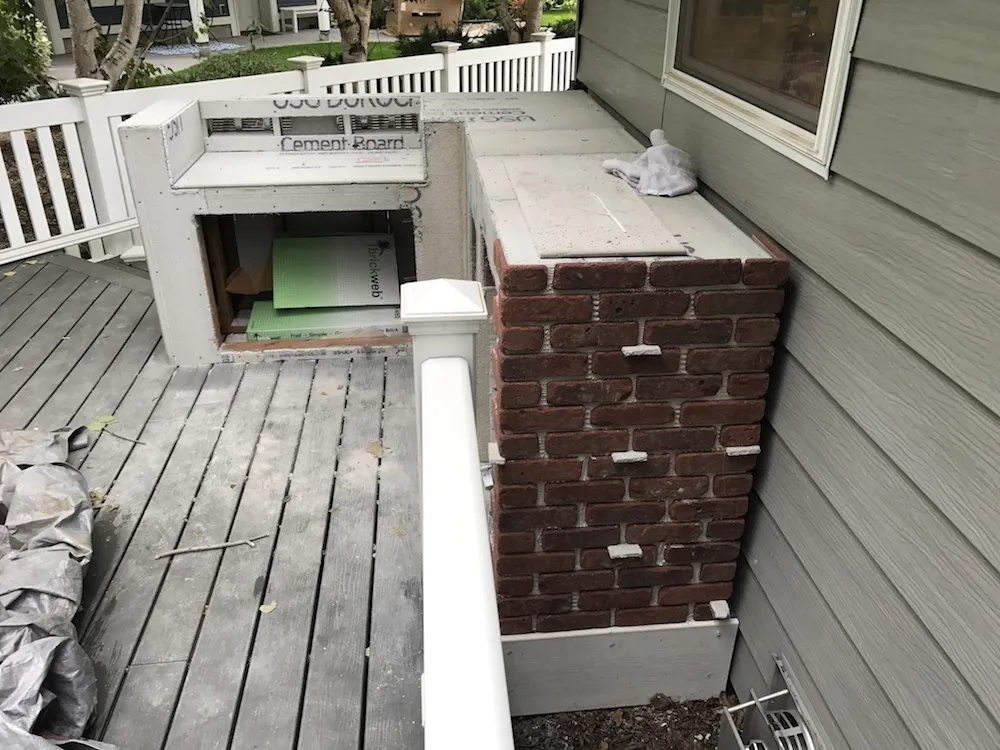
 Outdoor kitchen with brick veneer facing being installed
Caption: Enhancing the aesthetic appeal of the outdoor kitchen by installing brick veneer.
With the structural elements in place, it was time to infuse some character! I chose brick veneer for its lightweight yet authentic look. It was surprisingly easy to work with, cutting smoothly like tile.
To achieve a polished finish, I used real brick mortar instead of grout. This small detail made a significant difference, adding a touch of craftsmanship and visual appeal.
Sleek and Durable Countertops: Powder Coated Steel
 Outdoor kitchen with steel countertops installed
Caption: Sleek steel countertops complete the outdoor kitchen, offering a perfect blend of style and functionality.
For the countertops, I wanted something durable, easy to clean, and visually appealing. Powder-coated steel countertops emerged as the perfect solution. Lightweight yet sturdy, they complemented the brick veneer beautifully.
The Final Masterpiece: A DIY Outdoor Kitchen
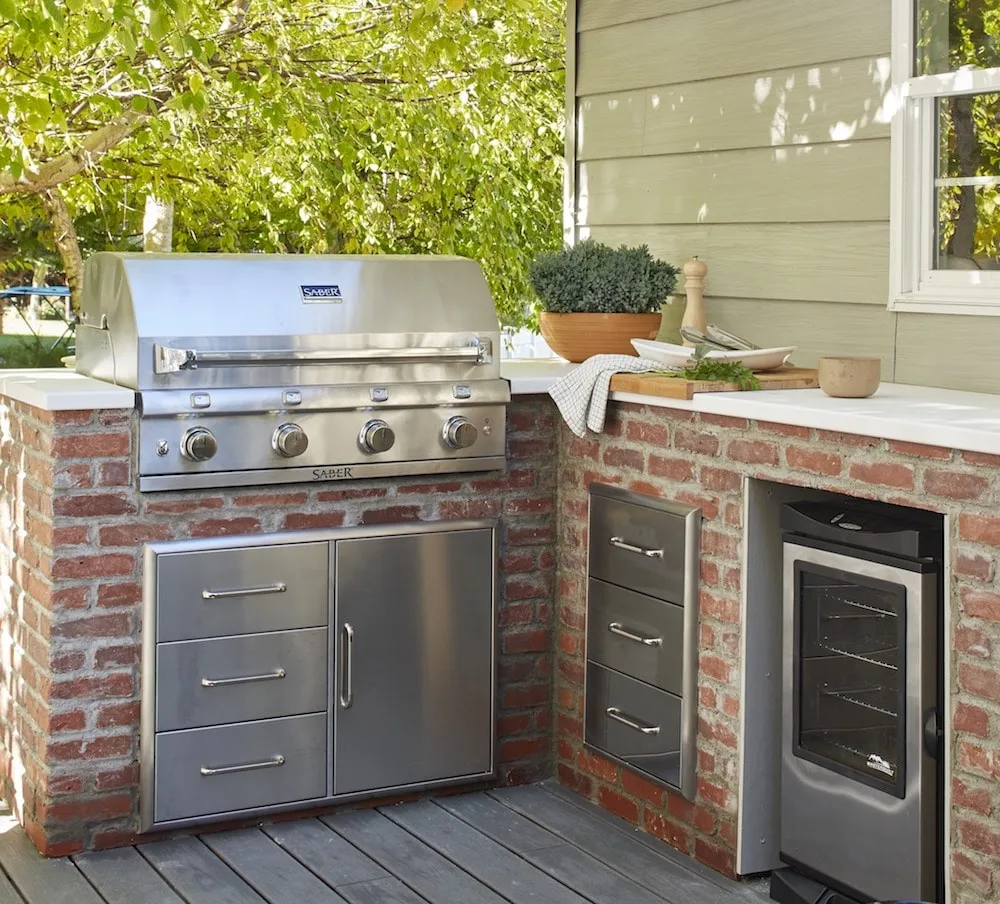 Completed outdoor kitchen with built-in grill
Caption: The completed outdoor kitchen stands as a testament to the joy of DIY, ready to host countless memorable gatherings.
After months of dedication and hard work, my dream outdoor kitchen came to life! It became a testament to the power of DIY and the fulfillment of creating something extraordinary with your own hands.
This project wasn’t just about building a kitchen; it was about crafting a space for connection, for enjoying delicious meals, and creating memories with loved ones.
If you’re feeling inspired, I encourage you to embark on your own DIY journey. Don’t be afraid to experiment, learn, and most importantly, have fun along the way! Remember, at Robert Kline Art, we believe that everyone has the potential to create something beautiful and meaningful.
Now, tell me about your dream outdoor space! What projects are you working on? Share your thoughts and experiences in the comments below! And for more creative inspiration and unique handcrafted gifts, explore the rest of the Robert Kline Art website.
