Blog
DIY Wooden Growth Chart: Watch Your Little Ones Grow
Remember those pencil marks on the wall, charting your children’s growth year after year? As a fellow artist and parent, I can’t help but feel a pang of nostalgia for those simple times. But why settle for faded lines on the wall when you can create a beautiful and personalized wooden growth chart that tells your family’s story? It’s a fun and easy DIY project that will become a cherished keepsake for years to come.
Gathering Your Supplies
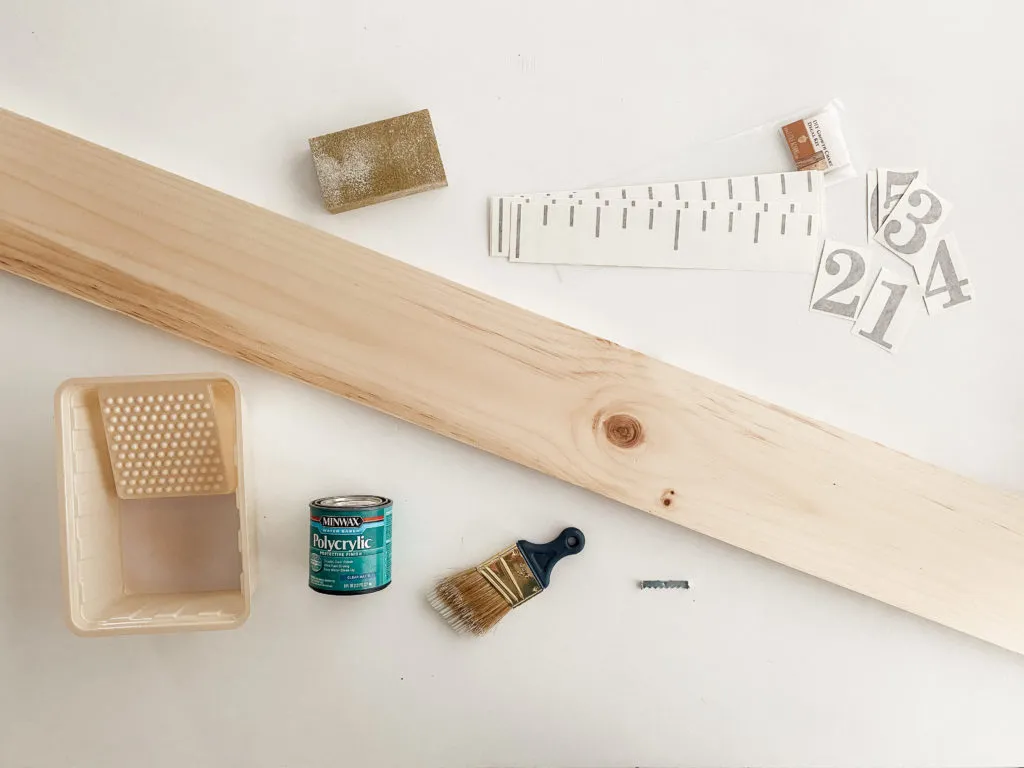
Before we dive in, let’s gather our tools and materials. You’ll need:
- A 6″ x 6′ wooden board
- Sandpaper
- A rag
- Measuring tape
- A pencil
- Vinyl decals (large size for easy application)
- A plastic card
- Polycrylic sealant
- Paint or stain (optional, for a personal touch)
- Paintbrush and tray (if using paint or stain)
- A sawtooth picture hanger
- Nails or drywall anchors
Don’t be intimidated by the list, most of these items are probably already in your crafting arsenal!
Preparing Your Canvas
 Sand and Clean the Board
Alt text: Sanding a wooden board
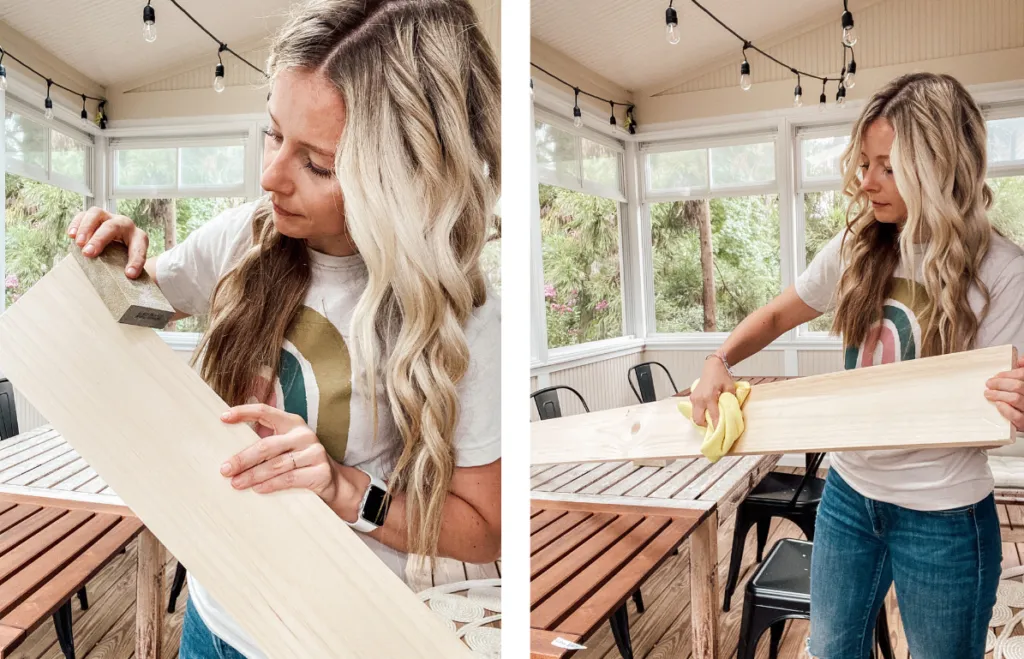
Just like an artist prepares their canvas, we need to prepare our wood. Start by sanding the board in the direction of the grain using sandpaper. This smooths out any rough spots and ensures an even surface for our masterpiece. Wipe down the board with a rag to remove any sawdust, leaving it clean and ready for the next step.
 Prop the Board off the Ground or Surface
Alt text: A wooden board propped up on cans
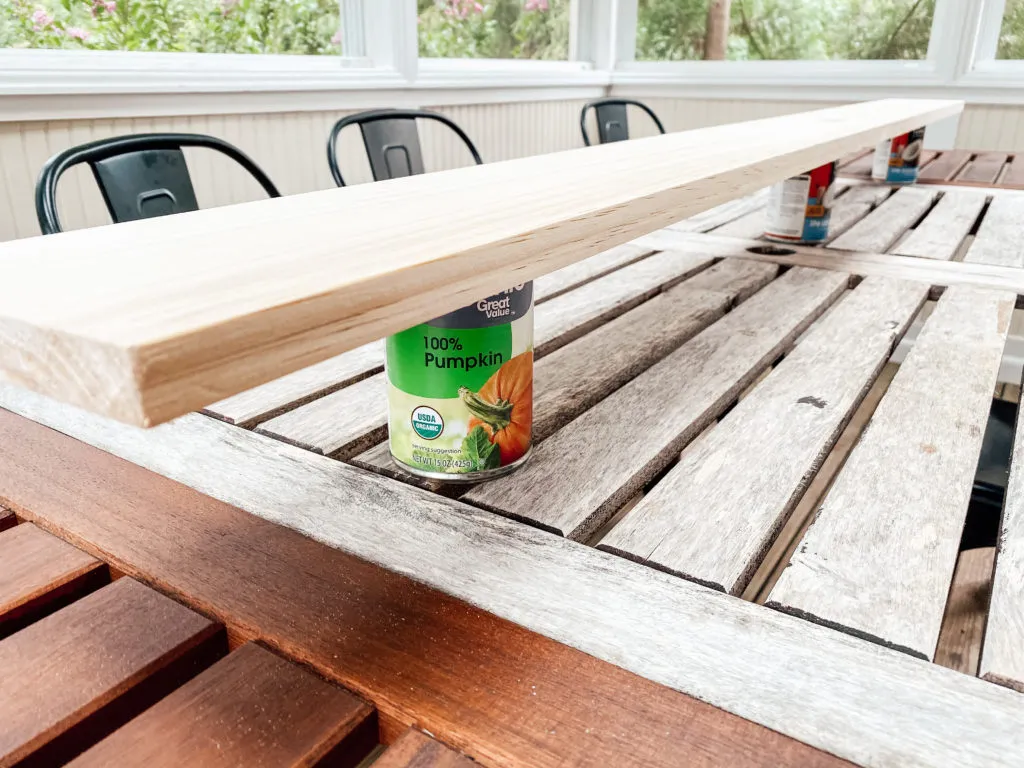
To make painting easier, elevate the board using paint cans. This allows you to paint the sides without getting paint on your work surface.
Adding Your Personal Touch (Optional)
 DIY Wooden Growth Chart Supplies
Alt text: Painting supplies and a wooden board
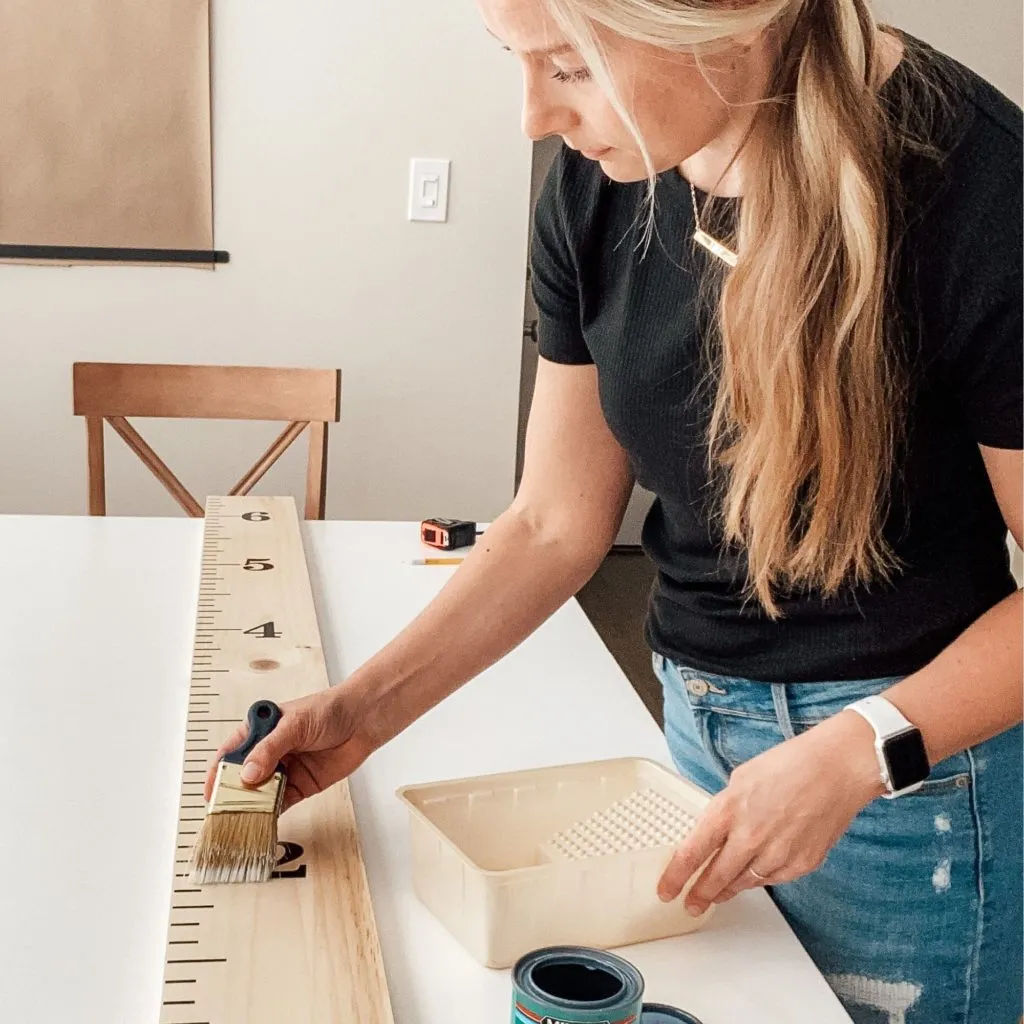
Now for the fun part! You can leave the wood natural for a rustic look, or add a splash of personality with paint or stain. Choose a color that complements your home décor or your child’s favorite hue.
If you decide to paint or stain, apply a couple of coats, allowing sufficient drying time between each coat. Once dry, seal the deal with a layer of polycrylic sealant to protect your handiwork. Apply two coats on the top and all sides, then let it cure completely for 72 hours before moving on. I know, patience can be tough, but trust me, it’s worth the wait!
Measuring and Marking
 Apply Vinyl Decal Tick Marks
Alt text: Applying measuring tick marks to a wooden board
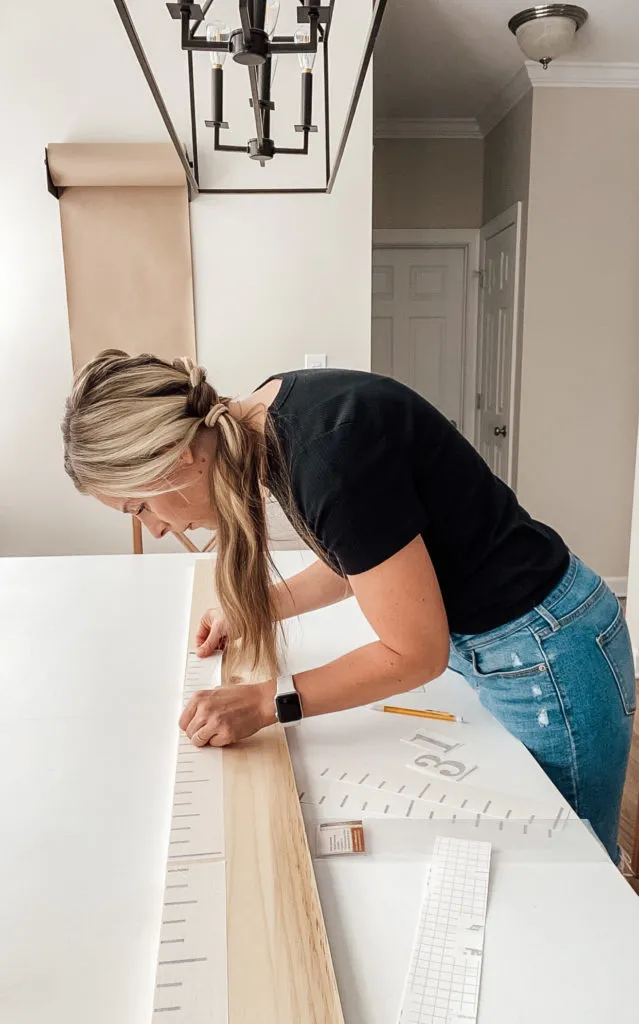
Now it’s time to break out the measuring tape and create the ruler markings for our growth chart. But first, consider where your growth chart will hang. How much clearance do you need from the floor? Adjust your vinyl tick marks accordingly. For example, if you need six inches of clearance, your first foot mark will be six inches from the bottom of the board.
My expert tip? Use strips of vinyl decals that measure exactly 12 inches – this makes application a breeze! Simply peel off the backing and align the largest tick mark with your designated foot mark. Continue up the board in one-foot increments. For the top and bottom, cut the decal strip in half.
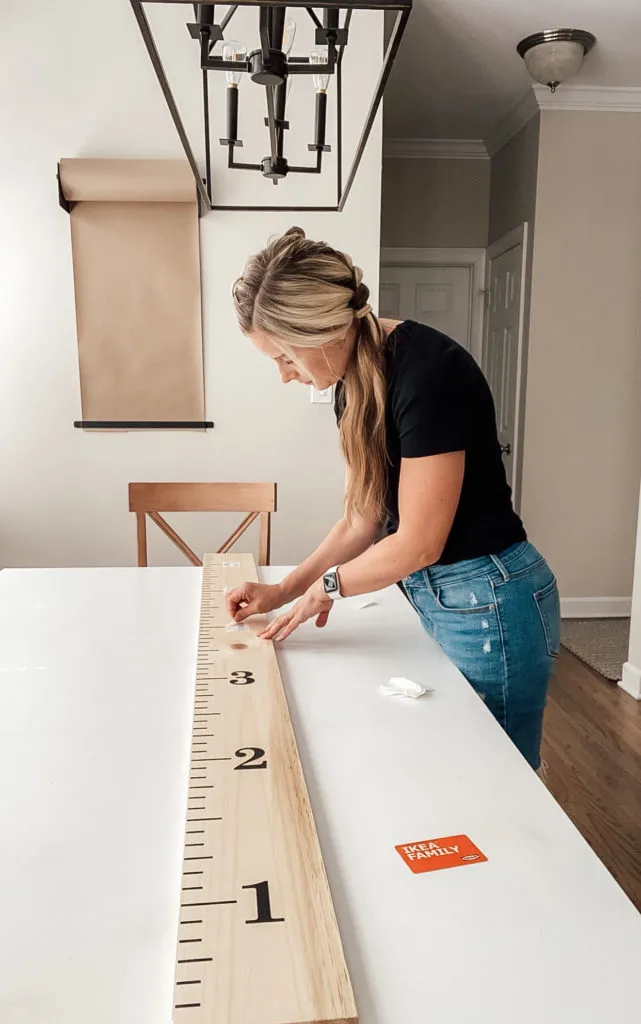 Apply Vinyl Numbers
Alt text: Applying vinyl numbers to a wooden board
Next, add the numbers! Choose your desired orientation – vertical or horizontal – and carefully apply them using the same technique. Pro tip: mark the center of each number on the backing paper to ensure perfect alignment with your tick marks.
Sealing and Hanging
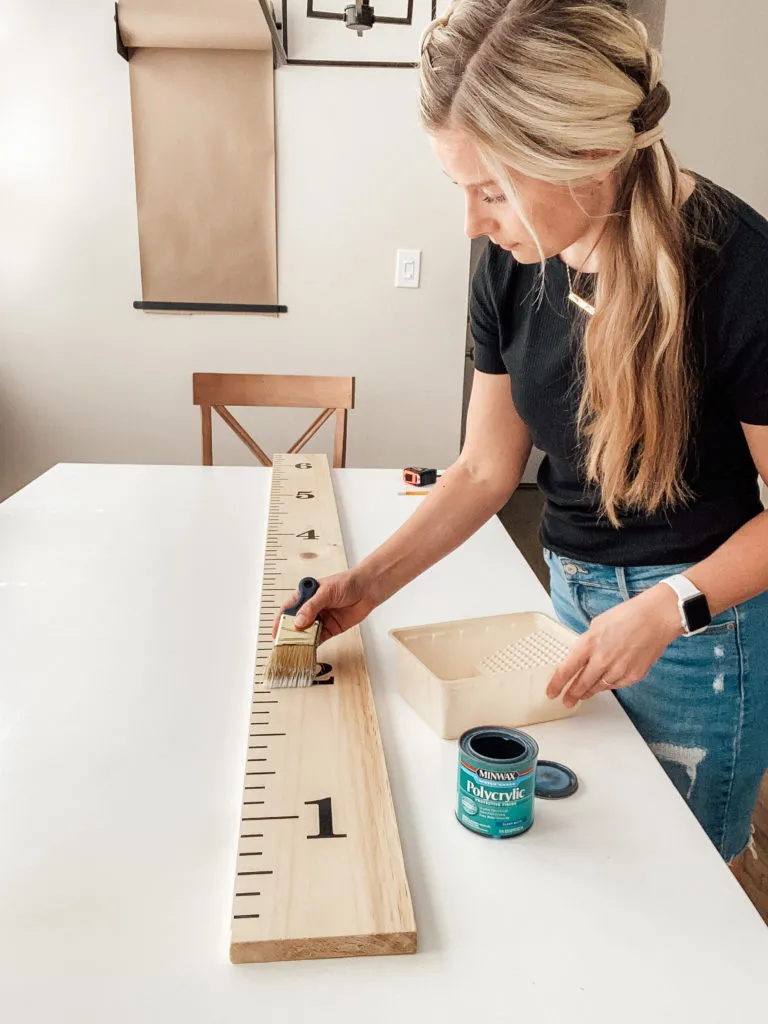 Coat with Polycrylic to Seal
Alt text: Sealing a wooden board with polycrylic
To ensure those precious measurements stay put, I recommend applying another thin coat of polycrylic over the decals. This extra step provides added durability and protection, preserving your creation for years to come.
Once the sealant is dry, it’s time to hang our masterpiece! Attach a sawtooth hanger to the back of the board. Find the center point two inches down from the top edge. Align the hanger’s center with this mark and secure it with nails.
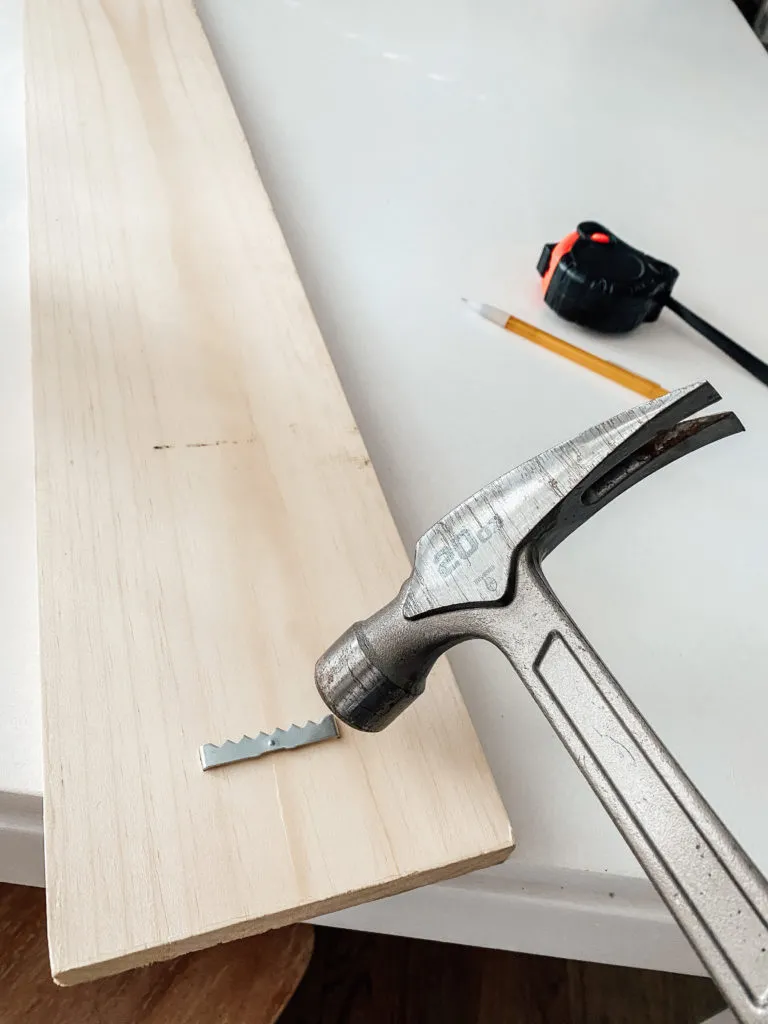 Nail a Sawtooth Hanger to the Back
Alt text: Nailing a sawtooth hanger to the back of a wooden board
Hanging the growth chart is a two-person job. Have one person hold the chart against the wall, ensuring the bottom is six inches from the floor. The second person can mark the top for placement. Always hang it on a stud for maximum support or use drywall anchors if necessary.
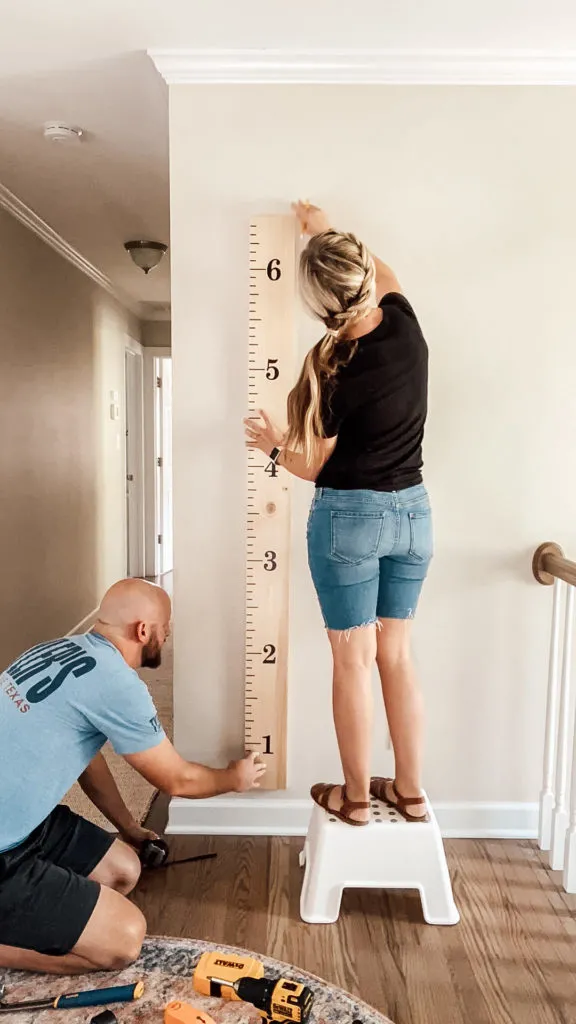 Use a Helper to Put the Growth Chart on the Wall
Alt text: Two people hanging a growth chart on a wall
Recording Those Precious Milestones
 GrowthChart-FeatureImage-1024×1024
Alt text: Measuring a child’s height against a growth chart
Now comes the most rewarding part – marking those precious heights! Grab a permanent marker in your child’s favorite color and record their current height. You can even go back and add previous heights, especially if you’ve kept track of doctor’s visits or have those adorable school photos with height charts.
This DIY wooden growth chart is more than just a measuring tool; it’s a visual timeline of your child’s growth, a cherished keepsake that captures those fleeting moments in time. As your children grow and change, so too will this unique piece, becoming a treasured family heirloom passed down through generations.
What are you waiting for? Gather your supplies and let’s get crafting! Don’t forget to share your creations with me on the Robert Kline Art website. I can’t wait to see your unique and heartfelt growth charts!
