Blog
DIY Cat Tower: The Ultimate Guide to Building a Purr-fect Paradise
Hey there, fellow cat lovers and DIY enthusiasts! Robert Kline, your trusted guide in the world of handmade crafts, is here to walk you through a project that’s both fun and functional: building a custom cat tower that will make your feline friend purr with delight.
Why Build a DIY Cat Tower?
We’ve all been there, standing in the pet store aisle, staring at those expensive cat trees, wondering if our furry overlords really need another piece of furniture. But before you shell out a hefty sum for a pre-made tower, let me tell you why building your own is a fantastic idea:
- Save Money: Let’s be honest, those fancy cat towers can cost a small fortune. Building your own allows you to control the cost and use readily available materials.
- Customize to Your Cat’s Needs: Every cat is unique! By building your own tower, you can tailor the size, shape, and features to your cat’s preferences.
- Bonding Experience: This project is a great way to spend quality time with your feline companion. They’ll love supervising (and maybe even “helping”!)
- Sense of Accomplishment: There’s nothing quite like the feeling of creating something with your own hands, especially when it brings joy to your furry friend.
Gathering Your Materials
The beauty of this project is its simplicity. You can likely find many of these materials around your house or at your local hardware store:
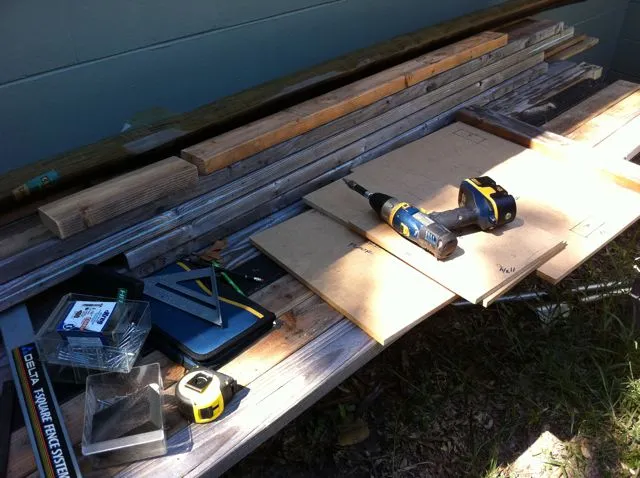
- Wood: 2’x4’x1/2″ plywood, particle board, or MDF for the platforms
- Support Beams: One 2″x4″x8′ for the main support posts
- Scratching Post Material: 50 ft. of ¼” or 3/8” sisal rope
- Cozy Covering: 1 yard by 12 ft of carpet or other soft fabric
- Fasteners: 2” wood screws or drywall screws, and optionally, pocket hole screws
- Tools: Table saw, drill, driver, pocket hole jig (optional), crown stapler, carpet knife
 DIY cat tower materials.
Crafting Your Cat’s Dream Tower
Now for the fun part – let’s get building!
1. Planning and Cutting
Start by sketching out your desired design. Don’t worry, you don’t need to be an architect. Consider your cat’s size, how many levels you want, and any special features like scratching posts.
Once you have a plan, mark your wood pieces and cut them to size using a table saw or circular saw. Remember, accurate measurements are key to a sturdy and stable tower.
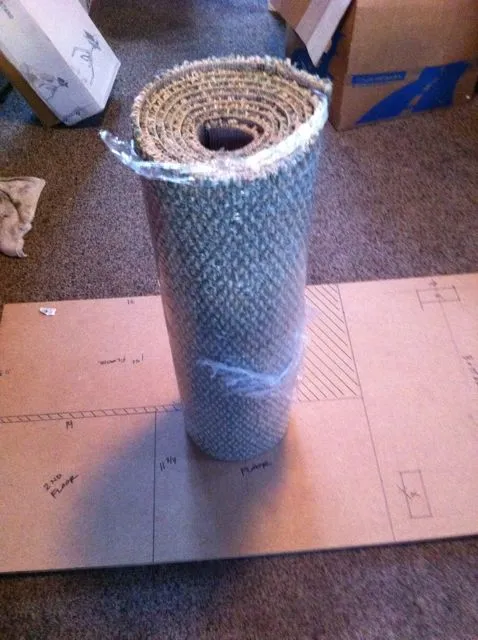 DIY cat tower plans.
2. Assembling the Structure
- Begin by attaching the support posts to the base platform using screws. Ensure they are plumb (perfectly vertical) for stability.
- Use pocket holes or cleats to securely attach the remaining platforms to the support posts.
Pro Tip: Pocket holes create strong, concealed joints. If you don’t have a pocket hole jig, you can use metal brackets or cleats instead.
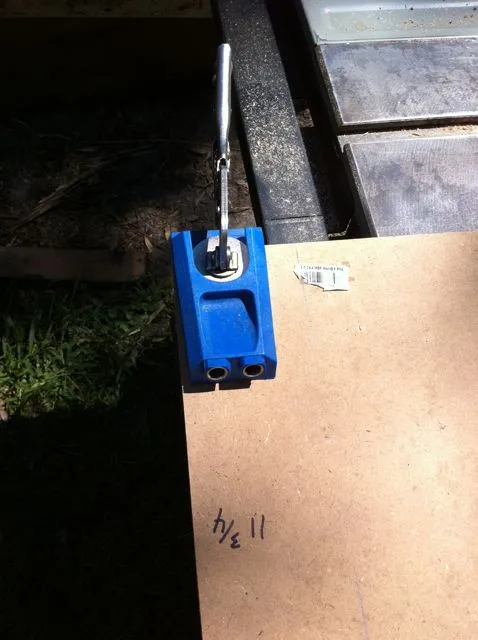 DIY cat tower assembly.
3. Wrapping the Uprights
- Scratching Post: For a designated scratching area, wrap one or more uprights with sisal rope. Secure the rope with staples every few inches.
- Carpet Covering: Cut the carpet to size, leaving enough overlap to wrap around the edges of the platforms and uprights. Secure the carpet using a staple gun, ensuring a smooth and taut finish.
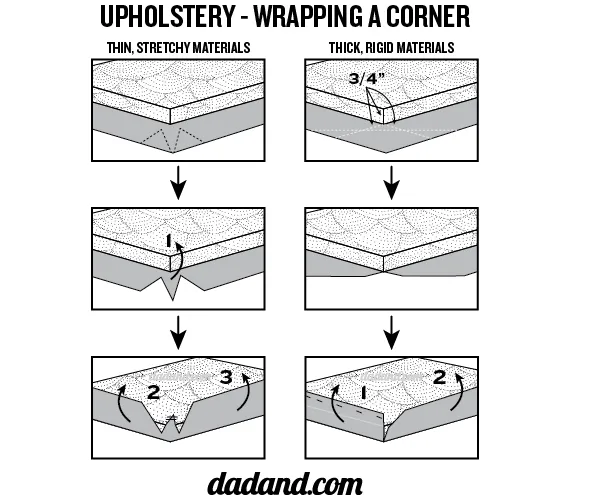 DIY cat tower wrapping.
Expert Insight: “Cats love the texture of sisal rope, making it ideal for scratching posts. Plus, it’s durable and can withstand even the most enthusiastic scratching sessions.” – Dr. Sarah Miller, Veterinarian
4. Finishing Touches
- Add any extra features you desire, such as hanging toys, perches, or a cozy condo-like enclosure.
- Inspect the entire tower for any sharp edges or loose screws, ensuring it’s safe for your furry friend.
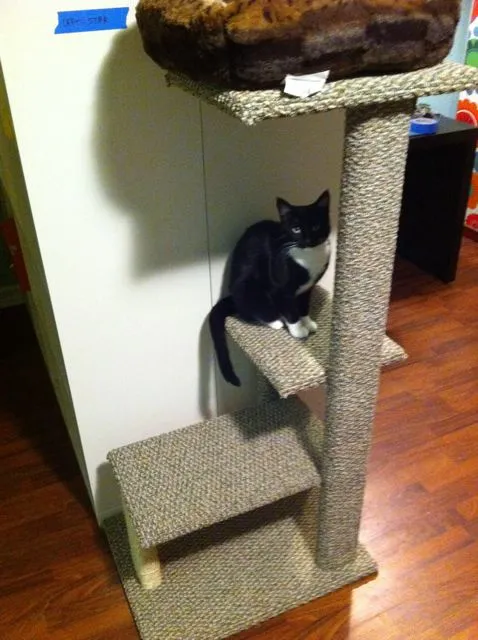 DIY cat tower finished.
Show Off Your Masterpiece!
Congratulations, you’ve just created a custom cat tower that’s both stylish and functional! Now it’s time to unveil it to your feline overlord and watch them explore their new kingdom.
Don’t forget to share your creations with us at Robert Kline Art. We love to see the amazing things our readers create! You can also find more unique handmade gifts and inspiration on our website.
