Blog
DIY Rolling Bike Rack: Maximize Garage Space with This Easy Build
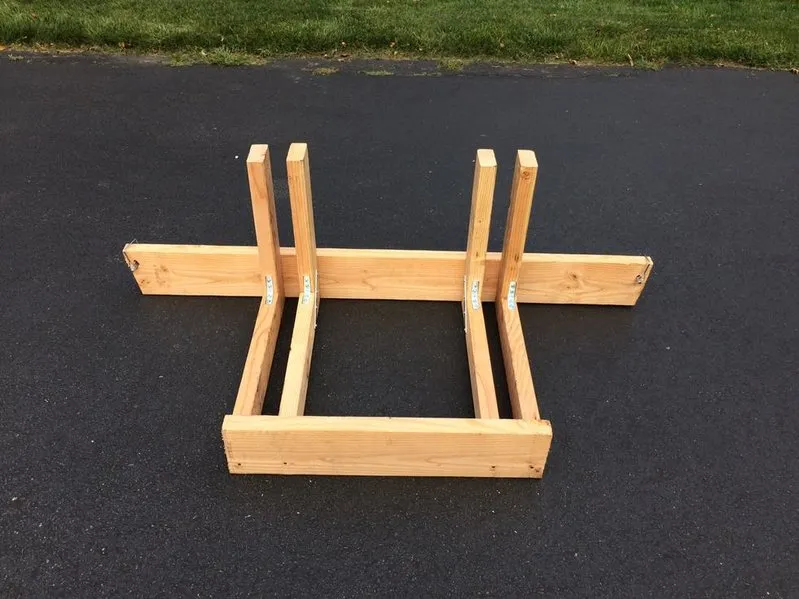
Do you ever feel like your garage is being overrun by bikes? You’re not alone! As an avid DIYer and proud owner of Robert Kline Art, I know firsthand the challenges of storing multiple bikes efficiently. It’s a common problem, especially for families who share a passion for cycling. Today, I’m excited to share a practical and rewarding solution: building your very own rolling bike rack. This project is perfect for reclaiming valuable floor space and keeping your bikes organized.
Step 1: Assessing the Need – The Bike Storage Struggle is Real
Let’s face it, bikes can quickly take over a garage. Imagine this: you’re trying to navigate through a maze of handlebars and pedals just to grab a tool. It’s a recipe for frustration, not to mention potential bike damage.
As someone who has always loved building and creating, I knew there had to be a better way. That’s when I decided to design a bike rack that would:
- Maximize space: Get those bikes off the floor and free up valuable square footage.
- Provide easy access: No more wrestling with tangled bikes – grab and go with ease.
- Offer mobility: Easily move the entire rack for cleaning or rearranging the garage.
Step 2: Creating Custom Upper Bike Racks
For the upper tier of my rack, I opted for a custom fit. Using wood clamps, I temporarily secured each bike in place. This allowed me to get creative and fabricate unique brackets tailored to the frame of each bike.
Pro Tip: To prevent scratches and protect the bike frames, I added a layer of leftover carpet to the brackets.
 IMG_2911.jpg
Step 3: Constructing a Sturdy Lower Bike Stand
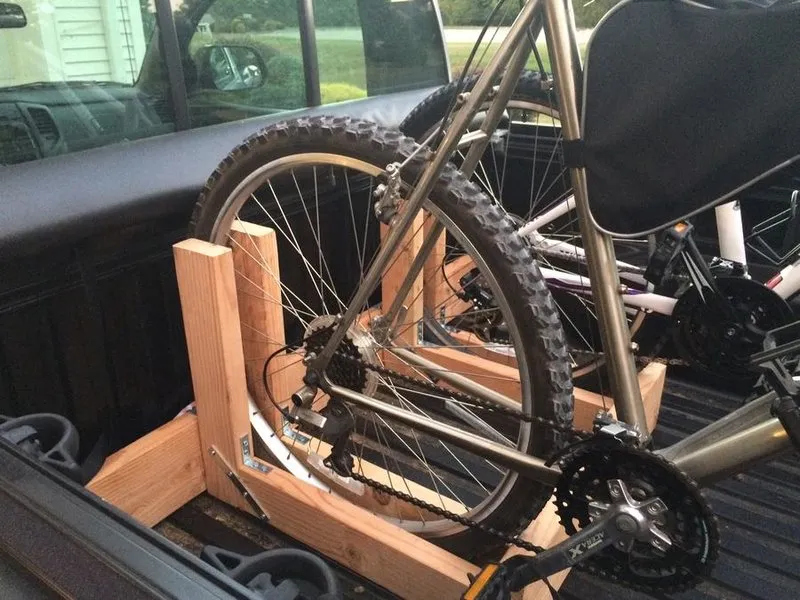
The base of the rack is where stability is key. I used readily available 2×4 lumber for the lower bike supports.
Why 2x4s? While you could potentially get away with thinner lumber, I wanted to ensure the rack could handle the weight of multiple bikes without tipping over. Remember, safety first!
Resourceful Tip: I love incorporating salvaged materials into my projects whenever possible. For this rack, I used leftover wood from previous builds, making it both budget-friendly and eco-conscious. The only purchase I made was a set of sturdy wheels from Harbor Freight.
 IMG_2907.jpg
Step 4: Crafting Bike “Stays” for Added Security
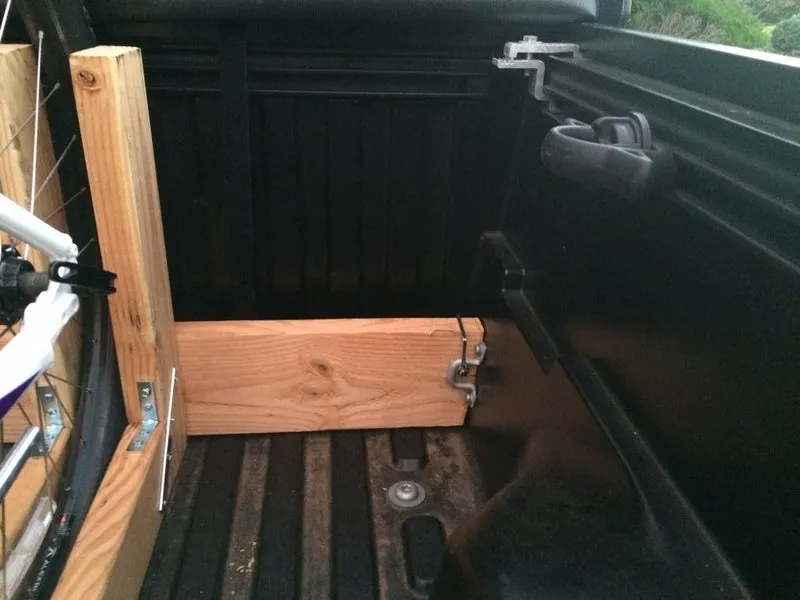
To prevent the bikes from rolling off the lower rack when it’s being moved, I designed simple yet effective “stays” or “locks”. These secure the bikes in place, providing an extra layer of stability and peace of mind.
 IMG_2908.jpg
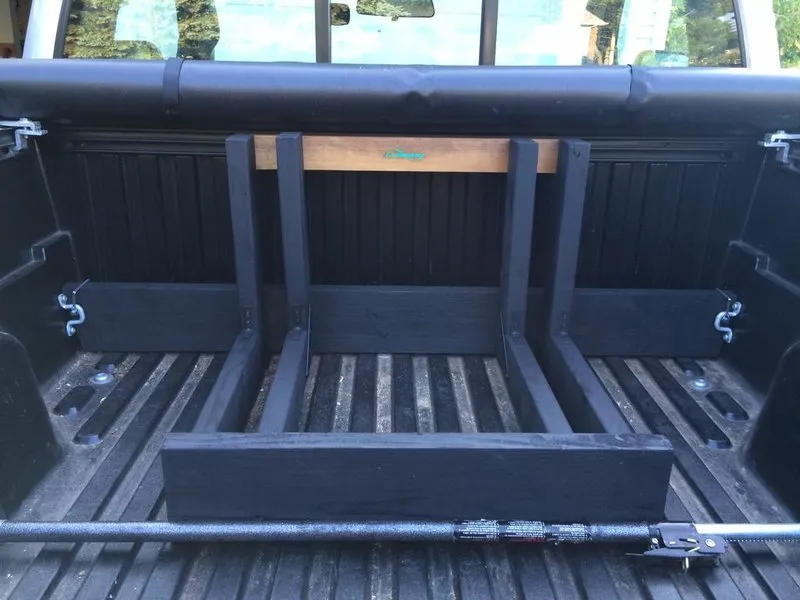
Step 5: The Final Result – A Functional and Mobile Bike Storage Solution
 IMG_2916.jpg
 20140912_114058_zps2c488680_6519556e3a1ad26bfa78d56d0dceb501a9446706.jpg
 20140912_113811_zpsd7f5f50a_e18d5a6e806fc961fe6ccd35ba5fdb77ff95eef6.jpg
The finished rolling bike rack exceeded my expectations! It’s incredibly sturdy, easy to maneuver, and has transformed my garage into a haven of organization. Plus, the satisfaction of building something with my own two hands is priceless.
Conclusion: Reclaim Your Garage and Inspire Your Creativity
This DIY rolling bike rack is a testament to the power of creativity and resourcefulness. It’s a project that can be easily adapted to accommodate different numbers and types of bikes. I encourage you to give it a try!
If you’re looking for more unique handmade gift ideas and DIY inspiration, be sure to explore the rest of the Robert Kline Art website. We have a passion for crafting beautiful and functional pieces that enrich everyday life.
Now it’s your turn: Have you tackled any bike storage solutions in your own garage or workshop? Share your experiences and tips in the comments below – I’d love to hear from you!
